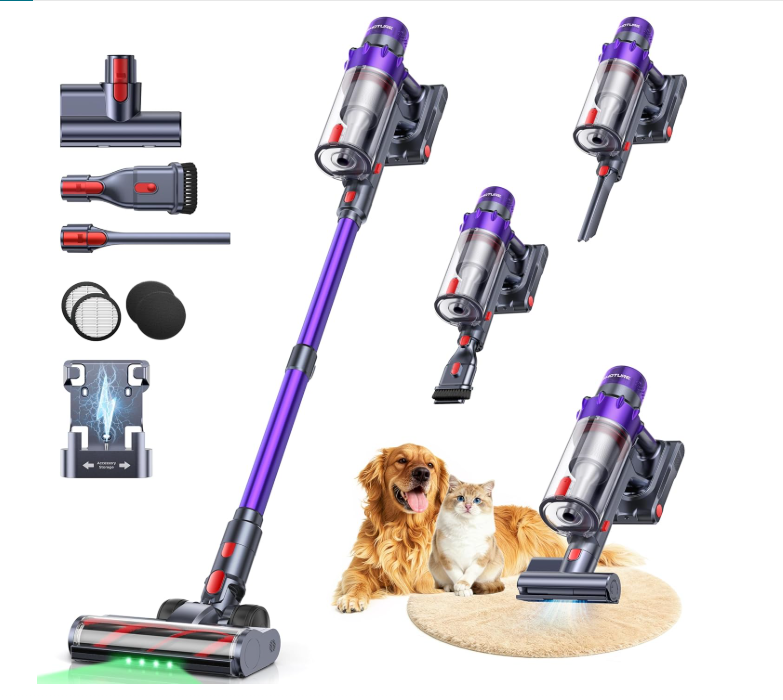

Dyson V8 Cordless Stick Vacuum Battery Replacement Guide
Yes—if your Dyson V8 still works well but the runtime has dropped, a verified replacement battery is often the simplest fix. Just confirm model compatibility, use safe charging practices, and replace the pack only if it is not swollen, hot, or damaged.
If your Dyson V8 is losing runtime, shutting off early, or refusing to hold a charge, a battery replacement is often the most practical fix. This guide explains how to confirm the battery is the issue, choose a compatible replacement, and install it safely.
- Confirm the cause: Clean filters and check for clogs before assuming the battery has failed.
- Match the model: Voltage, connector style, and mounting must fit your exact V8 version.
- Safety first: Stop using swollen, overheating, leaking, or damaged battery packs.
- Value matters: A good replacement balances warranty, documentation, and realistic runtime gains.
Dyson V8 Battery Replacement: What You Need to Know First
The Dyson V8 uses a removable battery pack, which makes replacement simpler than on many sealed vacuums. Before buying anything, it helps to confirm that the battery—not the filter, charger, clog, or motor head—is actually causing the problem.
How to tell if the battery is the problem
Common battery-related symptoms include shorter runtime, the vacuum stopping after a few minutes, a battery that won’t complete a charge cycle, or a unit that only works while plugged in. If the machine powers off with a full charge indicator, check for blocked airflow, dirty filters, or a jammed brush bar first, since those issues can also mimic battery failure.
If the vacuum suddenly runs for a much shorter time than it used to, compare battery behavior after cleaning the filter and emptying the bin. A clogged system can make a healthy battery seem weak.
When replacement makes more sense than repair
For most owners, replacing the battery is more realistic than attempting cell-level repair. Battery packs are sealed for safety, and opening them can create fire and shock risks. If the vacuum is otherwise in good condition and the battery is the only weak point, replacement is usually the simplest path.
Stop using the vacuum if the battery is swollen, leaking, unusually hot, or physically damaged. Follow the manufacturer’s guidance for removal, recycling, and disposal.
Dyson V8 Cordless Stick Vacuum Battery Replacement Guide: Compatibility and Fit
Compatibility matters more than marketing claims. A battery can look right online and still fail to mount correctly, connect properly, or work with your exact V8 variant.
Which Dyson V8 models this applies to
The V8 line includes several submodels and regional versions, and not every battery listing is truly universal. Check your vacuum’s exact model number on the label or in the manual, then match the replacement to that model rather than relying on “fits Dyson V8” alone.
For broader context on battery-fit decisions across stick vacuums, see our guide to cordless vacuum replaceable battery options and this overview of cordless vacuum cleaner battery compatibility basics.
OEM vs third-party replacement batteries
OEM batteries are the safest compatibility choice because they are designed to match the vacuum’s electrical and physical requirements. Third-party batteries can be a good value, but quality varies widely, so the seller’s documentation, warranty, and return policy matter a lot more.
Battery listings can differ by region, retailer, and production batch. Always confirm the exact model compatibility list before ordering.
Key fit checks: voltage, connector style, and mounting
Look for three things before buying: the correct voltage, a connector that matches the vacuum’s battery interface, and a mounting shape that lines up with the screw points on your V8. Even a battery with the right general size may not seat properly if the connector or housing differs.
How the Dyson V8 Battery System Works
The V8 battery system is built for cordless convenience, not long-term deep-cycle power. Runtime depends on battery condition, cleaning mode, attachment choice, and how hard the motor has to work.
Battery type, rated voltage, and runtime expectations
Replacement listings typically describe the battery chemistry, rated voltage, and capacity. Those details help you compare options, but real runtime still varies with suction mode, floor type, pet hair load, and whether the filter and bin are clean.
Charging behavior and what the charger is designed to handle
The charger is designed to work with the vacuum’s specified battery pack, so using an incompatible battery or off-spec charger can create charging problems. If you see repeated charging interruptions, check the charger, wall outlet, and battery contacts before assuming the pack has failed.
Heat, cable quality, and safe charging limits
Some warmth during charging is normal, but excessive heat is not. Use the manufacturer-approved charger and inspect the cable regularly for cracks, bends, or fraying.
Do not charge a battery on soft bedding, near water, or in direct sun. If the pack becomes hot, swells, or smells unusual, disconnect it and stop using it.
Step-by-Step Battery Replacement Process
The exact screw count and screw locations can vary slightly by V8 version, so keep the official manual nearby. The general process is straightforward, but careful alignment and safe handling matter more than speed.
Tools and prep before you start
Gather the right screwdriver, a clean work surface, and the replacement battery. Power the vacuum down completely, unplug the charger, and make sure your hands are dry before handling the unit.
- Take a photo of the battery position before removal so you can compare alignment later.
- Keep screws organized by step so you do not mix them up.
- Check the contact points for dust while the battery is off.
Removing the old battery safely
Remove the retaining screws, then slide the battery away from the body without forcing the connector. If it resists, recheck for hidden screws or clipped edges rather than prying aggressively.
Installing the new battery and confirming alignment
Set the new pack into place and confirm that the screw holes, connector, and housing sit flush. Tighten screws evenly, but do not overtighten, since stripped threads can make future service harder.
First charge and post-installation check
After installation, charge the vacuum fully before relying on it for a full cleaning session. Then test basic functions: power on, mode switching, and charging indicator behavior.
Battery contacts can collect dust over time, and poor contact can look like a dead battery even when the pack itself is still usable.
How to Choose the Right Replacement Battery in 2026
The best battery is not always the one with the biggest capacity claim. A good choice balances fit, safety documentation, warranty support, and realistic runtime expectations.
Capacity, runtime, and value trade-offs
Higher-capacity batteries may offer longer runtime, but they can also cost more and sometimes weigh more. For many households, the best value is a battery that restores original-style performance without adding unnecessary bulk or questionable electronics.
Warranty details to verify before buying
Check how long the warranty lasts, what it covers, and whether the seller requires registration or proof of purchase. A strong warranty is useful only if the seller actually supports returns and replacements in your region.
What makes a battery worth the price
Look for clear compatibility information, protective circuitry, sensible packaging, and a seller that publishes model-specific guidance. If a listing is vague about voltage, fit, or support, the lower price may not be worth the risk.
- Check compatibility, model number, voltage, connector style, and mounting points
- Confirm safety guidance, warranty terms, return policy, and recycling instructions
Common Mistakes, Risks, and Safety Tips
Most battery replacement problems come from rushing the process or assuming all V8 batteries are interchangeable. A careful inspection and a verified listing prevent most of the avoidable headaches.
Overheating, swelling, and damaged cable warnings
If the battery, charger, or cable runs unusually hot, stop using it until you can inspect it safely. Heat, swelling, and damaged insulation are signs that the equipment may no longer be safe.
Signs of low-quality or unsafe replacement batteries
Be cautious with listings that use vague compatibility language, lack a warranty, or avoid basic technical details. Poor packaging, inconsistent labeling, and missing safety documentation are all red flags.
Storage, disposal, and handling guidance
Store spare batteries in a cool, dry place away from metal objects and direct sunlight. Recycle old packs through an approved battery recycling program rather than throwing them in household trash.
For readers comparing replaceable-pack designs across other cordless models, our Linx cordless vacuum battery replacement guide and INSE cordless vacuum battery guide show how fit and support can differ by brand.
Real-World Benefits and Limitations After Replacement
A fresh battery often restores the most noticeable part of a cordless vacuum’s performance: usable runtime. That said, results depend on the rest of the machine’s condition and how the vacuum is used in the home.
Expected performance gains and where results vary
Most owners can expect better runtime, fewer mid-cleaning shutdowns, and more consistent power delivery if the old battery was the weak link. But if the filter is clogged, the brush roll is worn, or airflow is restricted, the improvement may feel smaller than expected.
Noise, suction consistency, and maintenance impact
A healthy battery can help the vacuum maintain steadier output, which may make suction feel more consistent during a cleaning session. Battery replacement does not usually change the machine’s noise profile much, but it can make the vacuum feel more reliable because it no longer drops power early.
Evidence limits and why outcomes can differ by household use
Battery life is highly user-dependent. Carpet density, pet hair, cleaning mode, attachment choice, and how often the filter is washed can all change the results you see after replacement.
Budget-minded Dyson V8 owners who want to restore runtime without replacing the whole vacuum. If your machine has multiple age-related issues or you need a major performance upgrade, a newer vacuum may be the better long-term choice.
Final Recommendation: Is a Dyson V8 Battery Replacement Worth It?
For most Dyson V8 owners, battery replacement is worth considering when the vacuum still works well overall but runtime has fallen off. It is usually the most cost-conscious way to extend the life of a familiar machine, provided you verify compatibility and buy from a trustworthy source.
Best fit for budget-minded owners
If you are happy with the V8’s size, handling, and cleaning results, a replacement battery can be a smart maintenance purchase. It makes the most sense when the rest of the vacuum is in good shape and you only need the cordless runtime restored.
When upgrading to a newer vacuum may be the better choice
If the vacuum has weak suction, repeated charging issues, worn accessories, or multiple failing parts, replacement may only be a short-term fix. In that case, comparing a battery purchase against a full upgrade is the more practical decision.
Frequently Asked Questions
Short runtime, early shutoffs, and charging problems are common battery symptoms. Clean the filter and check for clogs first, since airflow issues can mimic battery failure.
Some V8 batteries fit multiple submodels, but compatibility is not universal. Check your exact model number and the seller’s fit list before buying.
OEM batteries are usually the safest compatibility choice. Third-party packs can work well, but only if the voltage, connector, mounting, and warranty details are clearly verified.
Confirm the battery is the correct voltage, connector style, and mounting shape for your vacuum. Make sure the charger and cable are in good condition before the first charge.
No, stop using it right away. Swelling, unusual heat, leaking, or damage are warning signs that need manufacturer guidance and safe disposal.
Recycle it through an approved battery recycling or e-waste program. Do not put lithium-ion batteries in household trash or incinerate them.