How to Install and Manage a Smart Air Purifier System Easily
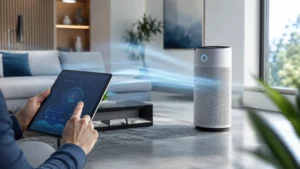
- Room fit first: Match the purifier to the room size before worrying about app features.
- Placement matters: Leave clear space around vents so airflow and sensors work properly.
- App setup varies: Check Wi-Fi band, phone support, and smart-home compatibility in the manual.
- Maintenance is ongoing: Clean pre-filters, replace filters on schedule, and reset alerts only after service.
- Quiet use is practical: Auto mode, sleep mode, and scheduling help the purifier fit daily life.
Frequently Asked Questions
Place it on a flat surface, install the filter correctly, remove all packaging, and follow the manual before powering it on. Keep vents clear and avoid water, heat, and unstable locations.
Confirm the supported Wi-Fi band, app requirements, and phone compatibility in the manufacturer’s setup guide. If pairing fails, check router settings, signal strength, and app permissions.
Most purifiers work best with space around the intake and outlet, away from walls, curtains, and blocked corners. Place it where you spend time, such as a bedroom, office, or living room.
Replace filters based on the manufacturer’s guidance, since timing depends on model, air quality, and how often you run the unit. Wash or vacuum only the parts the manual says are safe to clean.
Energy use varies by model and fan speed, so check the manufacturer’s power information if that matters to you. Lower speeds and sleep modes usually use less power and are quieter for daily use.
The main limits are room size, placement, filter cost, and app or Wi-Fi reliability. A purifier that is too small or poorly placed will not perform as well, even if it has advanced smart features.