How to Capture Big Deer on Trail Camera This Season
To capture big deer on trail camera, place the camera on a natural travel route, use settings that react quickly, and keep human pressure low. The best results come from careful placement and consistent maintenance, not from megapixels alone.
If you want a better chance at getting big deer on trail camera, focus on camera placement, trigger settings, and low-pressure scouting rather than just buying the highest megapixel model. The best results usually come from matching the camera to the terrain, then setting it up where mature bucks already want to travel.
- Placement wins: Mature bucks are more likely to appear when the camera is hidden, angled well.
- Specs matter selectively: Trigger speed, recovery time, and detection range usually matter more than megapixel count.
- Pressure changes behavior: Frequent checking, scent, and bad wind can push big deer off a camera site.
- Data is guidance: Trail cameras reveal patterns, but they do not guarantee daylight buck movement.
How to Capture Big Deer on Trail Camera This Season: The Fast Answer
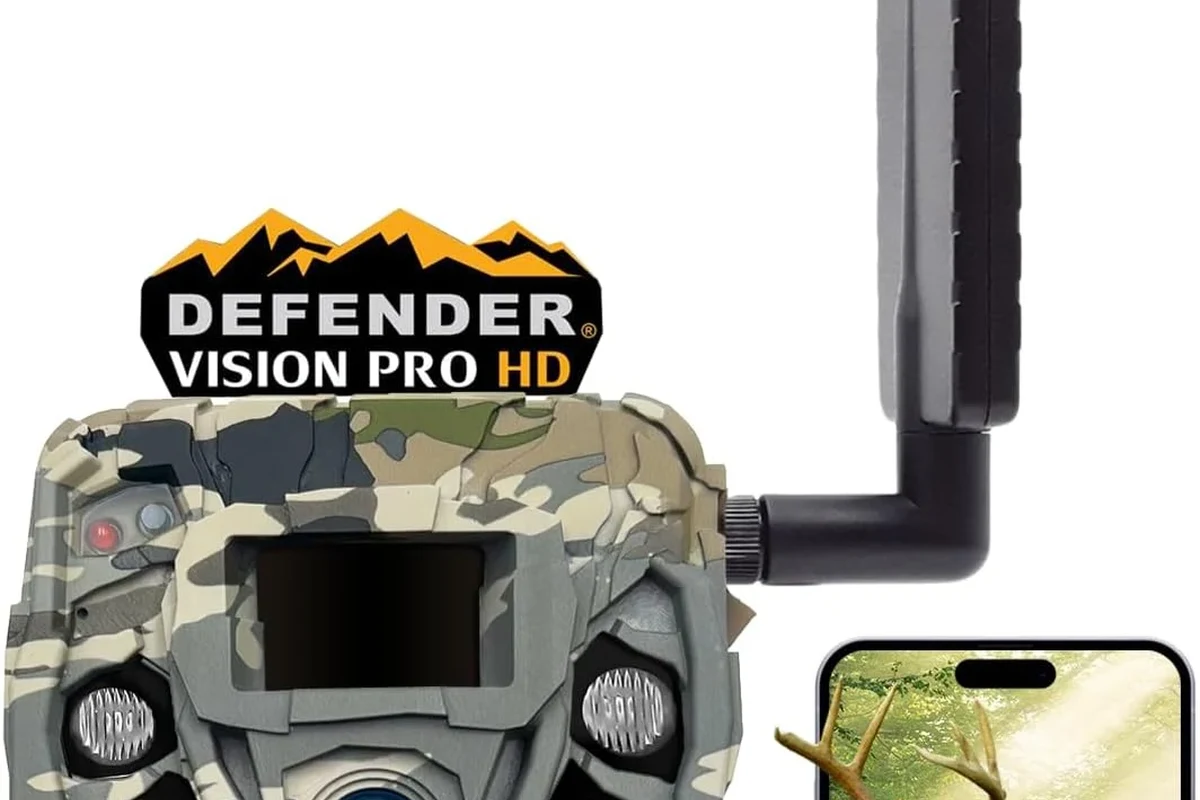
The fastest path to better buck photos is to place the camera on a natural travel route, keep it out of obvious sight lines, and use settings that capture the first movement without wasting battery or storage. Mature deer are more cautious than younger deer, so subtle placement often matters more than raw camera specs.
Think like a deer first and a camera buyer second: if the setup looks suspicious to you at eye level, it probably looks worse to a mature buck.
What a Trail Camera Actually Does and Why Big Deer Behave Differently
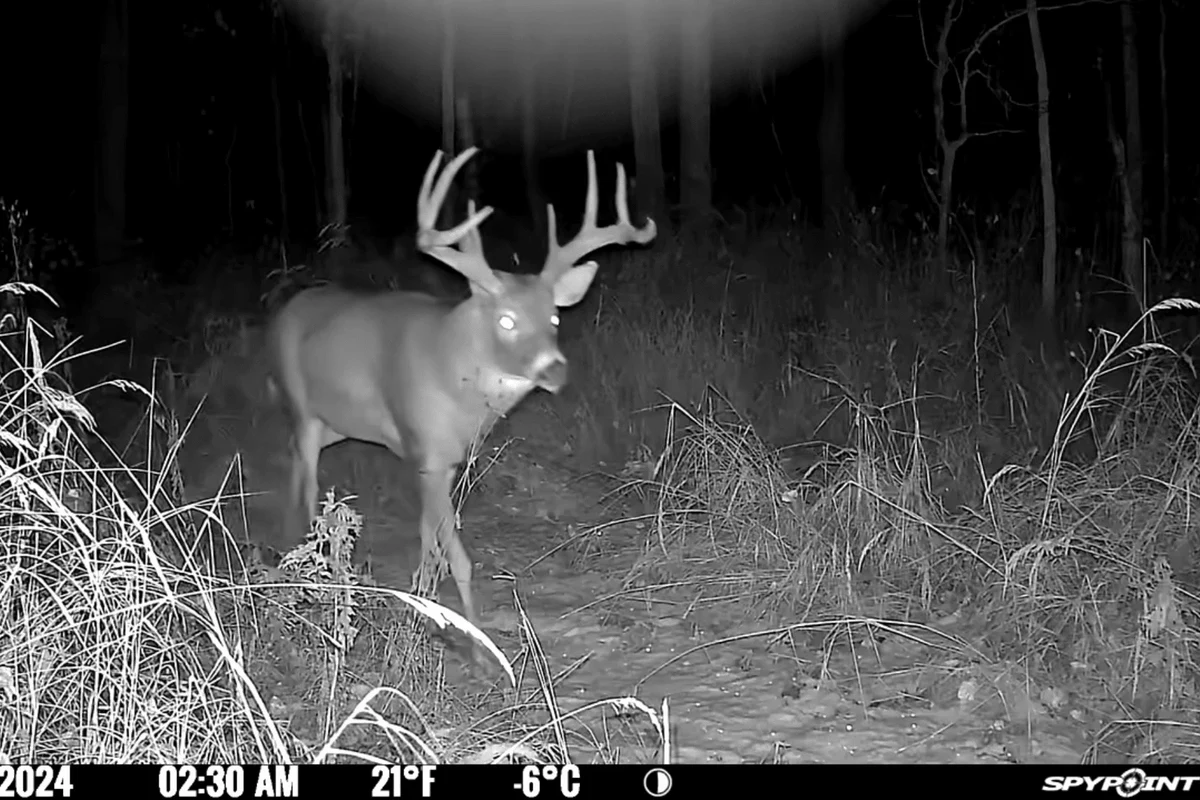
A trail camera is a motion-activated camera that uses an infrared sensor to detect heat and movement, then records a photo or video based on the settings you choose. For deer hunters, the goal is not just to prove deer are present; it is to learn when and where mature animals move with enough consistency to matter.
Motion detection, trigger speed, and why mature bucks are harder to catch
Trail cameras do not “see” deer the way people do. They react to changes in heat and motion within the detection zone, and that means the camera has to notice the animal, wake up, and capture the image before the deer leaves the frame.
Mature bucks are harder to catch because they often move more cautiously, use thicker cover, and may pause less often in open areas. If the trigger speed or recovery time is slow, the camera can miss the best angle or only catch part of the animal. That is why a setup that works on does or smaller bucks may still disappoint when the target is a big deer.
How camera placement changes what you see in the field
Placement changes the story your camera tells. A camera aimed too far down a trail may capture only the back half of a deer, while one placed too close may spook animals or produce blurry, overexposed images from the flash or infrared burst.
Angle matters as much as distance. A slight offset from the trail often produces better body shots and gives the sensor more time to react. For more on related device behavior and power habits, readers who manage smart gear around the home may also find it useful to understand how compatibility affects device performance in general.
Choosing the Right Trail Camera for Big Deer Photos and Video
The right camera depends on where you hunt, how often you can check it, and whether you care more about crisp still photos or usable video clips. Manufacturer specs help, but real-world performance still varies by model, firmware, batteries, card quality, and placement.
Key specs to compare: megapixels, trigger speed, recovery time, flash type, and detection range
Megapixels matter less than many buyers expect. A high megapixel number can help with detail, but image quality also depends on the sensor, lens, and processing. For big deer, the more important specs are trigger speed, recovery time, and detection range.
Trigger speed is how quickly the camera takes a shot after detecting motion. Recovery time is how quickly it can take the next shot. If a buck follows another deer or crosses the frame in a group, a slow recovery time can leave you with only one useful image. Flash type also matters: no-glow or low-glow infrared options can be less noticeable, while white flash can create brighter color images at night but may be more visible to deer and people. Detection range should fit the terrain rather than the marketing number alone.
Battery life, weather resistance, storage capacity, and app connectivity
Battery life varies widely by camera model, temperature, photo frequency, video length, and whether the camera sends images through an app. If you use cellular features, expect battery use to rise. If you use short still photos only, battery life may improve, but it still depends on how active the site is.
Weather resistance is important, but you should still check the manufacturer’s sealing guidance and operating range. Storage capacity depends on the card and file size, so confirm the supported card type in the manual. App connectivity can be convenient for remote checks, but it also adds setup steps, subscription or data-plan questions, and firmware considerations that vary by model.
App features, cellular coverage, cloud storage, and notification reliability can change by model, carrier, firmware version, and your exact location. Always confirm current compatibility before buying.
What matters most for public land vs. private land setups
On public land, stealth and theft resistance matter more because you may not be able to check the camera often. Compact cameras, secure lock options, and low-visibility placement are usually more important than premium video features.
On private land, you may have more freedom to place multiple cameras, test different angles, and use a mix of stills and video. That makes it easier to compare travel routes and refine your pattern over time. If you are planning to travel with gear or batteries, it can also help to review general transport rules like whether laptop chargers can go on planes so you are not caught off guard by packing policies.
Best Setup Practices for Getting Big Deer on Trail Camera
Good setup is where most trail camera success comes from. The camera should work with the deer’s movement pattern, not against it, and it should do so without adding unnecessary human pressure to the area.
Height, angle, and distance from trails, scrapes, rub lines, and bedding cover
A common mistake is placing the camera at a height and angle that looks good to people but not to deer. In many setups, mounting slightly above the animal’s body line and angling downward a bit can improve the chance of full-body images, but the exact height depends on terrain, brush, and the target path.
For scrapes and rub lines, place the camera where deer naturally pause or quarter past the lens. Near bedding cover, be more cautious: the closer you are to a bedding area, the easier it is to disturb deer if you check the camera too often or approach from the wrong direction.
Using natural funnels, pinch points, and edge habitat without overpressuring deer
Funnels and pinch points help because deer naturally compress movement into smaller spaces. Think creek crossings, fence gaps, logging roads, field edges, and transitions between thick cover and open feeding areas. These spots increase the odds that a buck will pass within the detection zone.
Edge habitat can be productive, but it can also become overhunted or over-checked. If you keep disturbing the area, mature deer may shift their route or become more nocturnal. The goal is to learn movement patterns while remaining as invisible as possible.
- Set the camera where deer are likely to slow down, not where they will sprint through.
- Use a natural backdrop to hide the camera body and reduce the chance of detection.
- Approach from the least likely deer travel route, especially when checking cards or batteries.
Card and battery prep, timestamp settings, and test shots before deployment
Before deployment, format the memory card in the camera if the manual recommends it, and make sure the battery type matches the manufacturer’s guidance. Mixed or weak batteries can cause inconsistent performance, especially in cold weather.
Check the timestamp, date, and time zone settings so your images tell a usable story. A few test shots can confirm that the camera is aimed correctly and that the sensor is catching the intended lane. This small step often saves days of missed data.
- Check compatibility, model number, app requirements, and supported memory card type.
- Confirm safety guidance, weather resistance, warranty terms, return policy, and update support.
- Verify the camera’s detection range, trigger speed, and battery recommendations in the manual.
Common Mistakes That Keep Big Deer Off Your Camera
Most missed opportunities come from setup errors, not bad luck. If your camera keeps showing empty frames or only catches small deer, the issue is often the angle, timing, or the amount of human disturbance around the site.
Wrong placement, human scent, excessive checking, and poor timing
Wrong placement usually means the camera is pointed at a spot deer pass too quickly or not at all. Human scent and repeated checking can be even worse, especially during periods when deer are sensitive to pressure. If you need to check a camera, do it efficiently and avoid wandering through the area.
Timing matters too. A camera placed after deer have already shifted to a different food source or bedding pattern may not tell you much. Seasonal movement changes, weather, and hunting pressure all influence where mature deer travel.
Overlooking wind direction, sun glare, and vegetation movement
Wind direction affects both your scent and how deer use the area. If the wind consistently carries your odor into the travel lane, mature deer may avoid the spot altogether. Sun glare can also wash out images if the camera faces direct morning or evening light.
Vegetation movement is another hidden problem. Tall grass, swaying branches, and moving weeds can trigger false shots and drain batteries. Trimming only what is necessary, without making the site look disturbed, can improve performance.
Using the wrong sensitivity or burst settings for the season
Sensitivity settings should match the environment. High sensitivity may be useful in open lanes with light cover, but it can create false triggers in windy brush. Lower sensitivity may work better in dense areas where the camera would otherwise fire constantly.
Burst settings can help when a deer moves quickly through the frame, but too many images can fill cards and reduce battery life. If your camera offers video, remember that longer clips can give more context but usually consume more power and storage. For general device behavior and power habits, some readers also compare how settings affect other gadgets, such as in whether low power mode changes charging behavior.
Real-World Benefits and Limitations of Trail Cameras for Deer Hunting
Trail cameras are useful because they turn guesswork into patterns. They can show when deer are active, which routes they prefer, and whether a target buck is using an area at all. But they are still only one source of information.
What trail camera data can reveal about movement patterns and rut timing
Good camera data can reveal travel windows, preferred food sources, and changes in movement before and during the rut. Over time, repeated images may show whether a mature buck is using a route consistently or only passing through under certain conditions.
That information helps you plan when to hunt, which stands to use, and where to focus your time. It can also show whether a scrape line is active or whether an area has shifted from daytime to nighttime movement.
Where camera intel can mislead you or create false confidence
Trail cameras can create false confidence if you assume every buck photo means a daylight opportunity. A camera may capture a deer at night, from a spooked angle, or on a route it only uses briefly. That does not guarantee a huntable pattern.
Camera intel can also be skewed if the setup is too obvious, because deer may alter their behavior around that specific location. In other words, the camera can influence the pattern it is trying to record.
Evidence limits: why photos do not guarantee daylight buck movement
Photos show presence, not certainty. A big deer appearing repeatedly on camera still does not mean it will walk that same lane in daylight or during your planned hunt. Weather, pressure, food availability, and terrain all matter.
That is why experienced hunters treat camera data as a guide rather than a promise. The best use of a camera is to narrow the odds, not to guarantee a shot opportunity.
Maintenance, Safety, and Storage for Seasonal Trail Camera Use
Seasonal trail camera use works best when you maintain the camera like any other outdoor gadget: keep it clean, dry, updated, and stored properly between deployments. Small maintenance habits can prevent missed images and premature wear.
Weatherproofing checks, lens cleaning, firmware updates, and card management
Check the housing, latch, and seals before each deployment. Dirt or moisture around the lens can reduce image quality, and a dirty sensor window can cause glare or haze. Clean only according to the manufacturer’s instructions so you do not damage coatings or seals.
Firmware updates may improve stability or fix bugs, but update availability and process vary by model. Confirm the current instructions on the manufacturer’s support page or in the manual. Memory cards should also be managed carefully: back up important images, then format the card in the camera if the manual recommends it.
Stop using a camera with cracked seals, corrosion, a swollen battery, or damaged contacts. Follow the manufacturer’s replacement guidance instead of forcing the device to keep running.
Battery inspection, replacement guidance, and safe storage between hunts
Inspect batteries for leakage, swelling, or corrosion before reuse. Replace them according to the camera maker’s recommendations, and do not mix old and new batteries if the manual advises against it. Cold-weather performance can vary, so choose the battery type the manufacturer supports for your climate.
When storing the camera, remove batteries if the manual recommends it, keep the device dry, and store memory cards separately if that better protects your files. A simple labeled storage bin helps keep cards, mounts, and straps organized for the next season.
Anti-theft, property rules, and minimizing disturbance in the field
Always follow property rules and local regulations before placing a camera. On shared or public land, avoid setups that block trails or create hazards, and consider lock boxes or other theft deterrents where legal and appropriate.
Minimizing disturbance matters just as much as security. The fewer times you enter a bedding area or high-pressure travel route, the more likely mature deer are to keep using it naturally.
Final Verdict: Who Should Use a Trail Camera to Target Big Deer This Year
Trail cameras are best for hunters and land managers who want pattern data, not instant results. They are especially useful when you can place them carefully, check them sparingly, and read the images as part of a larger scouting strategy.
Best fit for serious hunters, beginners, and land managers
Serious hunters benefit most because they can combine camera data with wind, terrain, and seasonal movement. Beginners can also learn a lot, as long as they do not treat one camera photo as a full plan. Land managers may get the most long-term value because repeated monitoring can show how deer use a property across weeks or months.
Value trade-offs, recommended buying priorities, and when to upgrade
If you are buying for big deer, prioritize trigger speed, recovery time, reliable detection, and battery performance before chasing the highest megapixel count. App connectivity and video can be helpful, but only if you truly need them and your location supports them well.
Upgrade when your current camera consistently misses deer, drains batteries too quickly, or fails in weather conditions you routinely face. Otherwise, a well-placed midrange camera with the right settings often delivers better results than an expensive model used poorly.
Use a trail camera if you want smarter scouting, better timing, and a clearer picture of how mature deer move on your property. Choose a model and setup that match your terrain, then protect the site from pressure so the camera can reveal real patterns instead of forcing new ones.
Frequently Asked Questions
Place the camera on a natural travel route, slightly off the trail, and aim it so the deer stays in frame longer. Keep human scent and checking pressure low so mature bucks do not change their movement.
Trigger speed, recovery time, detection range, and flash type matter more than megapixels alone. Battery performance and weather resistance also matter because they affect reliability over time.
There is no single perfect height, but many setups work better when the camera is slightly above the animal’s body line and angled toward the travel lane. The best height depends on terrain, brush, and the exact route deer use.
Empty photos are often caused by wind-blown vegetation, poor angle, sun glare, or a detection zone that does not match the trail. Low batteries or overly sensitive settings can also create false triggers.
No. A camera can show that a big deer is present, but it cannot guarantee the buck will move in daylight or use the same route during your hunt.
Confirm the battery type, memory card status, timestamp settings, seals, and mounting security before deployment. Also review the manual for firmware updates, weather guidance, and any model-specific app or cellular requirements.