Can You Change O2 Sensor Yourself
Yes, many people can replace an O2 sensor themselves if the part is correct and the sensor is easy to reach. If the threads are rusted, the wiring is damaged, or access is tight, a mechanic is usually the better choice.
Yes, in many vehicles you can change an O2 sensor yourself if you can safely reach it, identify the correct part, and remove it without damaging the exhaust threads or wiring. The job is often manageable for a confident DIYer, but rust, tight packaging, and the wrong replacement part can turn a simple repair into a frustrating one.
For GadgetMakersBlog readers, the real question is not just whether you can replace it, but whether you can do it safely, with the right part, and without creating a larger exhaust or wiring problem. Below is a practical guide to help you decide, prepare, and complete the job with fewer surprises.
- Fitment matters: Verify bank, sensor position, connector style, and thread size before buying.
- Access is the real test: Easy reach and clean threads make DIY much more realistic.
- Safety first: Work only on a cool exhaust and support the vehicle properly if you need.
- Don’t force it: Seized sensors can strip threads or damage the exhaust if pushed too hard.
- Replacement is not always the fix: Exhaust leaks, vacuum leaks, and wiring faults can mimic a bad sensor.
Can You Change O2 Sensor Yourself? Quick Answer, What It Means, and When It Makes Sense
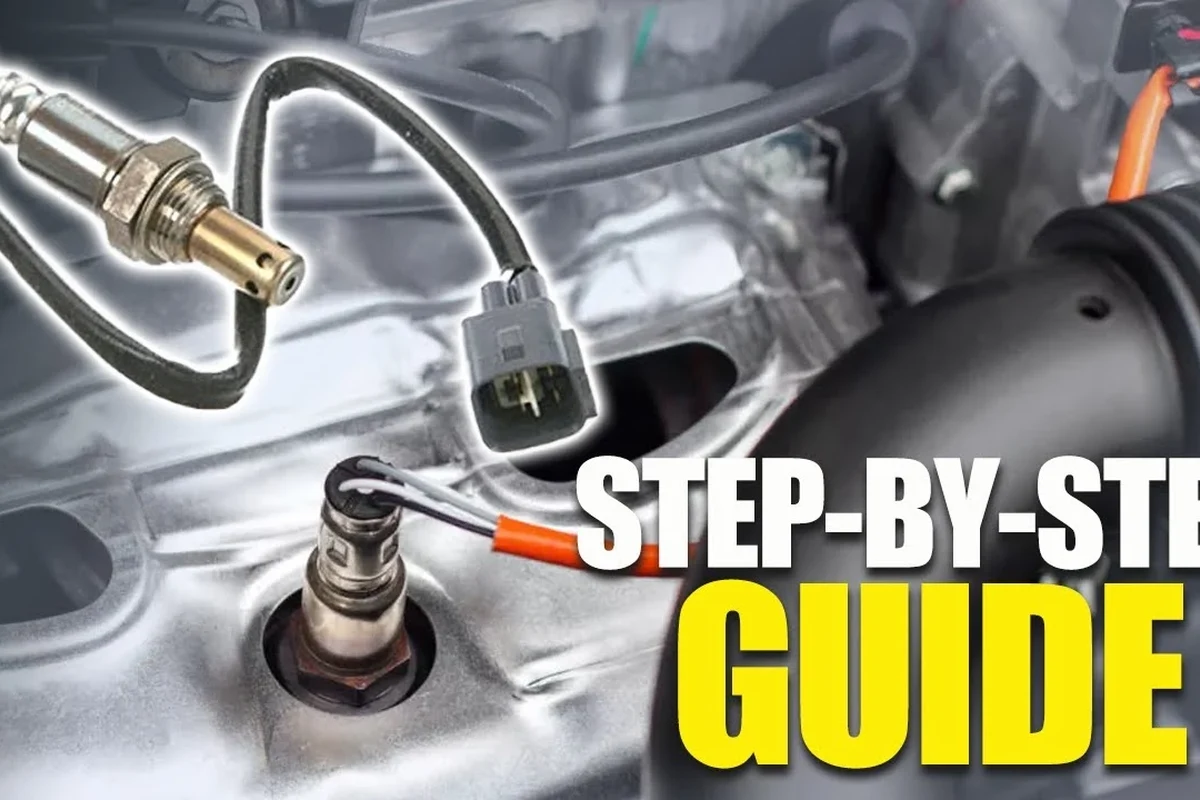
An O2 sensor replacement is one of those repairs that sounds harder than it is on paper. In practice, it becomes a good DIY project when the sensor is visible, the connector is reachable, and the exhaust has not fused the sensor in place with age and corrosion.
- DIY replacement is often possible on many cars and trucks.
- Correct fitment and safe access matter more than general mechanical skill.
- Rust, seized threads, and wiring damage are the main reasons to stop and call a mechanic.
“O2 sensor” can mean different sensors in different locations, and that matters because not every sensor does the same job. A sensor that is easy to reach from under the car may still be the wrong one if you confuse upstream and downstream positions or mix up the bank number.
How an O2 Sensor Works and Why It Matters for Engine Performance
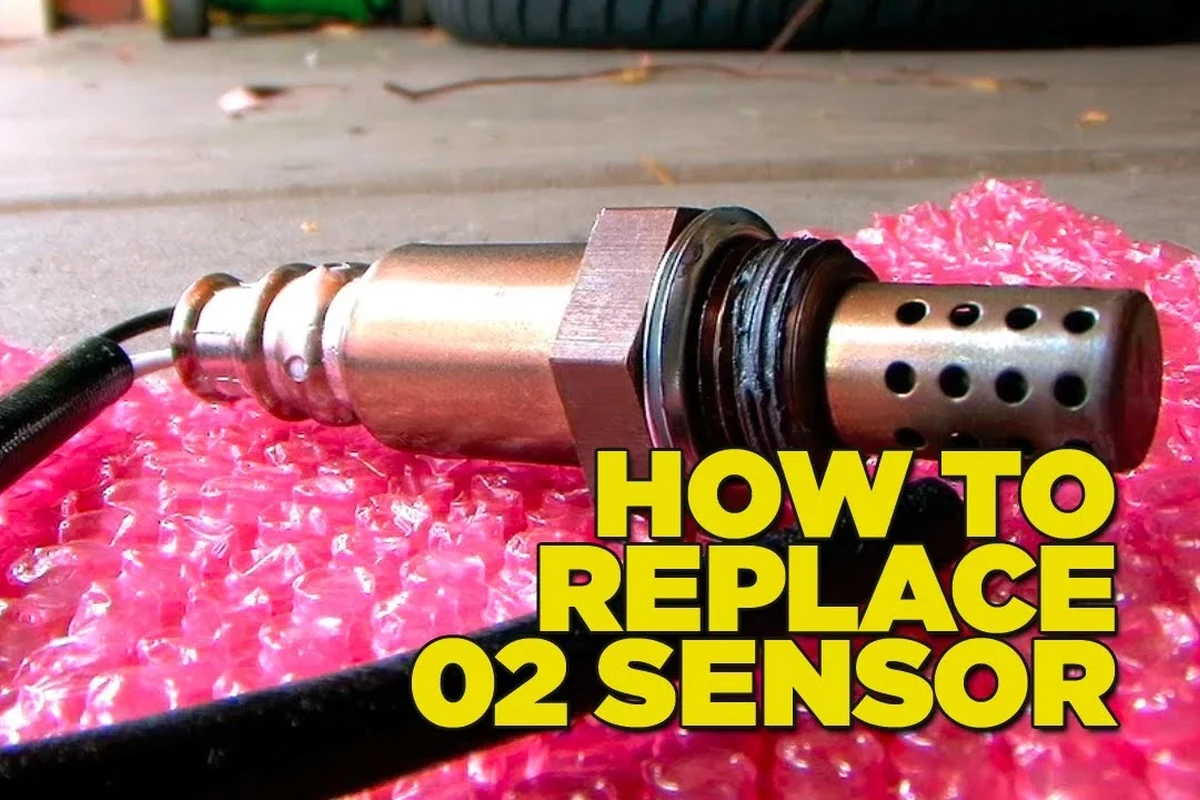
An oxygen sensor monitors the amount of oxygen in the exhaust stream and sends that information to the engine computer. The computer uses that signal to adjust fuel delivery so the engine can run efficiently and keep emissions in check.
When the sensor is working correctly, the engine can fine-tune the air-fuel mixture more accurately. That affects fuel economy, idle quality, emissions output, and whether the check-engine light stays off.
Upstream vs. downstream sensors: what each one does
Upstream sensors are generally located before the catalytic converter and help the engine control fuel mixture in real time. Downstream sensors are usually positioned after the catalytic converter and mainly help monitor converter performance rather than directly control fueling.
Many vehicles use multiple O2 sensors, and the exact count depends on engine layout, emissions design, and model year.
That distinction matters because symptoms and replacement priorities are different. A bad upstream sensor can affect drivability more directly, while a downstream sensor may trigger a warning light without causing obvious performance changes.
How a failing sensor affects fuel economy, emissions, and drivability
A failing O2 sensor can cause the engine computer to overcompensate with fuel, run too rich or too lean, or fall back on less precise default values. That can lead to worse fuel economy, rough idle, hesitation, or a persistent check-engine light.
Emissions can also rise when the sensor is no longer reporting accurately. In some cases, the issue is subtle and only shows up as a fault code; in others, the driver notices reduced smoothness, poor throttle response, or a smell that suggests the mixture is off.
Who Should Replace an O2 Sensor Yourself, and When to Leave It to a Mechanic
This is a repair that rewards patience and basic mechanical confidence. If you are comfortable lifting a vehicle safely, unplugging connectors, and working around hot exhaust parts, you may be a good candidate.
Best fit for confident DIYers with basic tools and safe jack access
DIY replacement makes the most sense if you have the right socket or wrench, a safe way to access the underside of the vehicle, and a clear parts match from the vehicle’s specifications. It is also a better fit if you can verify the exact sensor location before buying anything.
- Confirm the sensor by bank, position, and connector shape before ordering.
- Work only on a fully cooled exhaust system.
- Use jack stands on a stable surface if you need undercar access.
When rust, seized threads, wiring damage, or tight packaging raise the risk
Some vehicles make O2 sensor replacement much harder than others. Rusted exhaust threads, heat-shield interference, melted wiring, broken clips, and cramped engine bays can turn a routine repair into a job that needs specialty tools or professional extraction.
Do not work under a vehicle supported only by a jack, and do not force a seized sensor if the exhaust threads may strip or crack. If the connector, wiring, or sensor body is badly damaged, stop and reassess before continuing.
If the sensor is stuck hard enough that you would need excessive force, heat, or improvised methods, that is usually a sign to pause. Saving a little labor money is not worth damaging the exhaust manifold, catalytic converter, or harness.
What You Need Before Starting: Tools, Parts, Compatibility, and Safety Checks
Before you start, gather the part, the right tool, and the vehicle information. The biggest DIY mistake is buying a sensor that “looks close enough” but does not match the connector, heater style, or location.
Vehicle-specific fitment, sensor type, connector style, and thread size
O2 sensors are vehicle-specific enough that fitment should be checked by year, make, model, engine, and sometimes emissions package. The connector style, wire length, and thread size all need to match the original sensor or the replacement may not install correctly.
Key decision criteria: OEM vs. aftermarket, heated sensors, and bank/sensor location
OEM and aftermarket sensors can both be valid choices, but the quality of fit and calibration can vary by model and supplier. Heated sensors are common on many vehicles, but you should confirm the replacement matches the original sensor’s function rather than assuming any oxygen sensor will work.
Compatibility can vary by trim, engine code, region, and even calibration revisions. Always verify the part number against the official catalog or a trusted vehicle parts lookup before buying.
Bank and sensor location are especially important on V-type engines and vehicles with multiple exhaust paths. A wrong-bank installation may still fit physically but will not solve the fault and may create a second warning code.
Safety essentials: cool exhaust, jack stands, eye protection, and anti-seize guidance
Let the exhaust cool completely before touching anything near the sensor. Wear eye protection, use gloves if needed, and support the vehicle with proper jack stands on level ground if you need underside access.
- Check compatibility by VIN, engine code, bank, and sensor position
- Confirm connector shape, wire length, and thread size
- Review the vehicle manual for torque and installation notes
- Verify safety steps for lifting, cooling, and electrical disconnects
Anti-seize guidance varies by sensor design and manufacturer instructions. Some replacement sensors come pretreated, and adding extra compound where it is not recommended can interfere with the sensor or contaminate the tip, so follow the part instructions rather than assuming it always helps.
Step-by-Step Guide to Changing an O2 Sensor Yourself
The process is usually straightforward: locate the sensor, unplug it, remove it carefully, install the new one, and confirm the code clears. The details matter most when the old sensor is stubborn or the connector is hidden.
Find the correct sensor by tracing the wiring from the exhaust to the plug, then release the connector clip gently so you do not break the locking tab.
Use the correct oxygen sensor socket or wrench and apply steady force rather than jerking the tool. If the sensor resists heavily, stop and reassess instead of forcing the threads.
Thread the sensor in by hand first to avoid cross-threading, then tighten it to the manufacturer’s specification if available.
Use a scan tool if available, or follow the vehicle’s normal drive cycle to see whether the check-engine light stays off and the fault does not return.
Locating the sensor and disconnecting the electrical connector
Start by identifying whether you are replacing the upstream or downstream sensor. The connector is often clipped to the body or engine bay, so trace the harness carefully and release any retainers before trying to twist the sensor itself.
Do not pull on the wires. The connector housing should separate cleanly when the lock is released, but brittle plastic may need extra care on older vehicles.
Removing the old sensor without damaging the exhaust threads
Penetrating oil may help on corroded hardware, but it is not a guarantee. Use the proper socket size and keep the tool aligned so you do not round off the sensor or damage the bung in the exhaust.
If the sensor begins to twist the harness, stop and free the wiring path first. A damaged harness can create a new fault even after the sensor itself is replaced.
Installing the new sensor correctly and torquing to spec
Start the new sensor by hand to ensure the threads engage smoothly. Once it seats properly, tighten it according to the service information if torque data is available for your vehicle.
Stop if the sensor will not thread in smoothly by hand, if the connector does not match, or if the harness is routed near hot or moving parts without proper clips and clearance.
After installation, route the wiring the same way the original was routed, away from the exhaust and any sharp edges. A sensor that works electrically but overheats or rubs through the insulation will not stay reliable for long.
Clearing codes and confirming the repair with a test drive or scan tool
Once the sensor is installed, clear the stored code with a scan tool if you have one. Then drive the vehicle normally and watch for the check-engine light to return, which can indicate either a bad install or a separate issue.
If the code does not clear immediately, that is not always a failure. Some vehicles need a complete drive cycle, while others will require a scan tool to verify that the fault is gone and the readiness monitors are resetting as expected.
Real-World Benefits, Cost Savings, and Practical Trade-Offs
The main reason people do this repair themselves is cost control. Labor can be a large part of the bill, especially if the sensor is easy to replace but requires shop time to diagnose, lift, and access.
Typical labor savings versus the cost of tools and possible complications
DIY savings depend on whether you already own the needed tools and whether the sensor comes out cleanly. If you need to buy a socket, scan tool access, penetrating oil, or specialty tools, the savings shrink quickly.
- Can save labor costs on straightforward jobs
- Usually a manageable repair with basic tools
- Lets you inspect nearby wiring and exhaust components
- Rust and access issues can escalate the repair
- Wrong part selection wastes time and money
- Seized threads can damage expensive exhaust parts
Performance, emissions, and check-engine-light improvements you can expect
If the old sensor was the actual cause of the problem, you may see smoother operation, improved fuel control, and a cleared warning light after the repair is completed correctly. If the light returns, the issue may be elsewhere in the system.
That is why the best DIY outcome is not just “new part installed,” but “new part installed and the root cause confirmed.” A sensor replacement cannot fix exhaust leaks, vacuum leaks, or damaged wiring upstream of the sensor signal.
Common Mistakes, Troubleshooting, and Signs the Job Is Not Going Well
Most DIY problems come from part mix-ups, forced removal, or assuming the sensor is the only issue. Paying attention to symptoms before and after the repair helps separate a true sensor failure from a larger engine or exhaust problem.
Mixing up upstream and downstream sensors or the wrong bank
It is easy to order the wrong sensor when the labels are similar. Bank 1, Bank 2, Sensor 1, and Sensor 2 each point to a specific position, and the wrong one may fit physically but not address the code.
Use the service manual, a parts catalog, or the vehicle’s official information to confirm the exact location. If you are unsure, trace the exhaust path and compare the plug and wire routing before removing anything.
Cross-threading, over-tightening, and damaging wiring harnesses
Cross-threading is one of the biggest avoidable risks. If the sensor does not start by hand, back it out and try again rather than forcing it with a wrench.
Over-tightening can strip threads or make future removal difficult. Wiring damage is another common mistake, especially when the harness is routed too close to the exhaust or left hanging without clips.
When a new sensor does not fix the problem: exhaust leaks, vacuum issues, or bad wiring
If the check-engine light returns after replacement, do not assume the new sensor is defective right away. Exhaust leaks near the sensor, vacuum leaks, damaged connectors, poor grounds, or upstream engine problems can all create similar symptoms.
At that point, a scan tool, visual inspection, and possibly a professional diagnosis may save time. Replacing parts at random is usually more expensive than confirming the fault path first.
Final Recommendation: Is DIY O2 Sensor Replacement Worth It in 2026?
For many drivers, yes—if the sensor is accessible, the part is verified carefully, and the old hardware is not badly corroded. This is one of the more approachable exhaust-related repairs, but it still rewards patience and correct identification more than enthusiasm.
Best-case scenario for doing it yourself
DIY is most worthwhile when the sensor is easy to reach, the connector is intact, and the exhaust threads are in decent shape. In that situation, you can often complete the job with modest tools and a careful step-by-step approach.
When professional service offers better value and lower risk
If the sensor is seized, the wiring is brittle, access is poor, or you are not fully sure which part to buy, a mechanic may be the better value. Paying for professional removal and diagnosis can be cheaper than repairing a stripped bung, broken connector, or misdiagnosed check-engine light.
For most readers, the smartest rule is simple: replace the O2 sensor yourself only when you can verify fitment, reach the part safely, and remove it without force. If any of those three conditions fail, professional service is usually the safer and more economical choice.
Frequently Asked Questions
Often, yes, if the sensor is accessible and you have the correct part and tools. Rust, tight access, and damaged wiring can make the job much harder.
You usually need the correct oxygen sensor socket or wrench, basic hand tools, and a safe way to lift the vehicle if access from underneath is required. A scan tool can help confirm the repair.
Match the vehicle year, make, model, engine, bank, sensor position, connector style, and wire length. Checking the VIN or official parts catalog is the safest way to confirm fitment.
The sensor may physically fit but still fail to solve the check-engine light or drivability issue. On some vehicles, the wrong sensor can also create new fault codes.
Heat and corrosion can seize the threads in the exhaust. If it takes excessive force, it is safer to stop than risk stripping the threads or damaging nearby parts.
The issue may be an exhaust leak, vacuum leak, wiring fault, or another engine problem. A scan tool and careful diagnosis can help confirm the real cause before more parts are replaced.