Can You Test an O2 Sensor with a Multimeter
Yes, a multimeter can test an O2 sensor for heater, power, ground, and some signal checks. It cannot fully verify sensor speed or accuracy, so a scan tool is often the next step if the problem remains.
Yes, you can test an O2 sensor with a multimeter, but only for a few basic checks such as heater resistance, power, ground, and limited signal behavior. A multimeter is useful for quick troubleshooting, yet it cannot fully confirm how well the sensor switches or how accurately it responds under real driving conditions.
- Basic checks only: A multimeter is best for heater resistance, continuity, and power/ground checks.
- Know the sensor type: Narrowband and wideband sensors need different diagnostic approaches.
- Use the wiring diagram: Testing the wrong pin or sensor can lead to a false diagnosis.
- Watch for other causes: Exhaust leaks, vacuum leaks, and fuel issues can mimic a bad O2 sensor.
Can You Test an O2 Sensor with a Multimeter? Yes — But Only for a Few Basic Checks
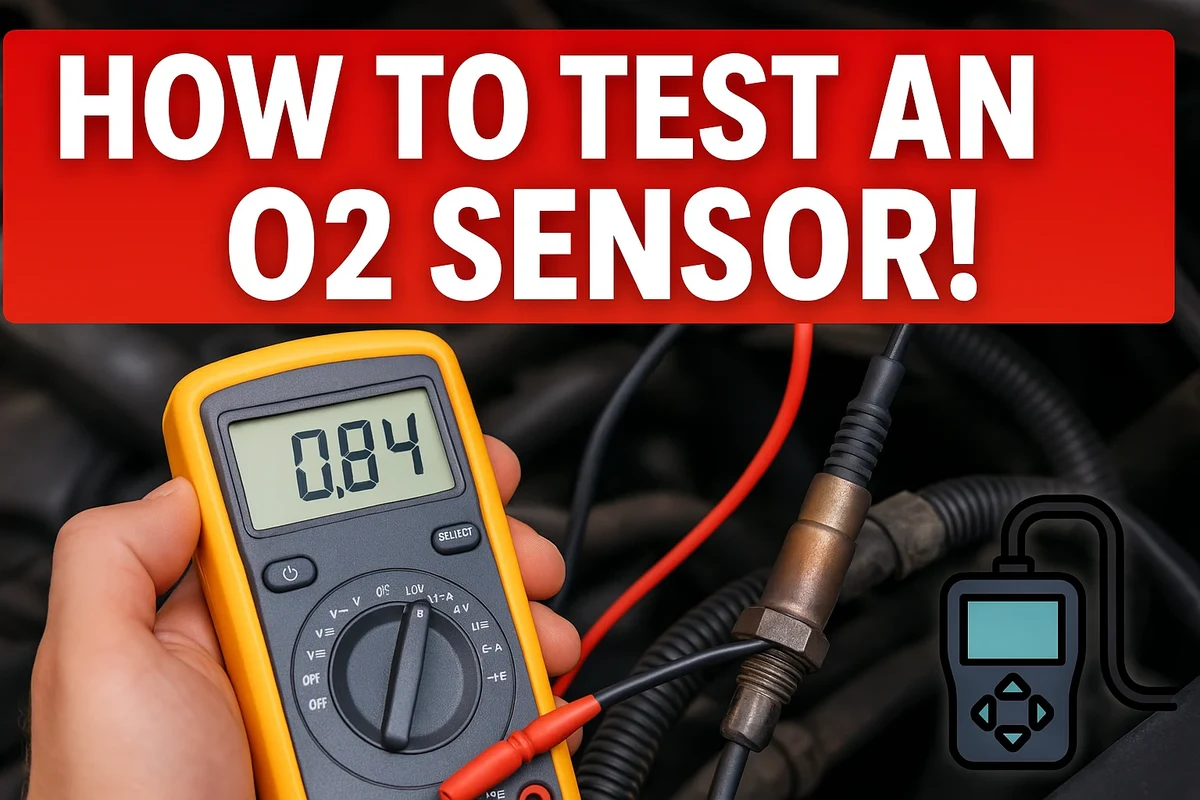
An oxygen sensor, often called an O2 sensor, helps the engine computer adjust fuel delivery by monitoring oxygen in the exhaust stream. A multimeter can help you rule out obvious electrical problems, but it is not a complete diagnostic tool for every sensor type or failure mode.
If you are trying to decide whether the sensor itself is bad, the wiring is damaged, or the problem is actually elsewhere in the fuel-control system, the multimeter is a good first step. For deeper diagnosis, a scan tool or oscilloscope is often the better next move.
How an O2 Sensor Works and What a Multimeter Can Actually Measure
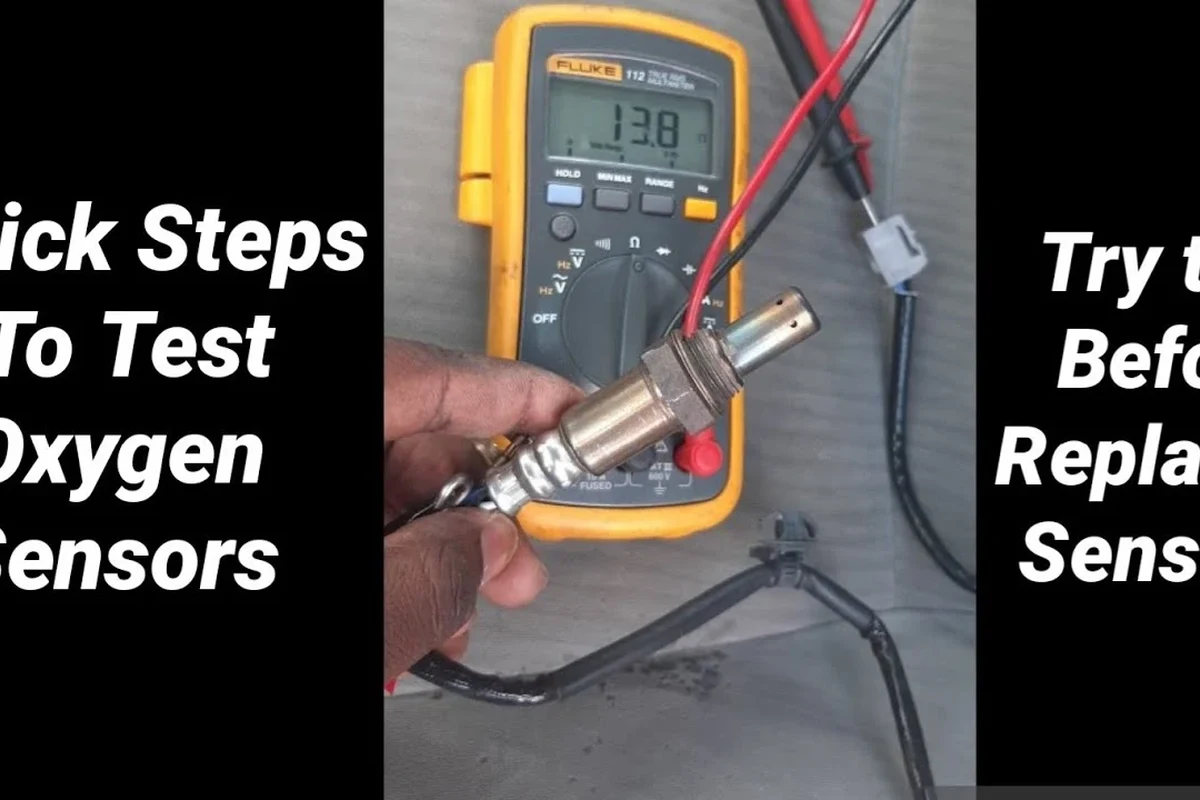
O2 sensors do not all work the same way, and that matters when you choose a test method. Some sensors produce a voltage signal that changes as exhaust oxygen levels change, while others use a different measurement strategy and need more advanced diagnostics.
Voltage signal basics: narrowband vs. wideband sensors
Narrowband sensors are the older, simpler style and are common in many vehicles. They typically switch around a low-voltage range, so a multimeter can sometimes show a changing signal, but the reading may move too slowly to tell you much about performance.
Wideband sensors are more complex and are used in many newer vehicles. They often cannot be evaluated correctly with a basic voltage check alone because the control strategy and signal interpretation are more involved.
Sensor design, wire count, and expected readings vary by vehicle, engine, and model year. Always confirm the exact sensor type in the service information or owner’s manual before testing.
Heater circuit testing: resistance, continuity, and power supply
Many O2 sensors include a heater that brings the sensor up to operating temperature faster. This heater is one of the easiest things to test with a multimeter because you can often check resistance at the sensor and verify power and ground at the harness.
If the heater circuit is open, shorted, or missing power, the sensor may stay cold too long and send weak or slow signals. That can trigger drivability issues even when the sensor element itself is not completely failed.
When a Multimeter Is Enough and When You Need a Scan Tool or Oscilloscope
A multimeter is enough when you want to check whether the heater circuit is intact, whether the connector has power and ground, or whether the signal wire shows at least some movement. It is also useful for spotting wiring faults, corrosion, or a dead circuit before you spend time on more advanced diagnostics.
However, if the vehicle has a check engine light, fuel trim problems, or a complaint that comes and goes under load, a scan tool usually gives more useful context. It can show live data, fuel trims, and sensor behavior in a way that a simple meter cannot.
Symptoms that point to sensor, wiring, or fuel-control problems
Common symptoms include poor fuel economy, rough idle, hesitation, failed emissions tests, and diagnostic trouble codes related to mixture or sensor performance. Those symptoms do not automatically mean the O2 sensor is bad, because vacuum leaks, exhaust leaks, bad injectors, and ignition problems can create similar signs.
- Check for exhaust leaks before blaming the sensor.
- Inspect the connector for corrosion or melted insulation.
- Review fuel trim data if you have a scan tool available.
What a multimeter cannot verify about sensor switching speed and accuracy
A multimeter may show that a sensor has voltage, but that does not prove the sensor is reacting fast enough or accurately enough. It also cannot always show brief dropouts, lazy switching, or subtle waveform problems that a scan tool or oscilloscope can reveal.
That limitation matters because an O2 sensor can still look “alive” on a meter and yet perform poorly under real engine conditions. If basic checks pass but the symptom remains, deeper testing is the better path.
Step-by-Step Guide to Testing an O2 Sensor with a Multimeter
The safest approach is to test the sensor in stages: inspect the connector, check the heater circuit, then evaluate the signal with the engine running. Use the vehicle’s wiring diagram whenever possible so you test the correct wires.
Exhaust components can become very hot, and moving engine parts can create injury risk. Work on a cool engine when possible, keep clothing and leads clear of belts and fans, and follow the manufacturer’s safety instructions.
Safety precautions before you start
Park on a flat surface, set the parking brake, and shut the engine off before opening connectors or checking resistance. If you need the engine running for signal checks, keep clear of the fan, belts, and hot exhaust parts.
Use a meter with intact leads and the correct setting for each test. A quick pre-check of the meter helps prevent false readings and accidental damage.
Locating the correct wires and checking the connector
Identify the sensor by bank and location before probing anything. Many vehicles have multiple O2 sensors, and the upstream and downstream sensors serve different roles, so the wrong one can lead you to the wrong conclusion.
Inspect the connector for broken locks, bent pins, water intrusion, corrosion, or heat damage. If the connector looks damaged, fix that issue first because a bad connection can mimic a failed sensor.
Match the sensor to the correct bank and position using the service information or wiring diagram.
Look for corrosion, loose terminals, or melted insulation before measuring anything.
Use the diagram to identify heater power, heater ground, and signal wires so you do not test the wrong circuit.
Testing heater resistance and power/ground at the harness
With the sensor unplugged and the ignition off, check heater resistance across the heater terminals if the service data provides a specification. A reading that is open or far outside the expected range can indicate a failed heater element.
Next, check for power and ground at the harness side with the ignition on if the vehicle design calls for it. If power or ground is missing, the problem may be in the wiring, fuse, relay, or engine control circuit rather than the sensor itself.
Checking signal voltage changes with the engine running
For a narrowband sensor, a basic voltage check may show the signal moving as the engine warms up and fuel control changes. The exact numbers vary, but the point is to see some change rather than a fixed, dead reading.
For wideband sensors, a multimeter may not provide a meaningful picture of performance. In those cases, a scan tool that can read live sensor data is usually a better choice than trying to interpret a single voltage number.
Key Specifications and Decision Criteria to Know Before You Test
Before you start, make sure you know what kind of sensor you are dealing with and what the manufacturer expects from the circuit. That saves time and reduces the chance of misdiagnosis.
Sensor type, wire count, and vehicle compatibility
Vehicle compatibility is not just about fitment; it also affects test method. A sensor that physically fits may still use a different signal strategy or connector layout, so the wiring diagram matters more than guesswork.
Wire count is a useful clue, but it is not enough by itself. Some sensors have similar-looking plugs while using different heater or signal arrangements.
Expected voltage ranges, resistance values, and response behavior
Do not rely on a universal voltage number for every O2 sensor. The acceptable range depends on the sensor design, engine operating condition, and whether you are checking upstream or downstream behavior.
Resistance values also vary, which is why the service manual is the best reference. If the manual is unavailable, treat a clearly open, shorted, or unstable reading as suspicious rather than assuming a generic “good” number.
Tool quality: meter accuracy, probe tips, and lead condition
A basic multimeter is often enough for continuity, resistance, and simple DC voltage checks, but lead condition matters a lot. Worn probe tips, broken insulation, or loose banana plugs can create misleading results.
Stop using damaged meter leads, cracked probes, or loose connectors. Poor test tools can create false readings and increase the risk of accidental shorts.
Common Mistakes That Lead to False Readings
Most bad O2 sensor diagnoses come from testing errors, not from the meter itself. A careful setup usually matters more than an expensive tool.
Testing the wrong sensor or the wrong wires
Upstream and downstream sensors do different jobs, and bank 1 is not the same as bank 2. If you test the wrong sensor, the readings may look confusing even though the part you measured is normal.
Likewise, signal and heater wires can be easy to mix up on a multiwire connector. Always verify the pinout before probing.
Ignoring exhaust leaks, vacuum leaks, or fuel trim issues
An exhaust leak near the sensor can pull in outside air and distort readings. Vacuum leaks and fuel delivery problems can also make the engine computer react in ways that look like a sensor fault.
If the sensor test seems borderline, check the engine’s air and fuel system before replacing parts. That approach often saves money and prevents repeat failures.
Misreading a cold sensor or a bad ground as a failed O2 sensor
Many sensors need to warm up before they produce a useful signal. A cold sensor can look inactive even when it is working normally.
A bad ground can also create a reading that seems dead or unstable. If power and resistance look wrong, verify the circuit before condemning the sensor element.
Safe Use, Maintenance, and Care for Your Multimeter and Sensor Connectors
Good test habits protect both the vehicle and your meter. Small mistakes, like forcing a probe into a terminal or leaving a lead in the wrong jack, can damage the connector or the tool.
Inspecting leads, fuses, and insulation before each test
Check the meter leads for cuts, exposed wire, or loose tips. Also confirm the meter fuse is intact if you plan to measure current, though current testing is usually not needed for basic O2 sensor diagnosis.
If the meter has a damaged lead or a questionable jack, replace or repair the accessory before continuing. Accurate diagnosis depends on reliable contact.
How to avoid damaging the connector, back-probe points, or sensor wiring
Use proper back-probe methods when possible instead of forcing oversized probes into the connector face. Gentle contact reduces the chance of spreading terminals or breaking the seal.
Do not pierce insulation unless the service procedure specifically allows it and you can reseal the wire afterward. Unsealed damage can create future corrosion or intermittent faults.
Storage and replacement guidance for worn meter accessories
Store the multimeter in a dry place away from heat, oil, and sharp tools. Keep the leads coiled loosely so the insulation does not crack prematurely.
If the probe tips are bent, the insulation is brittle, or the meter readings seem inconsistent, replace the accessories before the next diagnostic job. Consistent tools make O2 testing much more trustworthy.
Is Testing an O2 Sensor with a Multimeter Worth It? Final Recommendation by User Type
For many DIY owners, the answer is yes. A multimeter is a practical first tool because it can quickly confirm heater circuit health, basic power and ground, and some signal movement without requiring advanced equipment.
DIY owners, beginner mechanics, and budget-conscious troubleshooting are the best fit for multimeter-based O2 checks, as long as they confirm the sensor type and use the wiring diagram. The main limitation is that a meter cannot fully judge sensor speed or real-world accuracy.
Best fit for DIY owners, beginner mechanics, and budget diagnostics
If you are trying to avoid unnecessary parts replacement, a multimeter gives you a sensible starting point. It is especially helpful when the problem could be a broken heater, bad connector, or wiring issue rather than the sensor itself.
It is also a useful learning tool because it teaches you how the sensor circuit is supposed to behave. That makes later diagnostics easier and more confident.
Limitations, alternatives, and the most reliable next diagnostic step
If the basic tests pass but the vehicle still runs poorly, the next step is usually a scan tool with live data. That lets you compare O2 behavior with fuel trims, engine temperature, and other inputs that affect mixture control.
When the diagnosis remains unclear, an oscilloscope or professional-grade scan tool can reveal speed, waveform quality, and intermittent dropouts that a multimeter may miss. For the most reliable result, combine the electrical checks with the vehicle’s service information and a broader engine-system inspection.
- A multimeter is useful for heater, power, ground, and basic signal checks.
- It cannot fully verify switching speed, waveform quality, or wideband sensor performance.
- Always confirm the exact sensor type and wire pinout before testing.
- If basic checks pass but symptoms remain, move to a scan tool or oscilloscope.
Frequently Asked Questions
It can help identify heater, power, ground, and basic signal problems, but it cannot fully confirm sensor speed or accuracy. If the readings are unclear, a scan tool or oscilloscope is a better next step.
There is no single universal reading for every sensor because values vary by sensor type and vehicle. Use the service manual for the exact resistance or voltage specification.
Yes, you can test heater resistance and some harness checks with the engine off. Signal checks usually require the engine running and warmed up.
A basic multimeter can sometimes confirm power, ground, or heater issues, but it usually cannot fully evaluate wideband sensor performance. A scan tool is often more useful for live data.
The issue may be elsewhere, such as an exhaust leak, vacuum leak, fuel trim problem, injector issue, or ignition fault. A sensor can test okay electrically and still be affected by another engine problem.
Identify the correct sensor and wire pinout using the service information, then inspect the connector for heat or corrosion damage. Work on a cool engine when possible and avoid forcing probes into the terminals.