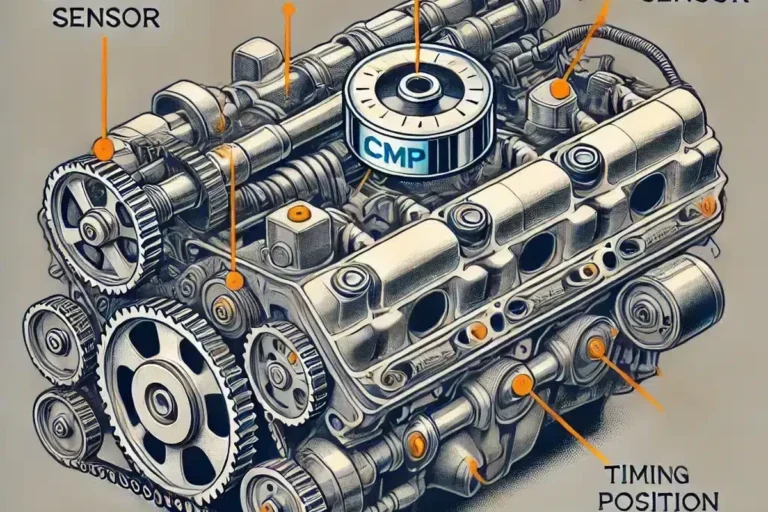
Can a Camshaft Position Sensor Be Cleaned
Yes, a camshaft position sensor can sometimes be cleaned if the problem is external contamination on the sensor or connector. If the sensor has internal damage or the code returns, replacement is the better fix.
If you’re asking whether a camshaft position sensor can be cleaned, the short answer is yes—sometimes. Cleaning may help when the sensor or its connector has light oil, grime, or corrosion on the outside, but it will not fix an internally failed sensor.
- Cleaning helps only sometimes: It works best for oil, grime, or light corrosion on the outside.
- Connector issues matter: A damaged or dirty plug can mimic a bad sensor.
- Internal failure needs replacement: Cracks, heat damage, or repeat codes usually mean the sensor is done.
- Use the manual: Sensor location, removal steps, and cleaner compatibility vary by vehicle.
- Fix leaks first: If oil keeps coming back, the same symptom will likely return.
Can a Camshaft Position Sensor Be Cleaned? Quick Answer and When It Makes Sense
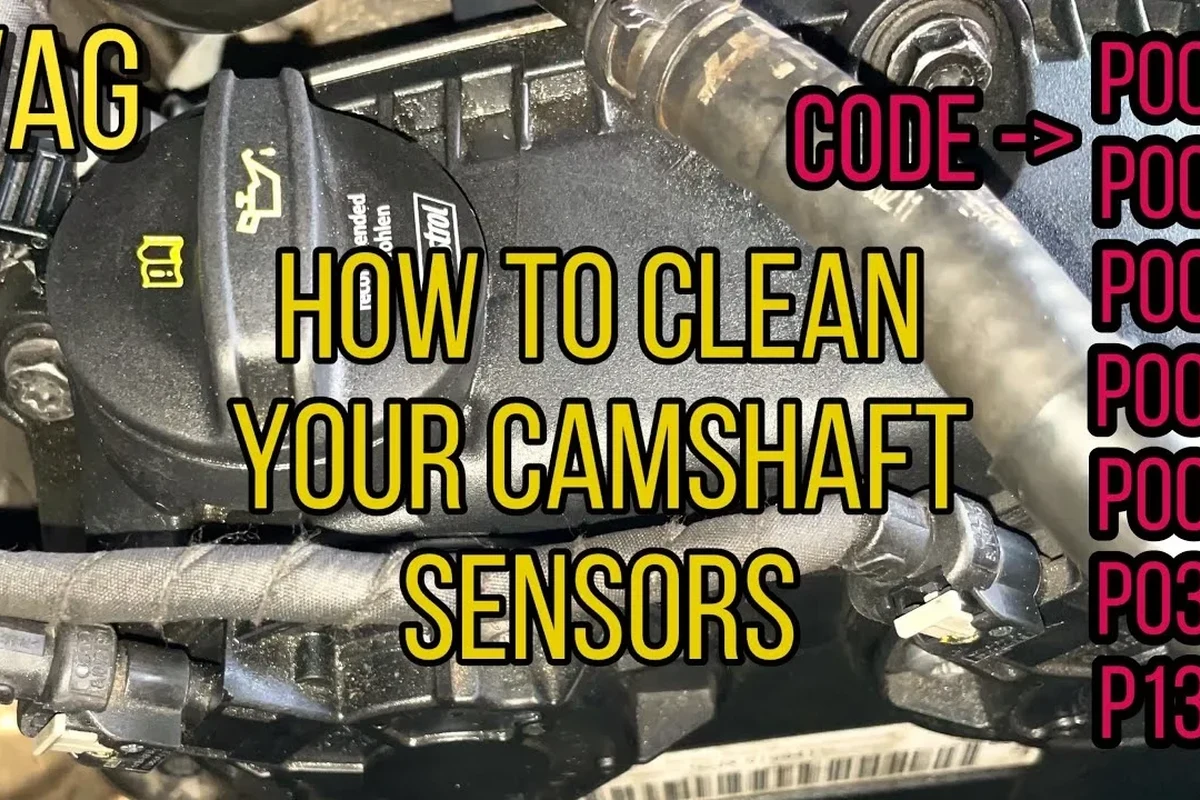
In many cases, a camshaft position sensor can be cleaned carefully, especially if the problem is contamination on the housing, connector, or nearby wiring. The key is to treat cleaning as a limited troubleshooting step, not a guaranteed repair.
Cleaning makes the most sense when the sensor is still electrically intact, the connector pins are only lightly dirty, and you suspect oil seepage, dust, or moisture intrusion. If the sensor has internal damage, heat failure, cracked plastic, or persistent fault codes after cleaning, replacement is usually the smarter move.
What a Camshaft Position Sensor Does in 2026 Vehicles
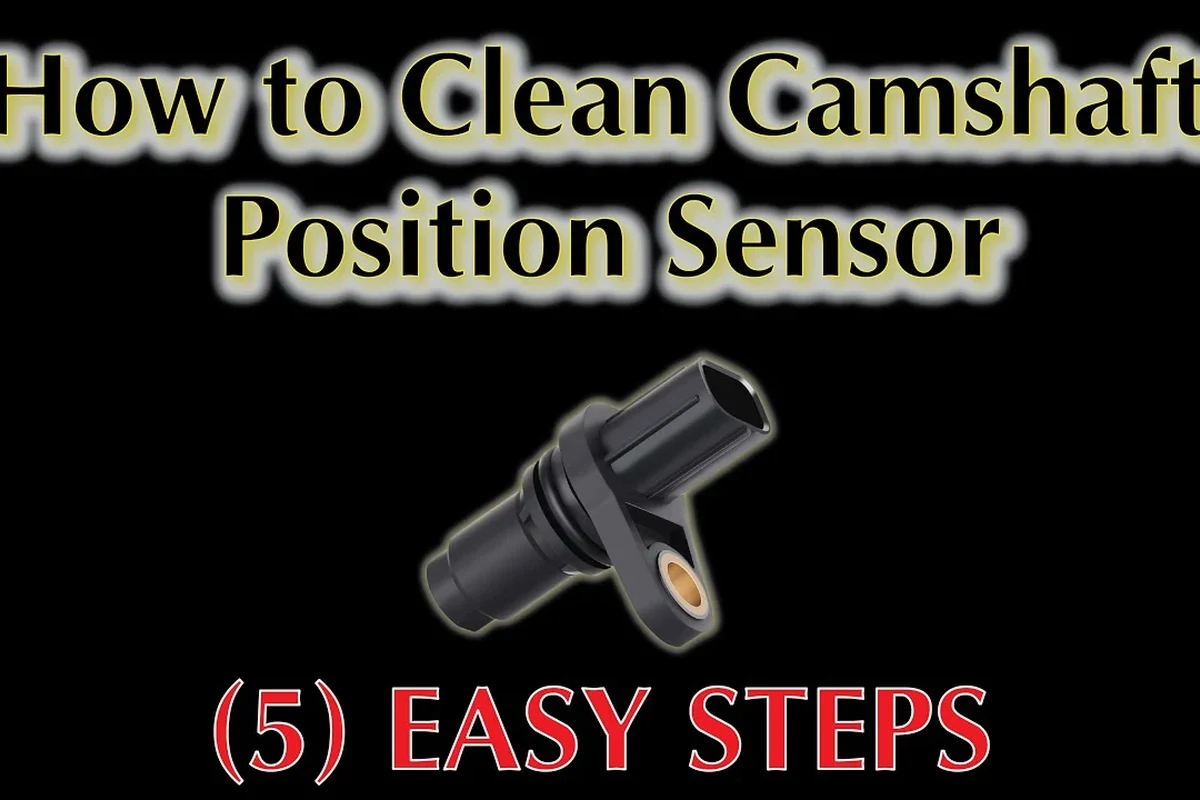
The camshaft position sensor helps the engine control unit, or ECU, understand where the camshaft is in its rotation. That information supports fuel injection timing, ignition timing, and engine synchronization.
Modern vehicles may use the sensor together with the crankshaft sensor to confirm engine position more accurately. If either signal becomes unreliable, the ECU may struggle to keep the engine running smoothly.
How the sensor works with the ECU and crankshaft sensor
The camshaft sensor sends timing data to the ECU, which compares it with crankshaft position data. Together, those readings help the engine know which cylinder is on the compression stroke and when to fire fuel and spark.
Because the system depends on precise timing, even a weak or noisy signal can create drivability issues. That is why a dirty connector, damaged wiring, or oil contamination can sometimes look like a sensor failure.
Why contamination can trigger performance issues
Camshaft sensors are often mounted near the valve cover, timing cover, or cylinder head, where heat and oil exposure are common. Over time, oil leaks, road grime, and moisture can collect around the sensor body or electrical connector.
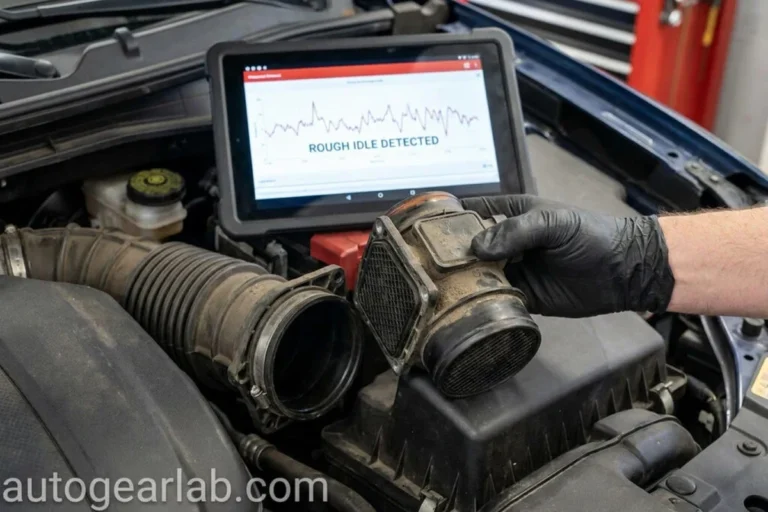
Contamination does not always ruin the sensor, but it can interfere with the electrical signal or create a poor connection. In some vehicles, that may lead to rough idle, hesitation, or a check engine light.
Symptoms and fault-code behavior vary by vehicle make, engine design, and sensor type. Always confirm the diagnostic trouble codes and service procedure in the official manual for your specific model.
Signs a Camshaft Position Sensor Needs Attention
Before assuming the sensor is bad, it helps to look at the full symptom pattern. A camshaft sensor issue often overlaps with ignition, fuel, wiring, or crankshaft sensor problems.
Common symptoms drivers notice before a failure
Drivers may notice hard starting, intermittent stalling, rough idle, reduced power, poor acceleration, or a check engine light. Some vehicles also show longer cranking times or occasional misfires.
These symptoms can appear only when the engine is hot, after rain, or during stop-and-go driving. That pattern can point to heat-sensitive electronics or moisture in the connector.
When cleaning may help versus when replacement is smarter
Cleaning is worth trying when you can see oil residue, dust buildup, or mild corrosion on the connector exterior and the sensor still appears physically intact. It is also reasonable when the issue started after an oil leak or recent engine work.
Replacement is usually smarter if the sensor has cracked housing, bent terminals, melted plastic, internal contamination, or repeat codes after cleaning. If the wiring harness is damaged, cleaning the sensor alone will not solve the problem.
- Inspect the connector first; many “sensor” problems are actually connector or wiring issues.
- Look for oil leaks above the sensor, since fresh contamination often returns quickly if the leak is not fixed.
- Use the vehicle’s service information to confirm whether the sensor is removable without disturbing timing components.
How to Clean a Camshaft Position Sensor Safely
Cleaning should be gentle and targeted. The goal is to remove dirt or residue without damaging the sensor element, seals, or electrical terminals.
Tools, cleaners, and inspection steps
Typical supplies include a clean rag, a soft brush, dielectric grease for the connector seal if the manufacturer allows it, and an electronics-safe cleaner that evaporates cleanly. Avoid harsh solvents unless the vehicle service manual specifically approves them.
Before removing anything, inspect the sensor location, connector lock, harness routing, and surrounding oil leaks. If the connector is brittle or the pins are heavily corroded, cleaning may be limited in value.
- Confirm the exact sensor location and connector style in the service manual.
- Check for oil leaks, damaged harness clips, heat damage, and corrosion.
- Verify the correct replacement part number if cleaning does not solve the issue.
Step-by-step removal, cleaning, and reinstallation
Turn the vehicle off and follow the manufacturer’s battery-disconnect guidance if the service procedure calls for it.
Release the tab carefully and avoid pulling on the wires. Inspect the terminals for oil, dirt, or green corrosion.
Take out the mounting fastener and lift the sensor straight out to avoid damaging the seal or tip.
Use a sensor-safe cleaner on the exterior and connector area, then let everything dry fully before reinstalling.
Seat the sensor properly, reconnect the plug, and verify that the harness is routed away from heat and moving parts.
Safety limits and mistakes to avoid
Do not scrape the sensing tip, soak the sensor in aggressive chemicals, or pressure-wash the area. Those habits can damage seals, wash contamination deeper into the connector, or break a fragile sensor body.
Also avoid forcing the connector latch or overapplying grease. Too much grease or liquid cleaner can interfere with the terminal contact if it reaches the wrong area.
If the sensor is near hot engine parts, let the vehicle cool before working. Stop if the connector is melted, the wiring insulation is brittle, or the sensor is stuck in a way that might crack the housing.
What Cleaning Can and Cannot Fix
Cleaning can solve contamination-related problems, but it cannot repair worn electronics. That distinction matters because camshaft sensors often fail internally without obvious external damage.
Best-case results and real-world benefits
When contamination is the root cause, cleaning may restore a stable signal and clear intermittent drivability symptoms. It can also help you confirm whether the original issue was the sensor, the connector, or something else nearby.
For DIY owners, that makes cleaning a useful low-cost diagnostic step before replacing parts. It may save money when the sensor itself is still healthy.
Limitations, hidden damage, and evidence gaps
Cleaning will not repair worn magnetic elements, heat-damaged circuitry, or a sensor that has already drifted out of specification. It also will not fix an ECU problem, a broken reluctor wheel, or timing-related mechanical issues.
There is also a practical evidence gap: many symptoms that look like a bad camshaft sensor are caused by related systems. That is why a scan tool, service manual, and connector inspection matter more than guesswork.
On many engines, the camshaft sensor and crankshaft sensor work as a pair. A fault in one can make the other look suspicious even when only one component is actually bad.
How to Decide Between Cleaning, Testing, and Replacing
The best choice depends on the sensor’s age, the condition of the connector, and whether the fault returns after a basic cleaning. A simple visual inspection is often not enough.
Decision criteria: age, mileage, fault codes, and connector condition
If the sensor is older, exposed to heat, or has high mileage, replacement may be more efficient than repeated cleaning. If the scan tool shows camshaft-related codes that return immediately, the odds of an internal fault go up.
Connector condition matters too. A clean sensor with corroded terminals, loose pins, or oil inside the plug is still a problem until the connection is repaired.
Compatibility, fitment, and quality differences in replacement sensors
Replacement sensors are not all interchangeable, even when they look similar. Fitment can vary by engine code, production date, connector design, and calibration requirements.
When buying a replacement, confirm the exact part number, connector style, and vehicle compatibility list. Quality can also vary by manufacturer, so it is worth checking warranty terms and return policy before installation.
Maintenance Tips to Extend Sensor Life
Camshaft sensors last longer when the engine stays clean, dry, and properly sealed. Most long-term problems come from heat, oil leaks, or wiring stress rather than normal use alone.
Preventing oil leaks, heat damage, and wiring issues
Fix valve cover leaks, timing cover leaks, and damaged gaskets promptly so oil does not migrate into the sensor area. Keep harness clips in place so the wiring does not rub against hot or moving components.
If the engine bay is routinely exposed to heat, moisture, or road salt, inspect the connector and wire insulation more often. Small cracks or loose clips can become larger electrical problems over time.
- Simple cleaning can solve minor contamination issues
- Early inspection may prevent unnecessary part replacement
- Cleaning cannot fix internal sensor failure
- Repeated oil leaks can make the same problem return
Inspection intervals and storage guidance for spare sensors
There is no universal inspection interval for every vehicle, so follow the maintenance schedule and service guidance for your model. If you keep a spare sensor, store it in its packaging or a clean anti-static-safe container in a dry place away from heat and oil.
Before installing a spare, inspect the pins, seal, and housing for shipping damage or contamination. A clean spare is only useful if it is also the correct part number and in good physical condition.
Final Recommendation: Is Cleaning Worth It?
Cleaning a camshaft position sensor is worth trying when the issue looks contamination-related and the sensor is otherwise intact. It is a reasonable first step for DIY owners, especially if you can clearly see oil, grime, or connector corrosion.
If the problem returns, the sensor is physically damaged, or scan data points to an electrical failure, replacement and proper diagnosis are the better path. When in doubt, use the vehicle’s official service information or a qualified mechanic so you do not replace the wrong part.
Best use cases for DIY owners and when to call a mechanic
DIY cleaning makes the most sense for owners comfortable with basic under-hood inspection, connector handling, and careful reassembly. Call a mechanic if the sensor is hard to access, the engine has timing-related codes, or the wiring and oil leak situation needs deeper diagnosis.
Frequently Asked Questions
Yes, if the issue is light contamination on the sensor body or connector. Cleaning will not fix an internally failed sensor, so repeat symptoms usually mean replacement is needed.
Use an electronics-safe cleaner that evaporates cleanly and follow the vehicle service manual. Avoid harsh solvents unless the manufacturer specifically approves them.
Common symptoms include rough idle, hard starting, stalling, hesitation, reduced power, and a check engine light. These symptoms can overlap with other engine or wiring problems.
If the fault was caused by contamination, the engine may run more smoothly and related codes may stop returning. A scan tool and follow-up inspection are the best way to confirm the result.
Replace it if the housing is cracked, the connector is damaged, corrosion is severe, or the code returns after cleaning. Replacement is also smarter when the sensor is old or heat-damaged.
Yes, a loose, corroded, or oil-soaked connector can mimic a failed sensor. That is why inspecting the wiring and terminals is just as important as checking the sensor itself.