Can Knock Sensor Cause No Start
Yes, a knock sensor can cause a no-start in some vehicles, but it is usually not the first or most likely cause. If the engine cranks but will not start, check fuel, spark, battery, crankshaft sensor, and immobilizer systems first.
A knock sensor can sometimes contribute to a no-start condition, but it is not a common first suspect. In most vehicles, a bad knock sensor causes poor performance, reduced power, or a check engine light long before it prevents the engine from starting.
- Not the usual culprit: Bad knock sensors more often cause power loss, pinging, or a check engine light.
- Check the whole system: Wiring faults and ECU issues can mimic a failed sensor.
- Crank-no-start clues matter: Fuel, spark, and crankshaft sensor problems are usually higher priority.
- Fitment is critical: Verify connector, thread, torque, and engine code before replacement.
Can a Knock Sensor Cause a No-Start Condition? The Short Answer and What It Usually Means
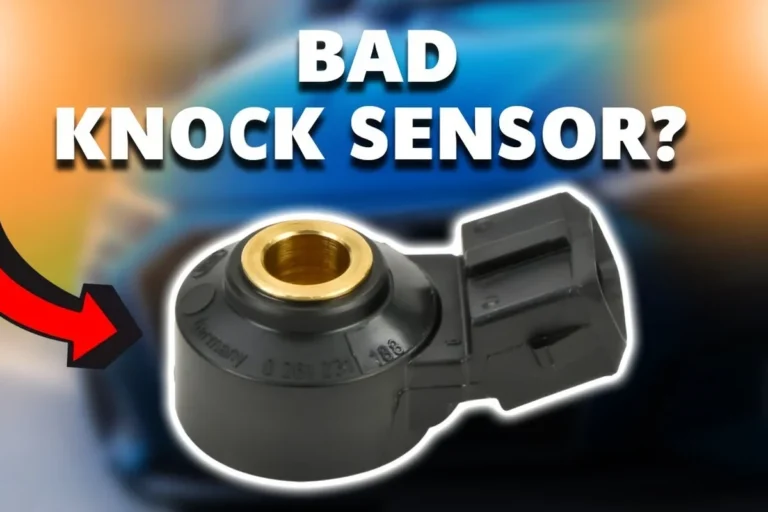
Yes, but only in limited cases. A knock sensor usually helps the engine control unit protect the engine from detonation by adjusting ignition timing, so a fault in that circuit more often leads to drivability problems than a complete no-start.
If the engine cranks normally but will not fire, the root cause is often elsewhere: battery, starter, fuel delivery, crankshaft position sensor, ignition, immobilizer, or wiring. A knock sensor problem becomes more plausible when the vehicle has additional symptoms, stored trouble codes, or a specific engine design that depends heavily on that signal for safe timing control.
How a Knock Sensor Works in 2026 Vehicles and Why It Matters to Starting
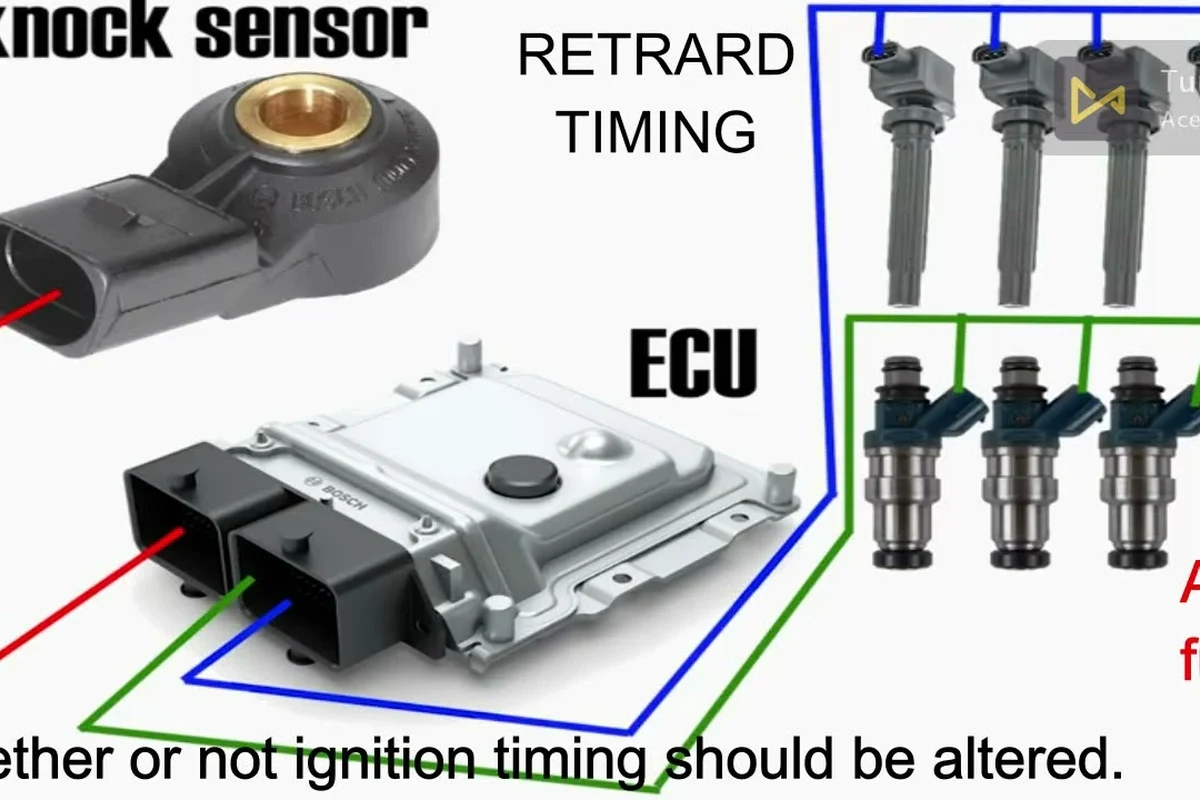
A knock sensor listens for abnormal engine vibration that can indicate spark knock or detonation. The engine computer uses that signal to adjust ignition timing and, on some engines, fuel strategy to keep the engine safe and efficient.
Sensor signal basics, ECU timing control, and what happens when the signal is missing
When the sensor signal is healthy, the ECU can fine-tune timing in real time. If the signal is missing or implausible, the ECU usually falls back to a conservative default map rather than shutting the engine down immediately.
That fallback is why many vehicles still start with a failed knock sensor. However, if the wiring is shorted, the sensor circuit is pulling down a shared reference, or the ECU sees a fault it treats as critical on that platform, starting behavior can be affected.
Exact behavior varies by engine family, ECU calibration, and model-year design. Always check the factory service information or owner’s manual for the specific fault strategy used on your vehicle.
Why a bad knock sensor usually causes drivability issues before a true no-start
Most failures show up as reduced throttle response, hesitation under load, lower fuel economy, or a noticeable loss of power. Some engines may also run overly conservative timing, which can make them feel sluggish but still drivable.
A complete no-start is more likely when the problem is not just the sensor element itself but the surrounding circuit. That includes damaged wiring, a failed connector, water intrusion, or an ECU issue that affects more than knock detection.
Signs the Knock Sensor Is the Real Problem vs. a Coincidental No-Start
To avoid replacing the wrong part, look at the full symptom pattern. A knock sensor fault usually leaves clues in the code set, engine behavior, and how the vehicle reacts before and during cranking.
Common symptoms: check engine light, reduced power, pinging, rough idle, hard starting
Common signs include a check engine light, pinging or spark knock under acceleration, reduced engine power, and occasional rough idle. Some drivers also notice hard starting or extended cranking, especially if the ECU is pulling timing too far back or the engine has multiple faults at once.
Still, rough idle and hard starting are not specific to the knock sensor. They can also come from vacuum leaks, weak fuel pressure, worn plugs, or a failing crankshaft position sensor.
- Check whether the engine cranks strongly before blaming the sensor.
- Look for a code history, not just a current warning light.
- Compare symptoms with the exact engine family in the service manual.
When to suspect fuel, spark, crankshaft sensor, battery, or immobilizer instead
If the engine does not crank at all, start with the battery, terminals, starter, and immobilizer system. If it cranks but never catches, the crankshaft position sensor, fuel pump, fuel pressure, ignition coils, and spark delivery deserve priority.
Immobilizer faults often show a security light or a start-and-stall pattern. A bad knock sensor alone usually does not prevent the engine from cranking, so a silent or dead-start condition often points elsewhere.
Diagnostic Steps to Confirm or Rule Out a Knock Sensor Failure
The safest approach is to diagnose the no-start in layers. Confirm whether the engine cranks, whether it has spark and fuel, and whether the ECU is reporting a knock sensor circuit fault before replacing parts.
OBD-II trouble codes, live data checks, and wiring inspection
Start with an OBD-II scan tool and read both current and pending codes. Knock sensor-related codes can help distinguish a sensor fault from a wiring issue or from a broader engine management problem.
Live data may show timing advance, knock retard, or sensor circuit behavior depending on the vehicle. If the data looks implausible or the code returns immediately after clearing, that supports a real circuit problem rather than a one-time glitch.
Read codes and freeze-frame data before disconnecting anything so you do not erase useful clues.
Confirm battery voltage, cranking speed, fuel delivery, and spark before focusing on the knock sensor.
Trace the harness, connectors, and mounting area for damage, corrosion, or heat exposure.
Visual checks for heat damage, corrosion, loose connectors, and harness strain
Knock sensors often live on or near the engine block, where heat and vibration are constant. That makes the connector and harness just as important as the sensor body itself.
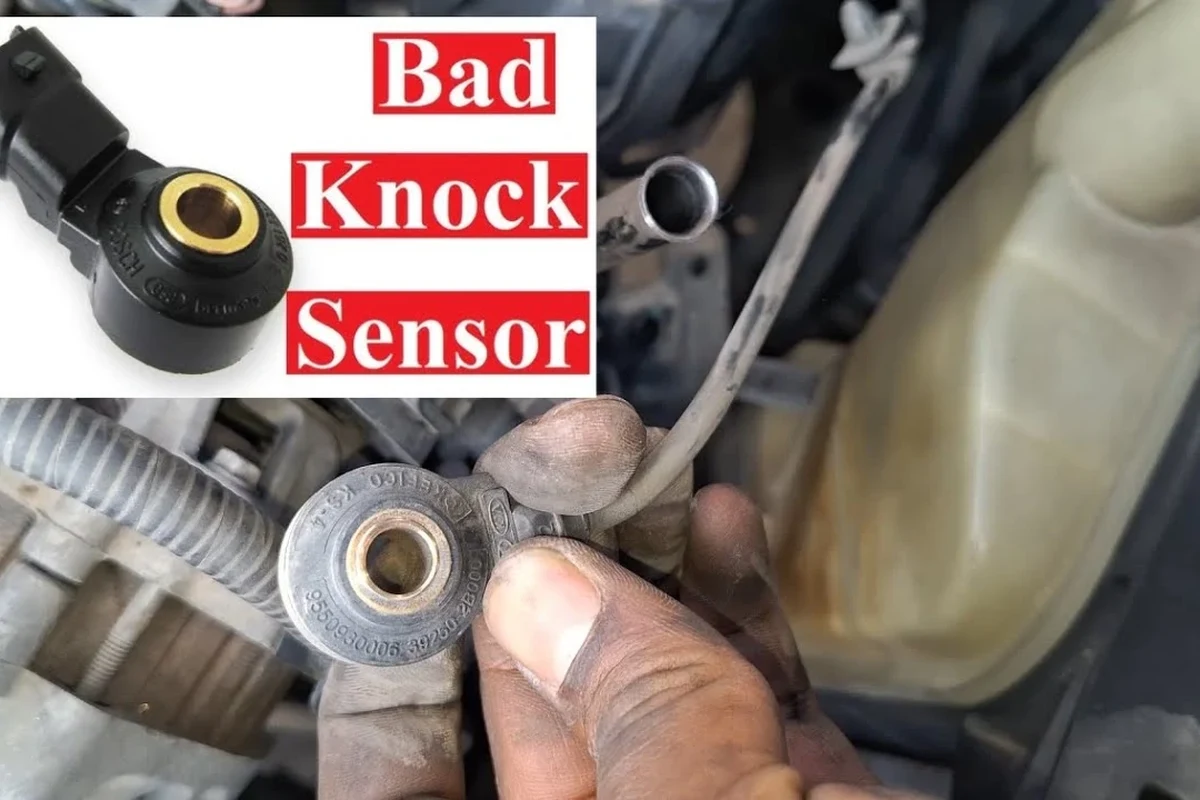
Look for oil contamination, broken locking tabs, brittle insulation, rubbed-through wiring, and connectors that do not seat firmly. A sensor can test fine electrically but still fail in the car because the harness is strained or the connector is corroded.
Stop if you find melted insulation, exposed conductors, or a connector that overheats or smells burnt. Those signs suggest a wiring or circuit problem that should be handled before installing another sensor.
How to avoid common diagnostic mistakes and unnecessary parts replacement
The most common mistake is replacing the knock sensor because a code is present, without checking the circuit or the actual no-start symptom. Another mistake is assuming every rough-running engine has a bad sensor when the real issue is fuel pressure or ignition.
Use the code plus the symptom pattern. If the engine has no spark or no fuel, fix that first; if the knock sensor code returns after a proper repair elsewhere, then the sensor circuit deserves deeper attention.
Who This Repair Fits: Vehicle Types, Engine Layouts, and Access Considerations
Whether this repair makes sense depends heavily on engine layout and sensor location. On some vehicles the sensor is easy to reach, while on others it sits under intake components or in a tight valley that makes access slow and expensive.
Compatibility factors by engine design, sensor location, and model-year differences
Some engines use one knock sensor, while others use two or more. Connector style, mounting style, and calibration can change by model year, trim, or engine code, so the correct part often depends on the VIN or engine family rather than the vehicle name alone.
That is why compatibility checks matter more than generic fitment claims. Verify the exact engine code, connector shape, and sensor location before ordering anything.
When the repair is DIY-friendly and when labor access makes a shop better value
A DIY repair is more realistic when the sensor is visible, the connector is accessible, and the service procedure is straightforward. If the sensor sits under the intake manifold, behind turbo plumbing, or near components that require special torque sequencing, the labor time may outweigh the savings.
In those tighter layouts, a shop may be the better value because the risk of breaking clips, stripping threads, or missing a related gasket is higher. The right choice depends less on the sensor itself and more on how much disassembly the engine requires.
Replacement Guide: Key Specifications, Part Quality, and What to Verify Before Buying
If replacement is justified, buy based on verified fitment and not just a low price. Knock sensors are small parts, but the wrong connector, thread, or calibration can create the same problem you are trying to solve.
OEM vs. aftermarket quality, connector match, thread fit, torque specs, and harness condition
OEM parts are often the safest choice when the sensor is hard to access or the engine is known to be sensitive to calibration differences. Quality aftermarket parts can be fine when the brand has a strong fitment record and the connector and mounting details match exactly.
Do not guess on thread fit or torque. A sensor that is overtightened, cross-threaded, or installed with a damaged connector can create false readings or damage the block.
Decision criteria: durability, warranty, price, and whether to replace related parts
Choose based on durability, warranty terms, and whether the part includes the correct connector pigtail or seal where needed. If the harness is brittle or the connector is corroded, replacing only the sensor may leave the original failure point in place.
Related parts are worth considering only when the inspection supports it. For example, a damaged pigtail, intake gasket removed for access, or heat-shield issue may justify replacing more than one item at the same time.
Repair Risks, Safe Use, and Maintenance After Installation
Knock sensor work is not usually dangerous, but it does involve hot engines, tight spaces, and electrical connectors. Careful handling helps prevent new faults from showing up after the repair.
Safe handling around hot engines, battery disconnect practices, and torque caution
Let the engine cool before working near the block or exhaust-adjacent components. If the service procedure calls for battery disconnect, follow the manufacturer’s instructions and preserve any required radio, ECU, or window settings as applicable.
Use the correct torque setting and avoid over-tightening. Small sensors can be damaged easily, and some engines can be harmed if the mounting surface or threads are forced.
Do not work on a hot engine near exhaust components, and do not reinstall a sensor with damaged threads, a loose connector, or exposed wiring. If the area is oil-soaked, burnt, or physically broken, stop and correct the underlying issue first.
Post-repair checks: clearing codes, road test behavior, and monitoring for recurrence
After installation, clear the codes only after you have confirmed the repair is complete. Then watch for immediate return codes, rough running, or the same no-start symptom during the next start cycle.
A proper road test should show stable idle, normal throttle response, and no new knock-related fault codes. If the code returns quickly, the issue may be the harness, ECU input, or a separate engine problem rather than the sensor itself.
Preventive care: keeping connectors dry, inspecting mounts, and avoiding wiring damage
Keep the area clean and dry when possible, and inspect the harness during routine maintenance. Loose engine mounts, broken clips, or missing loom protection can let vibration damage the sensor wiring over time.
Also watch for oil leaks and coolant leaks that can contaminate connectors. Preventive inspection is especially useful on engines where access is poor and a second repair would be labor-intensive.
Final Verdict: When a Knock Sensor Can Cause No-Start and the Best Next Step
A knock sensor can cause a no-start, but it is more often an indirect contributor than the main fault. If the engine cranks but will not start, verify fuel, spark, crankshaft position sensing, battery condition, and immobilizer status before replacing the knock sensor.
Transparent recommendation for drivers, DIYers, and readers deciding whether to replace the sensor
For most drivers, the best next step is a scan-tool diagnosis plus a basic no-start checklist. Replace the knock sensor only when the code, wiring inspection, and symptom pattern all point to that circuit, especially on engines where access is difficult and part choice must be exact.
Frequently Asked Questions
It can in some cases, but it is not the most common cause of a no-start. Most bad knock sensors cause reduced power, pinging, or a check engine light before they prevent starting.
Look for knock-related trouble codes, pinging under load, reduced power, or timing-related drivability issues. If the engine cranks but never fires, fuel, spark, or crankshaft sensor problems are usually more likely.
Yes. Wiring damage, corrosion, loose connectors, or ECU issues can trigger the same code, so the circuit should be inspected before replacing the sensor.
Usually no. Confirm battery strength, cranking speed, fuel delivery, spark, and crankshaft position sensor operation first, then evaluate the knock sensor circuit if the codes and symptoms support it.
It depends on the engine layout and access. Some sensors are easy to reach, while others require intake removal or careful torque procedures that make a shop a better value.
Verify the exact engine fitment, connector style, thread and torque specification, and whether the harness or pigtail also needs attention. Check the factory service information for your model before ordering.