Can T Break O2 Sensor Loose
Use penetrating oil, the correct O2 sensor socket, and steady leverage before trying heat or stronger force. If the sensor rounds off or the exhaust bung starts to twist, stop and consider a shop repair.
If you can’t break an O2 sensor loose, the safest first move is to stop forcing it and use penetrating oil, the right socket, and controlled heat if the exhaust design allows it. Most stuck sensors come free with patience, but if the threads start to round off or the bung begins to twist, it is time to change tactics or hand it to a shop.
- Start gently: Clean the area and soak the threads before forcing anything.
- Use the right tool: An O2 sensor socket is safer than a loose wrench in most cases.
- Watch for damage: Rounded flats, torn threads, or a twisting bung are stop signs.
- Check fit first: Sensor location, connector style, and thread size vary by vehicle.
- Replace smartly: Decide on sensor, bung repair, or both based on actual damage.
Can’t Break O2 Sensor Loose? Start With the Safe Fix and What Usually Works
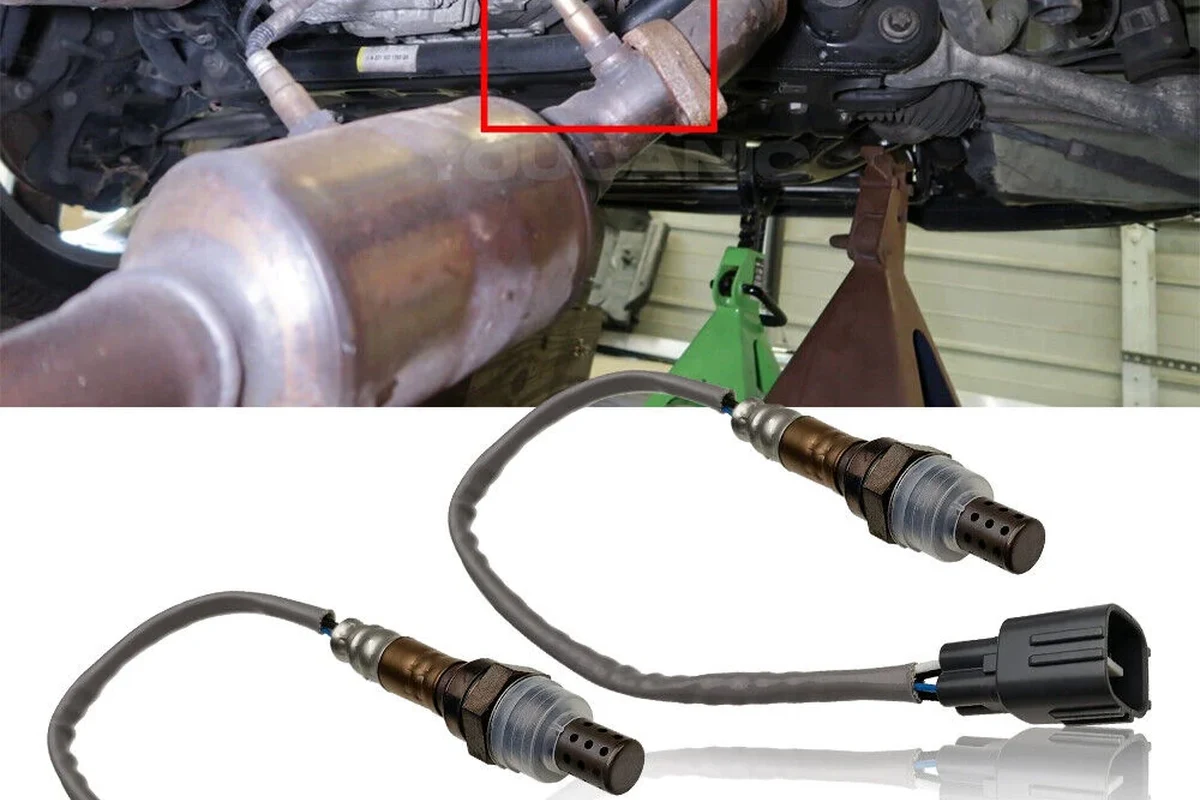
An oxygen sensor that will not budge usually needs a better removal method, not more brute force. The goal is to loosen corrosion around the threads while protecting the sensor bung, wiring, and nearby exhaust parts.
Work on a cold enough exhaust to avoid burns, but warm enough that the metal is not completely contracted. A slightly warm exhaust can help penetrating oil work better, as long as you can safely touch nearby parts with gloves and the vehicle is secure.
In practice, the order matters: clean the area, soak the threads, use the correct sensor socket, then apply steady force. If the sensor still does not move, repeated short attempts are usually safer than one long pull that can crack the housing or strip the threads.
Why O2 Sensors Seize: Heat Cycles, Rust, and Carbon Buildup
O2 sensors live in one of the harshest spots on a vehicle. They see constant heat cycling, moisture, road salt, and exhaust deposits, all of which can lock the sensor threads into the exhaust pipe or manifold.
Over time, the metal expands and contracts at different rates. That movement can create corrosion between the sensor body and the bung, especially on older vehicles or anything driven in wet or salty climates.
Carbon buildup also makes removal harder. Exhaust soot can pack around the sensor base and act like glue, while heat can bake anti-seize residue, rust, and grime into a stubborn ring around the threads.
Many O2 sensors are installed with a sealed thread design or a factory-applied compound, so the exact removal behavior can vary a lot by vehicle and sensor type.
Tools and Materials That Actually Help
The right tools matter more than raw strength. A proper setup reduces the chance of rounding the sensor, damaging the harness, or twisting the exhaust bung out of shape.
Penetrating Oil, Wire Brush, and Heat-Safe Gloves
Penetrating oil helps break down corrosion around the threads. A wire brush clears rust and soot from the exposed base so the oil can reach the problem area instead of sitting on top of dirt.
Heat-safe gloves are important if you plan to warm the exhaust or work near a recently driven vehicle. They also help when the sensor suddenly breaks free and the tool slips.
O2 Sensor Socket vs. Open-End Wrench
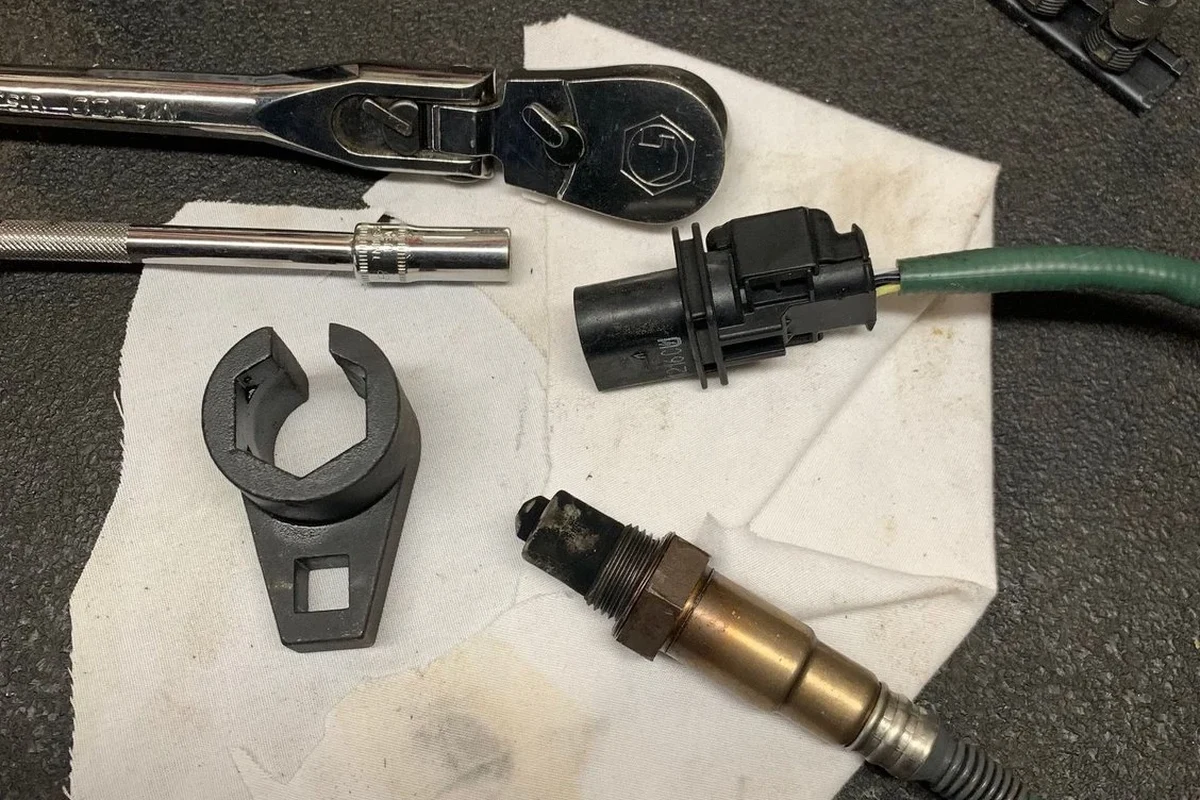
An O2 sensor socket is usually the better choice because it fits around the sensor body and the wiring. Many versions have a slot for the harness, which lets you remove the sensor without cutting the connector off first.
An open-end wrench can work in tight spaces, but it is more likely to slip and round the sensor flats. If the sensor is already damaged, a wrench may make the problem worse.
Breaker Bar, Ratchet, and Torque Specs
A breaker bar gives you more controlled leverage than a short ratchet. That extra length can help the sensor start moving without sudden jerks.
Once the new sensor goes in, torque matters just as much as removal force. Use the vehicle’s service manual or the sensor manufacturer’s instructions for the correct torque spec, because overtightening can damage the threads and make the next removal even harder.
Torque specifications, thread sealant guidance, and anti-seize instructions can vary by vehicle and sensor brand. Always confirm the exact procedure in the official manual or packaging before reinstalling.
How to Loosen a Stuck O2 Sensor Step by Step
Use a methodical approach instead of escalating force too quickly. The steps below focus on reducing thread seizure while keeping the exhaust and sensor mount intact.
Prep the Vehicle and Confirm Sensor Location
Identify whether you are working on an upstream or downstream sensor before removing anything. Front and rear sensors often sit in different locations, and access can range from easy to nearly impossible without lifting the vehicle.
Make sure the engine is off, the vehicle is stable on level ground, and you have enough room to work safely. If the sensor is near a hot exhaust or tight underbody panel, plan the tool path before applying force.
Clean the Area and Apply Penetrating Oil
Brush away rust, soot, and loose debris from the sensor base and surrounding threads. Then apply penetrating oil where the sensor enters the bung, not just on the outside of the sensor shell.
Let the oil sit long enough to work. If the sensor remains stubborn, reapply it after a waiting period rather than immediately forcing the tool harder.
- Use short, repeated attempts instead of one long pull.
- Try to tighten the sensor a tiny amount first, then loosen it.
- Keep the harness out of the tool’s path so it does not twist or tear.
Use Controlled Heat and Steady Force
If the vehicle and surrounding components allow it, controlled heat can help expand the exhaust bung slightly and break corrosion. The safest approach is to use heat only where appropriate and only according to the vehicle’s repair guidance.
After warming the area, apply steady force with the correct socket or wrench. Avoid hammering the tool or using a long pipe for extra leverage, because that can snap the sensor body or distort the exhaust threads.
Do not use open flame near fuel lines, plastic shields, wiring, rubber hangers, or undercoating. If you are not comfortable controlling heat around the exhaust system, stop and use a professional shop.
When to Stop Before You Damage the Exhaust
Stop if the sensor starts to round off, the bung begins to twist, or the tool is slipping repeatedly. At that point, more force often causes more expensive damage than the original stuck sensor.
If the sensor moves a few degrees and then binds again, work it back and forth gently. That motion can help the threads clear corrosion without tearing the mount apart.
Common Mistakes That Make the Sensor Harder to Remove
One common mistake is using the wrong tool size. A loose-fitting wrench or universal tool can round the sensor body, making later removal much harder.
Another mistake is applying constant heavy force without any preparation. That can strip the threads, crack the sensor housing, or shear the bung from the exhaust pipe.
People also sometimes soak the wrong area. Penetrating oil needs time and access to the threaded joint, not just the visible outside of the sensor.
Finally, reinstalling a new sensor too tightly can create the same problem for the next repair. Follow the correct torque and thread guidance so the next removal is not a repeat of the current one.
How to Tell Whether the Sensor, Threads, or Exhaust Need Replacement
Not every stuck sensor is ruined, but some are not worth saving. The condition of the sensor body, the threads, and the bung will tell you whether reuse is realistic.
Signs the Sensor Can Be Reused
A sensor may be reusable if the hex or flats are intact, the threads are clean, and the unit comes out without major galling. If the connector, cable insulation, and sensing tip are also in good shape, the sensor may have been removed without damage.
That said, reuse only makes sense if the sensor is still needed and the manufacturer does not specify replacement after removal. Some sensors are inexpensive enough that replacing them during service is the more practical choice.
Signs You Need a New Sensor or Bung Repair
If the sensor body is rounded, the harness is heat-damaged, or the sensing tip is contaminated, replacement is usually the better path. A sensor that fought hard on removal may also have internal wear, especially if it is older.
If the threads in the exhaust bung are stripped, cross-threaded, or torn, the exhaust may need thread repair or bung replacement. That is a job where a shop can be the safer option because welding or rethreading requires the right equipment and alignment.
If the bung is cracked, warped, or moving with the sensor, stop using force. Continued removal attempts can turn a sensor replacement into exhaust repair.
Safety, Fit, and Vehicle-Specific Considerations
O2 sensor removal is not one-size-fits-all. Access, thread design, connector shape, and sensor placement can all change the best approach.
Front vs. Rear Sensors and Access Differences
Front sensors often sit closer to the exhaust manifold or catalytic converter, where heat and corrosion are more intense. Rear sensors may be easier to reach, but underbody shields or tight routing can still make the job awkward.
Because of those differences, the same tool that works on one sensor may not fit another. Check the exact location before starting so you know whether you need a short socket, swivel, extension, or more clearance around the harness.
Thread Size, Connector Style, and Vehicle Compatibility
Thread size and connector style vary by vehicle and sensor family. Before buying a replacement sensor or a socket, confirm the part number, connector shape, and thread compatibility in the official catalog or manual.
If you are choosing a socket, verify that it matches the sensor body style and cable routing. A socket that fits one sensor may not clear the wire on another vehicle, even if the thread size is the same.
- Check the exact vehicle year, make, model, engine, and sensor position
- Confirm thread size, connector shape, and tool clearance
- Review the service manual for torque, anti-seize, and heat guidance
- Inspect the harness, bung, and exhaust for damage before reinstalling
Final Recommendation: When to DIY, When to Use a Shop, and What to Replace Next
If you can’t break an O2 sensor loose, the best DIY path is usually clean, soak, fit the right socket, and use steady force with patience. If the sensor is rounded, the bung is damaged, or heat would risk nearby components, a professional exhaust or repair shop is the safer choice.
After removal, decide whether to replace the sensor, the bung, or both based on thread condition and sensor age. Confirm the exact replacement part and installation instructions before reassembly so the next service is easier, safer, and less likely to seize again.
For most stuck sensors, careful prep and the correct tool solve the problem without major damage. If the exhaust threads are already failing or access is too tight to work safely, stop early and let a shop handle the repair.
Frequently Asked Questions
Stop forcing it and clean the area first. Then use penetrating oil and the correct O2 sensor socket before applying steady leverage.
Yes, controlled heat can help in some cases by expanding the exhaust bung. Use only the vehicle’s safe repair guidance and avoid open flame near wiring, fuel lines, and plastic parts.
An O2 sensor socket is usually the better choice because it fits the sensor body and clears the wire. A wrench can work in tight spaces, but it is more likely to slip and round the sensor.
If the sensor body is rounded, the harness is heat-damaged, or the sensing tip is contaminated, replacement is usually the safer option. If the bung threads are damaged, the exhaust may need repair too.
Confirm the exact vehicle year, make, model, engine, and sensor position. Also verify connector style, thread compatibility, and the installation instructions in the official manual or catalog.
Stop if the sensor rounds off, the bung starts to twist, or you would need unsafe heat or excessive force. A shop is also the better choice if exhaust thread repair or welding may be needed.