Do I Need to Disconnect Battery to Change O2 Sensor
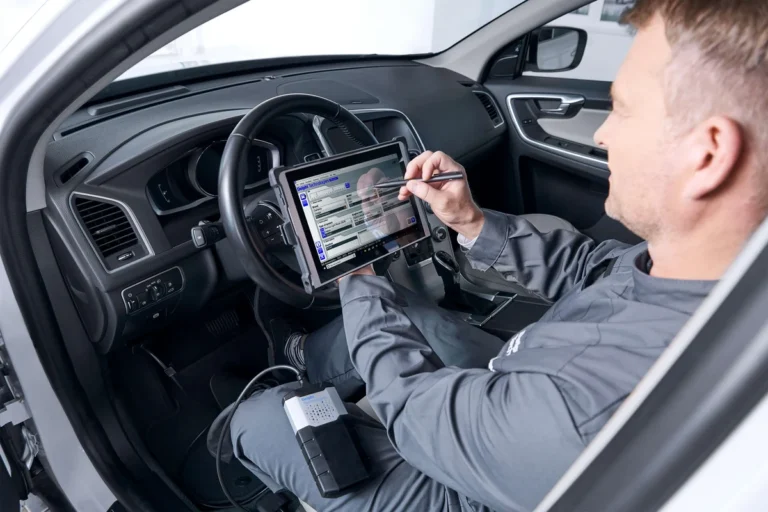
No, you usually do not need to disconnect the battery to change an O2 sensor. It can be helpful for safety or memory reset in some cases, but a scan tool is often the better choice for clearing codes.
If you’re asking, “do I need to disconnect battery to change o2 sensor,” the usual answer is no. In most vehicles, you can replace an oxygen sensor safely with the battery connected, as long as the ignition is off and you follow basic electrical and exhaust precautions.
- Usually optional: Battery disconnection is not required for most O2 sensor swaps.
- Safety first: Cool the exhaust and keep the ignition off before starting.
- Better reset method: A scan tool is usually preferable to battery pull for code clearing.
- Check the exact sensor: Confirm bank, sensor number, and connector type before buying parts.
- Watch for root causes: Wiring damage, exhaust leaks, or engine issues can mimic a bad sensor.
Do You Need to Disconnect the Battery to Change an O2 Sensor?
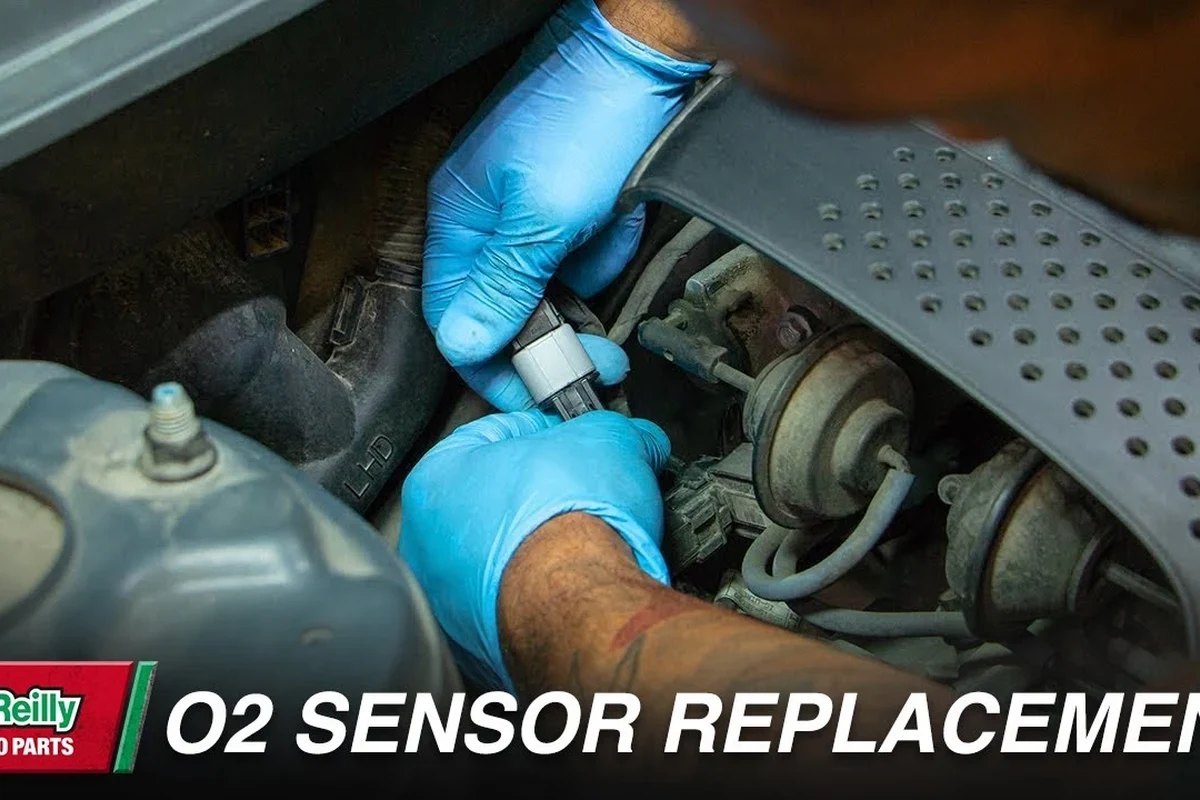
For most DIY repairs, battery disconnection is optional rather than required. The better question is whether your specific vehicle, sensor location, or repair situation makes it helpful.
Short answer: usually no, but it can help in specific cases
An O2 sensor is a low-voltage engine-management component, so the replacement itself usually does not demand battery removal. What matters more is preventing accidental shorts, avoiding hot exhaust parts, and making sure the new sensor is installed in the correct location and connected properly.
When disconnecting the battery is recommended
Battery disconnection is worth considering if the sensor wiring is damaged, the connector is hard to reach near other live circuits, or you are working in a cramped area where tools could contact metal unexpectedly. It can also be helpful if the vehicle has a history of electrical issues, corrosion, or repeated fault codes that you want to clear by resetting power.
When you can safely leave it connected
You can usually leave the battery connected when the ignition is off, the key is removed, and you are only unplugging the sensor connector and removing the sensor from the exhaust. In that case, the job is mainly mechanical, not electrical. Many owners choose this approach because it avoids losing radio presets, clock settings, and some learned engine memory.
How an Oxygen Sensor Works and Why Replacement Matters
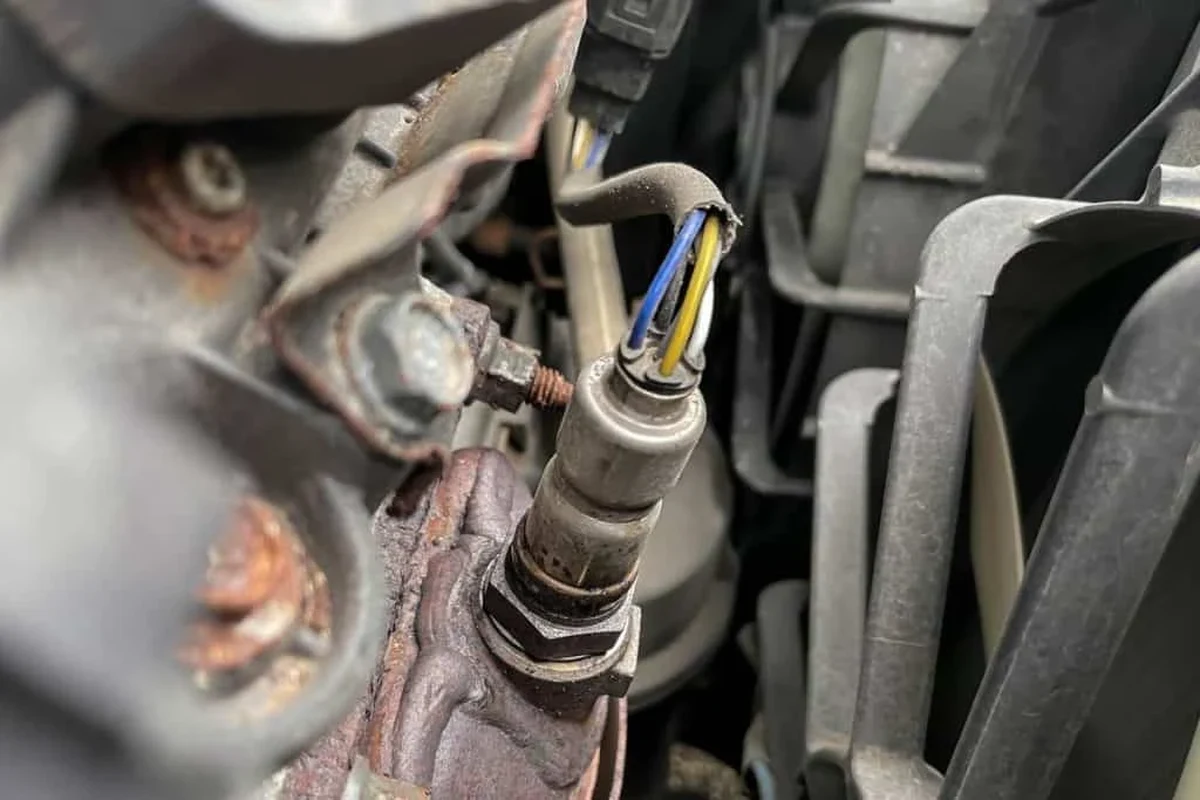
Before deciding on battery disconnection, it helps to understand what the sensor is doing. The O2 sensor is part of the engine’s feedback system, and a bad reading can affect drivability, fuel economy, and emissions performance.
What the O2 sensor monitors in the exhaust system
The oxygen sensor measures how much oxygen remains in the exhaust stream after combustion. That reading gives the engine computer clues about whether the air-fuel mixture is rich, lean, or close to ideal. Depending on the vehicle, there may be upstream sensors before the catalytic converter and downstream sensors after it.
How the engine computer uses O2 sensor data
The engine control unit uses O2 sensor data to adjust fuel delivery in real time. If the sensor becomes slow, biased, or fails completely, the computer may compensate poorly. That can trigger a check engine light, rough idle, poor mileage, hesitation, or emissions-test failure.
Some vehicles use multiple oxygen sensors, and the exact sensor location matters. Replacing the wrong one can leave the original problem unresolved even if the code clears temporarily.
Common symptoms of a failing sensor
Common signs include a check engine light, reduced fuel economy, unstable idle, and sluggish throttle response. In some cases, there are no obvious symptoms beyond an emissions code. That is why reading the diagnostic trouble code first is so important.
Safety First: Electrical and Exhaust Precautions Before You Start
The biggest risks during O2 sensor replacement are not complicated electronics; they are heat, rusted hardware, and accidental damage to nearby wiring. A careful setup makes the job much safer than relying on battery disconnection alone.
Letting the exhaust cool and avoiding burn risks
Let the exhaust system cool fully before touching the sensor area. Oxygen sensors are threaded into the exhaust manifold, downpipe, or catalytic converter area, and those parts can stay hot long after the engine is shut off.
Do not work around a hot exhaust. Burns from manifolds, pipes, and heat shields are a common and avoidable repair injury.
Protecting against shorts, sensor heater circuit issues, and ECU memory concerns
Most modern O2 sensors include a heater circuit, which means the connector and wiring are more than just simple signal wires. Keep the ignition off, avoid forcing connectors, and do not probe terminals with metal tools unless the service manual tells you to. If you disconnect the battery, remember that it may erase adaptive fuel trims and certain learned settings, which can change how the vehicle behaves briefly after the repair.
Tools and supplies that make the job safer
At minimum, you usually want the correct O2 sensor socket or wrench, penetrating oil for rusty threads, safety glasses, gloves, and a way to support the vehicle if access is from underneath. A scan tool is also useful for confirming the fault code before replacement and verifying the result afterward.
- Check the service manual for the sensor location and torque guidance before starting.
- Label connectors if more than one sensor is nearby.
- Use the official replacement part number or confirmed equivalent for your exact engine.
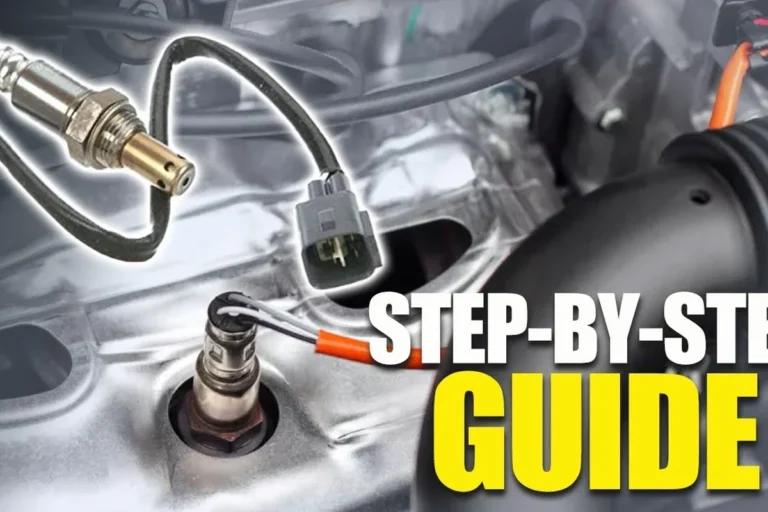
Step-by-Step Guide to Replacing an O2 Sensor
The general replacement process is straightforward, but the details matter. The wrong sensor, damaged threads, or a loose connector can create a new problem that looks like the old one.
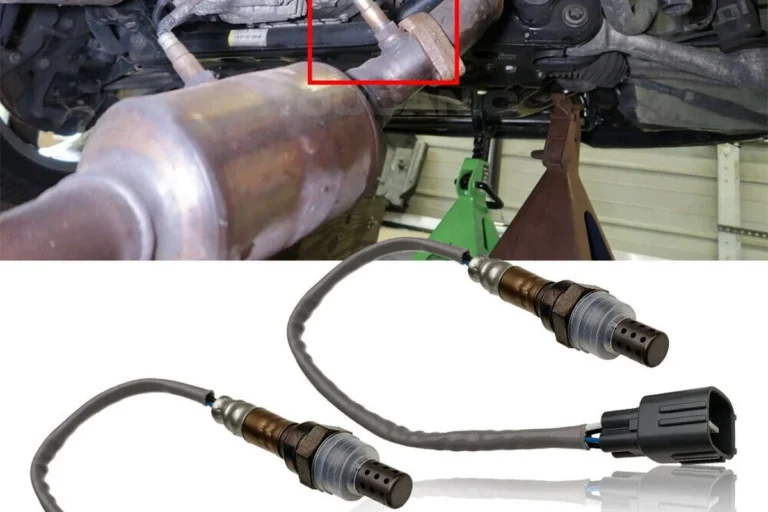
Locating the correct upstream or downstream sensor
Start by confirming whether you need the upstream or downstream sensor. The upstream sensor is usually involved in fuel control, while the downstream sensor is commonly used to monitor catalytic converter efficiency. Your trouble code, service manual, or scan tool data should help identify the correct location.
Sensor naming varies by vehicle. Some manuals refer to Bank 1 Sensor 1, Bank 1 Sensor 2, and similar labels, so match the code to the exact position before buying parts.
Disconnecting the connector and removing the old sensor
Unplug the sensor connector carefully and release any retaining clips first. Then remove the sensor from the exhaust using the proper socket or wrench. If the sensor is rusted in place, penetrating oil and patience are better than excessive force, which can damage the bung or surrounding exhaust components.
Installing the new sensor without damaging threads or wiring
Thread the new sensor in by hand first so you do not cross-thread it. Tighten it to the manufacturer’s specification if one is provided. Route the wiring exactly as the original was routed so it stays away from heat, moving parts, and sharp edges.
If the old sensor wiring was heat-damaged, melted, or rubbed through, replacing only the sensor may not solve the issue. Inspect the harness, connector, and nearby exhaust for damage before reassembly.
Reconnecting everything and clearing codes if needed
Reconnect the sensor securely, then restore the battery if you disconnected it. Clear the diagnostic code with a scan tool if the vehicle does not do it automatically after a few drive cycles. Some cars need readiness monitors to reset before an emissions test, so plan for a short relearn period.
When Disconnecting the Battery Helps and When It Does Not
Battery disconnection is often discussed as if it were part of the repair itself, but it mainly affects memory and electrical safety, not the actual sensor swap. Whether it helps depends on what you want the result to be.
Effect on stored trouble codes and readiness monitors
Disconnecting the battery may clear some stored codes on certain vehicles, but it is not a guaranteed or complete diagnostic reset. It can also reset readiness monitors, which may delay an emissions inspection until the vehicle completes its drive cycle again. A scan tool is usually the cleaner way to clear faults after a confirmed repair.
Impact on radio presets, clock settings, and learned fuel trims
One downside to battery disconnection is the loss of settings such as radio presets, clock time, seat memory, and other convenience features, depending on the vehicle. It can also erase learned fuel trims and idle adaptations. That is not necessarily harmful, but it may cause temporary changes in idle or shifting behavior while the car relearns.
- Battery disconnection is optional for most O2 sensor replacements.
- A scan tool is usually better for code clearing and diagnosis than pulling battery power.
- Use battery disconnection mainly for safety, electrical caution, or memory reset preference.
Situations where a scan tool is better than battery disconnection
If you want to confirm the fault, verify live sensor data, and clear codes only after the repair is complete, a scan tool is the better option. It gives you more control and avoids unnecessary resets. That is especially useful when the check engine light could be caused by wiring, exhaust leaks, or a related engine issue rather than the sensor itself.
Common Mistakes to Avoid During O2 Sensor Replacement
Many O2 sensor jobs go wrong because of preventable installation errors. Paying attention to the threads, connector style, and surrounding engine condition saves time and repeat repairs.
Cross-threading the sensor or overtightening it
The exhaust bung is easy to damage if the sensor starts crooked. Always begin threading by hand and stop if it does not turn smoothly. Overtightening can strip the threads or make the next replacement much harder.
Mixing up sensor locations or connector types
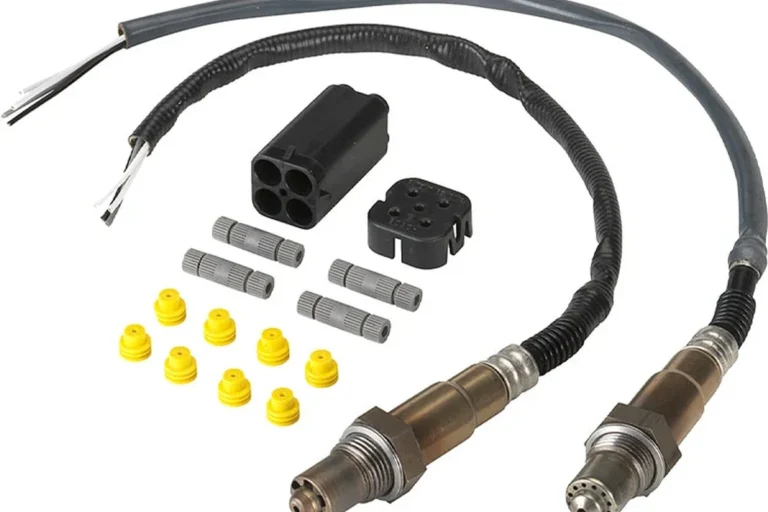
Upstream and downstream sensors may look similar, but they are not always interchangeable. Connector shape, wire length, heater circuit configuration, and calibration can vary by model. Confirm the exact part number before installation.
Using the wrong anti-seize or contaminating the sensor tip
Some replacement sensors come with thread compound already applied, while others do not. Use only what the manufacturer approves, because excess compound or contamination on the sensing tip can affect performance. Never touch the sensor element with oily hands or spray chemicals directly onto it.
Ignoring exhaust leaks, wiring damage, or underlying engine problems
An oxygen sensor can report bad data if there is an exhaust leak upstream, a damaged harness, a misfire, or a vacuum leak. Replacing the sensor without checking the root cause can waste money and leave the check engine light on. If the code returns quickly, look deeper than the sensor itself.
- Simple replacement when the sensor is accessible and the threads are healthy
- Can restore fuel control and emissions performance if the sensor was the real fault
- Often manageable with basic hand tools and a scan tool
- Rust, heat, and tight access can make the job difficult
- Wrong part selection can create repeat codes
- Battery disconnection may erase settings without improving the repair
Who This Guide Is For, What to Check, and When to Get Help
This repair is a good fit for many DIY owners, but not every vehicle or situation is equally friendly. Before starting, think about access, corrosion, and whether you can verify the problem accurately.
Best fit for DIY owners with basic hand tools and access
If you can safely reach the sensor, identify the correct bank and sensor number, and use a scan tool or code reader, this is often a reasonable home repair. It is especially manageable on vehicles with clear access and minimal rust.
Key decision criteria: vehicle age, rust level, sensor location, and code history
Older vehicles, rust-belt cars, and sensors mounted close to the exhaust manifold are more likely to be stubborn. If the code history points to intermittent wiring faults, heater circuit issues, or multiple emissions codes, the sensor may not be the only problem. Check the manual, confirm the code, and inspect the harness before buying parts.
When a professional repair is the better value
A professional may be the better choice if the sensor is seized, the exhaust threads are damaged, the vehicle needs a lift for access, or the codes suggest deeper engine or wiring issues. Paying for diagnosis can be cheaper than replacing parts blindly, especially when the repair is tied to emissions readiness or inspection deadlines.
Final Recommendation: The Best Practice for Most Drivers in 2026
For most drivers, the practical answer is simple: you do not need to disconnect the battery to change an O2 sensor, but you may choose to do so if it helps you feel more comfortable or if the repair environment makes electrical caution more important. The better habit is to turn the ignition off, let the exhaust cool, confirm the correct sensor, and use a scan tool for diagnosis and code clearing when possible.
Practical verdict on disconnecting the battery
If your goal is only to replace the sensor, leaving the battery connected is usually fine. If your goal includes resetting memory or reducing the chance of accidental shorts in a tight work area, disconnecting it can be a sensible extra step. Just remember that it is a convenience and safety choice, not a required part of the repair.
Last checks before test-driving and verifying the repair
Before driving, make sure the connector is fully seated, the wiring is routed away from heat, and no tools are left near the exhaust. After the repair, check for pending codes, watch for leaks or warning lights, and verify that the vehicle runs normally through a short test drive. If the light returns, revisit the code and inspect the system rather than assuming the new sensor is at fault.
Most owners can replace an O2 sensor without disconnecting the battery, and that is usually the cleanest approach when the ignition is off and the exhaust is cool. Use battery disconnection only when it adds safety, helps with memory reset, or fits your repair workflow better than a scan-tool-based reset.
Frequently Asked Questions
Usually no. Most O2 sensor replacements can be done with the battery connected if the ignition is off and you follow basic safety precautions.
It can help if the wiring is damaged, the work area is cramped, or you want to reduce the chance of accidental shorts. It may also be useful if you plan to reset memory settings.
It may clear some codes on some vehicles, but it is not the best diagnostic method. A scan tool is usually better because it lets you clear codes after confirming the repair.
Yes, many people can replace the sensor with basic tools. A scan tool is still helpful for identifying the correct sensor and checking whether the repair worked.
Let the exhaust cool, avoid cross-threading, and do not force a seized sensor. Rust, heat, and damaged wiring are the most common problems.
Check for exhaust leaks, wiring damage, or the wrong sensor location. If the code returns quickly, the issue may be elsewhere in the engine or emissions system.