Can a Nox Sensor Be Cleaned
Yes, a NOx sensor can sometimes be cleaned if the problem is light contamination. If the sensor is heat-damaged, electrically faulty, or still fails after cleaning, replacement is usually the better choice.
Yes, a NOx sensor can sometimes be cleaned, but cleaning is usually a short-term fix rather than a true repair. If the sensor is contaminated with soot or light residue, a careful cleaning may help; if the sensor is heat-damaged, electrically failing, or internally worn, replacement is usually the safer choice.
- Cleaning can help: It is most useful for soot or residue buildup, not internal sensor wear.
- Diagnosis comes first: Read fault codes and live data before deciding to clean or replace.
- Use caution: Avoid harsh chemicals, scraping, soaking, and reinstalling a wet sensor.
- Fit matters: Verify the exact vehicle, engine, and sensor position before buying parts.
- Replacement is often safer: Repeated faults, heat damage, or connector problems usually point to a new sensor.
Can a NOx Sensor Be Cleaned? The Short Answer and What It Means for Drivers
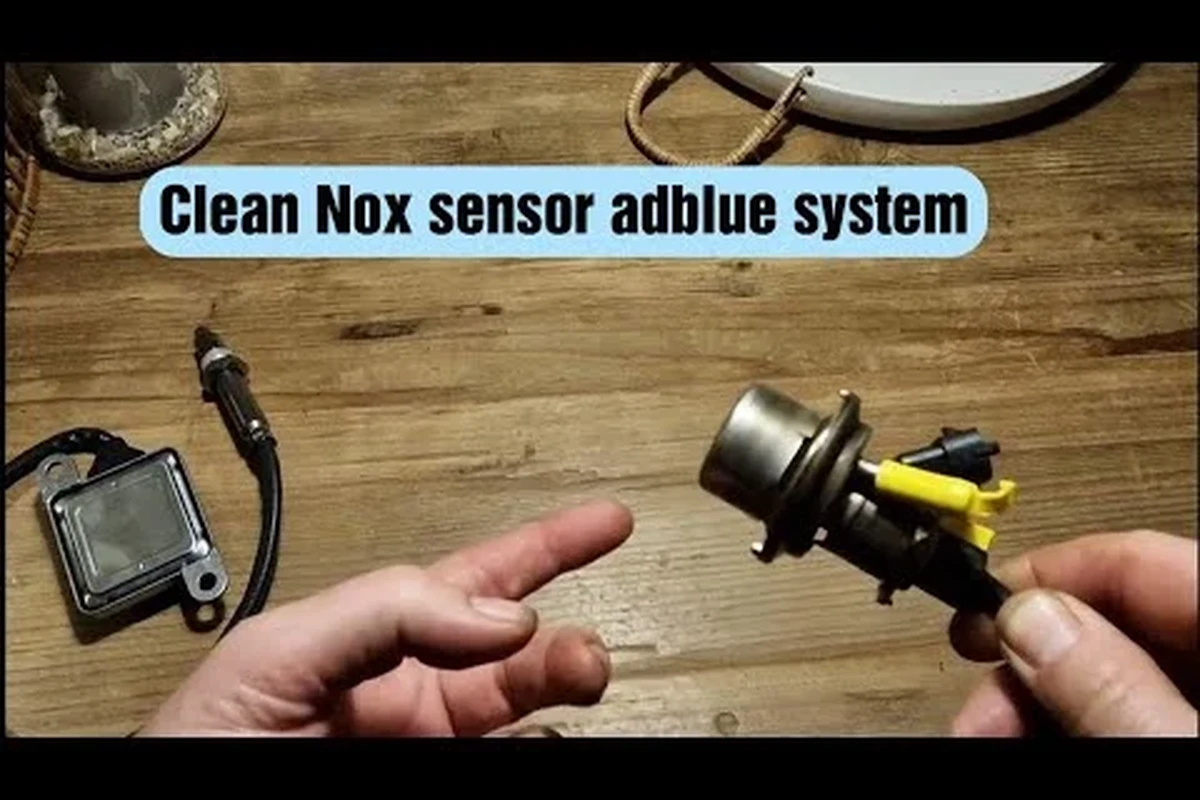
In practical terms, cleaning a NOx sensor is worth considering only when the problem looks like contamination, not internal failure. That distinction matters because NOx sensors live in a harsh exhaust environment, and many “dirty sensor” symptoms are actually caused by age, thermal stress, wiring issues, or problems elsewhere in the emissions system.
For a driver, the decision usually comes down to this: if the sensor is reading poorly because its sensing tip is coated with soot or ash, cleaning may restore function temporarily. If the sensor is throwing persistent faults, has connector damage, or shows erratic live data, replacement and proper diagnosis are usually the better investment.
How a NOx Sensor Works and Why It Fails
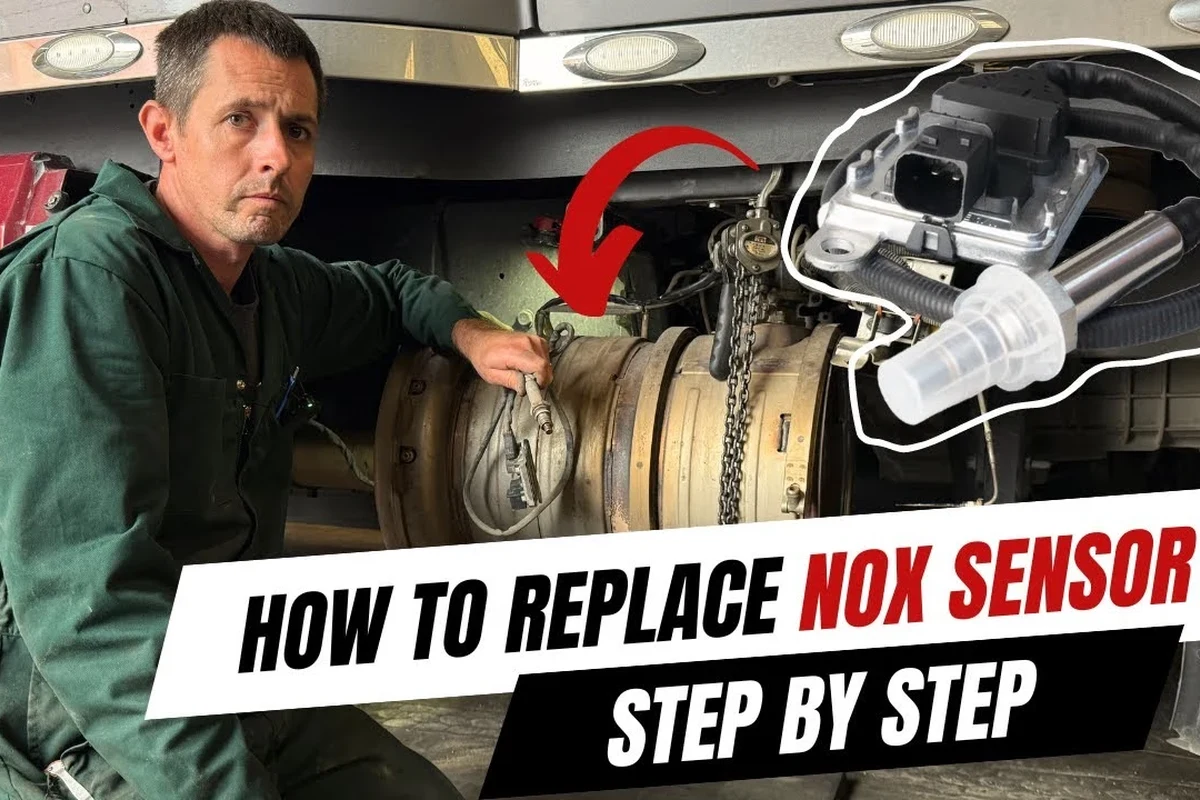
A NOx sensor monitors nitrogen oxides in the exhaust stream so the engine control system can manage emissions more accurately. It is especially important on many modern diesel and lean-burn systems, where the vehicle relies on precise exhaust feedback to control aftertreatment components and stay within emissions limits.
What the sensor measures in the exhaust system
The sensor sits in the exhaust path and detects how much NOx is present after combustion. That data helps the vehicle adjust fuel, air, and aftertreatment behavior, depending on the engine design and emissions strategy.
Because the sensor measures in a hot, dirty environment, it is exposed to soot, oil ash, fuel residue, moisture, and extreme temperature swings. Those conditions make it more vulnerable than many other sensors on the vehicle.
Common causes of contamination, heat damage, and electrical faults
Contamination is one of the most common reasons people ask whether a NOx sensor can be cleaned. Short trips, incomplete regeneration events on diesel systems, oil burning, exhaust leaks, or upstream engine issues can leave the sensing element coated with deposits.
Heat damage is a different problem. If the sensor has repeatedly been exposed to excessive exhaust temperature, the sensing element or internal electronics may degrade even if the outside looks fine. Electrical faults also happen through damaged wiring, corrosion at the connector, poor grounding, or an aging internal circuit, and those problems usually do not respond to cleaning.
If the sensor housing is cracked, the connector is melted, the wiring is frayed, or the exhaust system has obvious heat damage, stop treating it as a cleaning job and move to diagnosis or replacement.
When Cleaning Might Help vs. When Replacement Is the Safer Choice
Cleaning makes the most sense when the sensor is likely suffering from a surface deposit rather than a deeper failure. Replacement is the safer choice when the fault points to sensor aging, internal circuit problems, or repeated failures after clearing codes.
Signs of soot buildup or temporary contamination
Temporary contamination often shows up after a period of poor combustion, heavy idling, frequent short drives, or a known exhaust issue that has since been corrected. In those cases, the sensor may be slow to respond, but the problem may not be permanent.
Another clue is when the sensor code appears alongside symptoms that suggest the exhaust system itself needs attention, such as an exhaust leak, clogged aftertreatment component, or engine issue. If the root cause is addressed early, cleaning may help the sensor recover enough to function normally again.
Red flags that usually point to a failing sensor
Repeated fault codes after clearing, unstable live readings, delayed response, or communication errors often suggest a sensor that is no longer reliable. If the vehicle has high mileage and the sensor has already been replaced once, cleaning is less likely to solve the issue for long.
Another warning sign is when the sensor only works intermittently, especially after heat soak or vibration. That pattern often points to an internal fault or connector problem rather than dirt on the probe.
How to Clean a NOx Sensor Safely
Cleaning a NOx sensor should be approached as delicate electronics work, not a heavy-duty parts wash. The goal is to remove light contamination without damaging the sensing tip, connector, or internal electronics.
Before removing anything, check the vehicle’s service manual for the exact sensor location, removal torque guidance, and any warnings about exhaust heat or connector handling. Model-specific instructions matter here.
Tools, cleaners, and protective gear to use
Use basic hand tools that fit the sensor correctly, plus gloves and eye protection. A non-residue electronic-safe cleaner or a cleaner specifically approved by the vehicle or sensor manufacturer is the safest starting point when the manual allows cleaning.
It also helps to have a clean, lint-free cloth, a soft brush, and a safe place to set the sensor down with the probe protected. If the sensor is still hot from driving, let it cool fully before touching it.
Step-by-step cleaning approach without damaging the probe
Turn the vehicle off, allow the exhaust to cool, and disconnect the sensor only as directed by the service manual.
Look for cracked insulation, corrosion, bent pins, soot-packed threads, or signs of heat damage before cleaning.
Use only a light application of an appropriate cleaner and avoid flooding the connector or soaking the sensor body.
Allow complete drying before reinstalling so moisture does not trigger new faults or cause connector corrosion.
What not to do: harsh chemicals, scraping, and soaking risks
Do not scrape the sensing element with metal tools, wire brushes, or abrasive pads. That can damage the surface the sensor depends on to read exhaust chemistry correctly.
Avoid harsh solvents, fuel, brake cleaner unless the manufacturer explicitly approves it, and any soaking method that could force liquid into the electronics. Also avoid compressed air at close range if it could drive debris deeper into the sensor or connector.
Never clean a sensor while the exhaust is hot, and never use aggressive chemicals that can damage seals, wiring, or the sensing element. If the sensor is physically damaged, replace it instead of trying to revive it.
Key Decision Criteria: Vehicle Fit, Sensor Type, and Diagnostic Clues
Choosing between cleaning and replacement depends on the exact vehicle, the sensor design, and the fault data you have in hand. A NOx sensor is not a universal part, so fitment and diagnostics matter more than guesswork.
OEM vs. aftermarket replacement considerations
OEM parts usually offer the safest compatibility path when the vehicle is sensitive to emissions monitoring or when the original sensor had a known calibration or communication requirement. Aftermarket options may work well on some vehicles, but compatibility should be checked carefully because not every replacement behaves the same way in live data or fault logic.
If you are weighing cleaning against replacement, the real question is whether the sensor is still trustworthy after the cleaning attempt. If the answer is uncertain, a quality replacement may save time and repeated labor.
Compatibility checks by make, model, and engine setup
Always verify the exact make, model, year, engine code, emissions package, and sensor position before buying or reinstalling anything. Some vehicles use different upstream and downstream NOx sensors, and the wrong location or part number can create new fault codes.
Reading fault codes and live data before spending money
Fault codes alone do not always prove the sensor is bad. Live data, freeze-frame information, and the pattern of the code can help you tell contamination from wiring faults, exhaust leaks, or a failing aftertreatment component.
If the sensor output is implausible, stuck, or inconsistent with engine conditions, that is a stronger sign of failure than a single warning light. When possible, compare the readings with the service manual’s diagnostic flowchart instead of relying on a generic scan result.
Real-World Benefits, Limits, and Common Mistakes
Cleaning can be attractive because it is cheaper and faster than replacing a sensor. But the benefit is usually limited to cases where the sensor is still fundamentally healthy and only lightly contaminated.
Potential cost savings and short-term performance gains
If cleaning restores a lightly fouled sensor, you may avoid an immediate replacement and clear a drivability or emissions warning sooner. That can be especially helpful if the root cause was temporary contamination from a separate issue that has already been fixed.
For budget-conscious owners, cleaning can also be a useful diagnostic step. If the sensor improves briefly and then fails again, that result tells you the part is likely nearing the end of its usable life.
Why cleaning is not a permanent fix for worn sensors
NOx sensors wear out from heat cycles, contamination, and age. Even if a cleaning helps, it does not reverse internal aging or restore damaged electronics.
That means a cleaned sensor may work for a while and then trigger the same code again. If the vehicle depends on accurate emissions feedback, temporary success is not the same as a durable repair.
Frequent mistakes that lead to repeat failures
One common mistake is reinstalling a sensor before it is fully dry. Another is ignoring the original cause of contamination, such as oil consumption, exhaust leaks, or poor combustion.
People also sometimes clear the code without checking whether the sensor connector is loose or corroded. If the underlying fault remains, the warning will usually come back.
- Fix exhaust leaks and engine issues first, then evaluate the sensor.
- Use the service manual to confirm which cleaner, if any, is acceptable.
- Document the fault code and live data before cleaning so you can compare results later.
Maintenance, Storage, and Safe Reinstallation Practices
After cleaning or replacement, careful handling matters just as much as the part itself. A NOx sensor can fail early if the connector, harness, or mounting threads are mishandled.
Handling the sensor, connector, and wiring harness correctly
Handle the sensor by the body rather than pulling on the wires. Inspect the connector pins for corrosion or bent contacts, and make sure the harness is routed away from hot exhaust surfaces and sharp edges.
When reinstalling, follow the vehicle’s torque guidance if it is provided. Over-tightening can damage threads or the sensor body, while under-tightening can allow exhaust leaks that affect readings.
Preventing future buildup through engine and exhaust care
Long-term prevention usually means addressing the causes of soot and contamination, not just the sensor itself. Keeping up with oil changes, fixing injector or combustion issues, and maintaining the exhaust aftertreatment system can reduce repeat buildup.
If the vehicle spends most of its life on short trips, occasional longer drives that allow the exhaust system to reach proper operating temperature may help reduce moisture and residue buildup, depending on the vehicle design.
Some vehicles are more sensitive to sensor contamination than others, especially when emissions systems are tightly monitored. Always confirm the recommended maintenance and reset procedures for your exact model.
When to clear codes, retest, and monitor emissions readiness
After cleaning or reinstalling the sensor, clear the fault code only when you are ready to retest and monitor the system. Then check whether the code returns and whether readiness monitors complete normally, if your vehicle uses them.
If the code comes back quickly, treat that as diagnostic information, not just bad luck. It usually means the sensor was not the only problem.
Final Recommendation: Clean, Replace, or Diagnose Further?
The best choice depends on whether the sensor is dirty, damaged, or simply worn out. Cleaning is reasonable when contamination is light and the rest of the system checks out; replacement is the better call when the fault is persistent or the sensor shows signs of aging.
Best choice for DIY owners, budget repairs, and high-mileage vehicles
For DIY owners on a tight budget, a cautious cleaning attempt can be a sensible first step if the manual allows it and the sensor looks physically intact. For high-mileage vehicles, though, the odds often shift toward replacement because internal wear is more likely than simple surface contamination.
If you are trying to avoid repeat labor, it is worth weighing the cost of one careful cleaning against the time and frustration of removing the sensor twice. In many cases, that tradeoff favors replacement when the vehicle has already shown repeated emissions faults.
Transparent verdict on when cleaning is worth trying in 2026
Cleaning a NOx sensor is worth trying only when the problem looks like light contamination, the sensor is physically intact, and the service manual does not prohibit cleaning. If the sensor has heat damage, connector issues, or recurring faults after a proper diagnostic check, replacement is the more reliable fix.
Frequently Asked Questions
Sometimes, yes. Cleaning may help if the sensor is only lightly contaminated, but internal wear or heat damage usually means replacement is the safer fix.
Use only a cleaner approved by the vehicle or sensor manufacturer, or a non-residue electronic-safe cleaner if the manual allows it. Avoid harsh solvents and anything that could soak into the electronics.
Light contamination often appears after soot buildup or a temporary exhaust issue, while a failing sensor usually shows repeated codes, erratic live data, or communication faults. Diagnostic data is more reliable than the warning light alone.
The vehicle may still run, but emissions control can be affected and additional faults may appear. It is best to diagnose the issue promptly and avoid long delays.
Only clean the connector if you see corrosion or contamination and the service manual allows it. Use gentle, electronics-safe methods and make sure everything is fully dry before reconnecting.
Stop if the sensor is cracked, melted, heavily heat-damaged, or still fails after a proper cleaning and diagnostic check. At that point, replacement is usually the better value.