Best Camera Settings for River Photos That Wow Every Time
Use shutter speed to control whether the river looks frozen or silky, then set aperture and ISO to match the light. A tripod helps most for long exposures, while bright highlights and spray need extra care.
If you want the best camera settings for river photos, start with a shutter speed that matches the look you want: fast enough to freeze splashes, or slow enough to turn moving water into a silky stream. Then balance aperture and ISO for the light you have, and use a tripod when you want cleaner long exposures.
- Shutter first: Fast speeds freeze splashes; slow speeds create smooth, flowing water.
- Clean baseline: f/8 to f/11 and low ISO are reliable starting points for most river scenes.
- Scene matters: Rapids, reflections, and midday sun each need different exposure choices.
- Gear helps: Tripods, ND filters, and weather-aware handling improve consistency near water.
- Safety counts: Keep electronics dry and stop using damaged gear immediately.
Best Camera Settings for River Photos: The Quick Answer Up Front
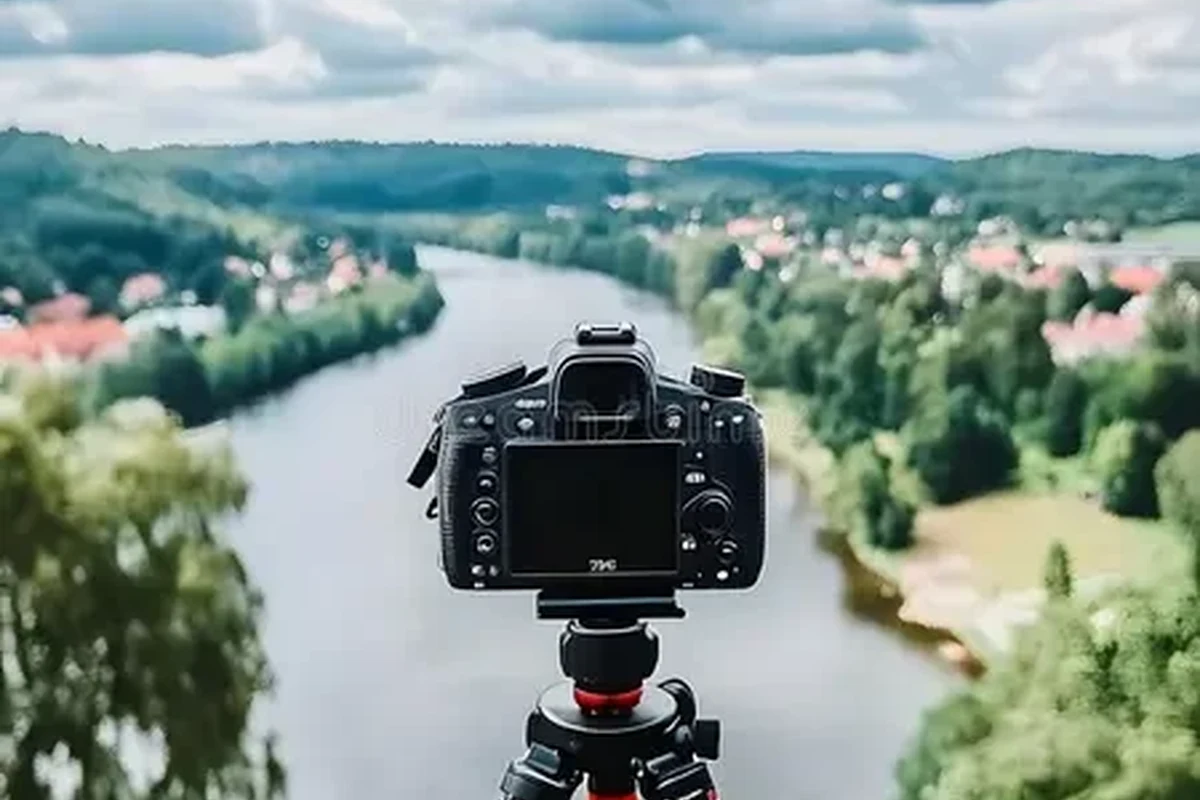
A strong starting point for most river scenes is shutter priority or manual mode, f/8 to f/11, ISO 100 to 400, and a shutter speed chosen for the motion in the water. For fast rapids, begin around 1/500s to 1/1000s; for a soft long-exposure look, try 1/2s to several seconds with a tripod and, if needed, an ND filter.
The rest of the settings depend on whether you want texture, motion, reflections, or a dramatic blurred-water effect. That choice matters more than any single “best” number.
How River Photography Works: Light, Motion, and Water Texture
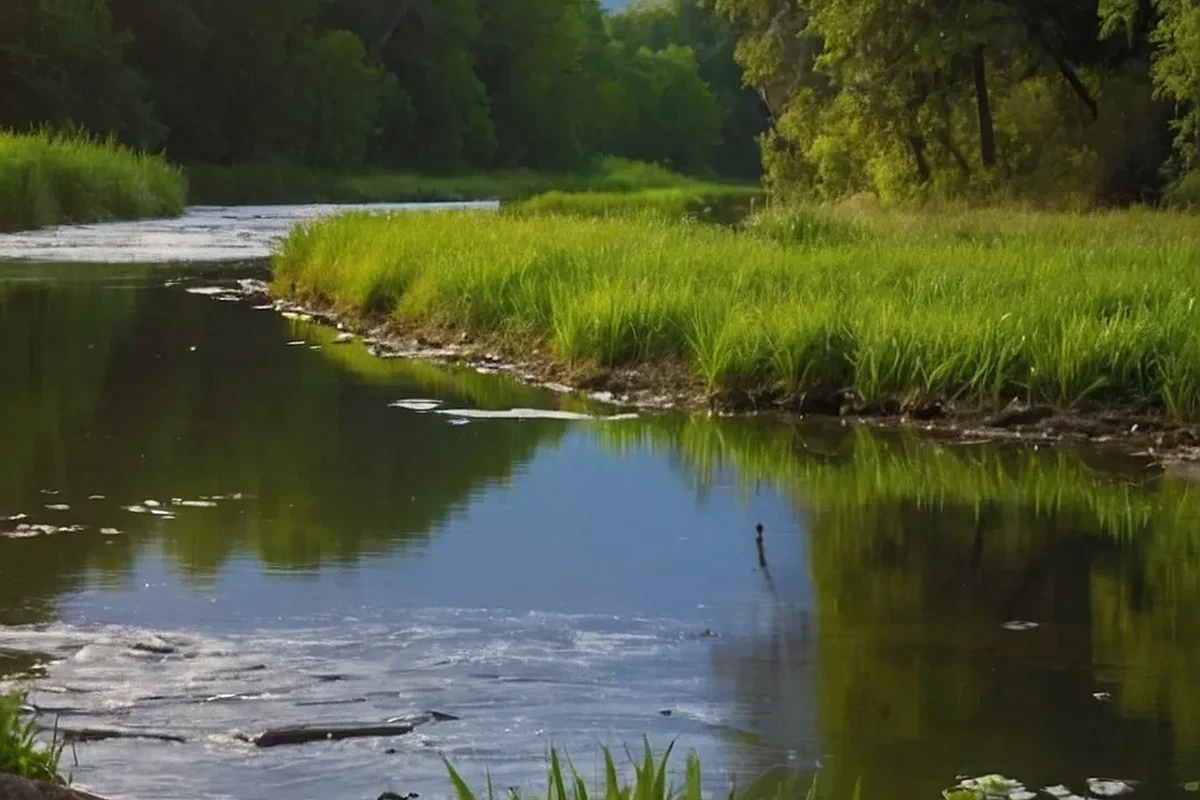
River photos are mostly about controlling three things at once: how much light reaches the sensor, how motion appears, and how much detail you keep in the water and surrounding landscape. Because water is reflective and constantly changing, small setting changes can create very different results.
Choosing shutter speed for silky water vs. frozen detail
Shutter speed is the setting that changes the look of the river most dramatically. A fast shutter freezes droplets, whitewater, and splashes, while a slower shutter blends movement into smooth streaks and soft texture.
If the river is moving quickly, a shutter around 1/500s or faster usually preserves the shape of splashes and ripples. For a more artistic blur, many photographers start around 1/4s to 2 seconds, then adjust based on current strength, composition, and how much motion blur they want.
Take a few frames at different shutter speeds in the same spot. River motion changes quickly, and the “right” speed often depends on whether the water is churning, gliding, or breaking around rocks.
Balancing aperture, ISO, and scene brightness
Aperture helps control depth of field and exposure. For river landscapes, f/8 to f/11 is a reliable starting range because it usually keeps foreground rocks, midstream water, and background scenery reasonably sharp.
ISO should stay as low as practical for the cleanest file, especially when you want smooth water and detailed highlights. In bright daylight, ISO 100 is often ideal; in shade, forested banks, or at dusk, you may need to raise ISO if a slower shutter is not possible.
Exact ISO performance varies by camera model and sensor size. A camera with strong high-ISO performance can tolerate dim river scenes better, but the final result still depends on exposure and post-processing.
Recommended Camera Settings by River Scene
The best settings change with the scene. A calm bend at sunset needs a different approach than a rushing mountain stream or a bright midday waterfall crossing a riverbed.
Fast-moving rapids and splashing water
For rapids, cascades, and splash-heavy water, use a faster shutter to preserve the action. A good starting range is 1/500s to 1/2000s, depending on how much freeze you want and how much ambient light is available.
Keep aperture around f/5.6 to f/8 if you need more light, or stop down to f/8 to f/11 if depth of field matters more. Use the lowest ISO that still gives you the shutter speed you need.
- Use continuous autofocus if the water is moving around rocks or branches.
- Watch the brightest foam areas; they can clip highlights quickly.
- Set burst mode if you want to capture the best splash shape.
Calm rivers, reflections, and long-exposure looks
For still water, mirror-like reflections, or a dreamy long-exposure style, slow the shutter dramatically. Begin around 1/2s and lengthen to 1s, 2s, or longer if the scene and light allow it.
A tripod becomes much more important here because even small camera movement can soften the whole frame. If the scene is too bright for the shutter speed you want, an ND filter can help reduce light without forcing you to change the composition.
Long-exposure river photos work best for photographers who want a calm, painterly look and are willing to carry a tripod. The main limitation is that wind, moving foliage, or unstable footing can reduce sharpness even when the water looks great.
Golden hour, overcast days, and harsh midday sun
Golden hour gives warmer light and softer contrast, so it is often the easiest time to photograph rivers with rich color and controlled highlights. Overcast weather can also be excellent because the clouds act like a giant diffuser, reducing glare on the water.
Midday sun is the hardest condition because reflections can blow out quickly. If you must shoot then, consider exposing for the highlights, using a polarizer if your lens supports it, and checking the histogram to avoid losing detail in the bright water.
Best Settings by Camera Type and Shooting Mode
The camera you use affects how easy it is to get the result you want. DSLRs, mirrorless cameras, and phones can all make good river photos, but the best approach is different for each.
DSLR and mirrorless settings to start with
For interchangeable-lens cameras, manual mode or shutter priority usually gives the most control. A practical starting setup is f/8, ISO 100, and a shutter speed based on the water’s motion.
If the camera is hunting for focus, switch to a single autofocus point for static scenes or continuous autofocus for moving water and changing subjects. Metering can also matter: evaluative/matrix metering often works well, but spot metering may help when bright foam or dark rocks dominate the frame.
- Check whether your camera supports manual mode, shutter priority, and exposure compensation.
- Confirm lens stabilization behavior on a tripod, since some systems should be switched off for long exposures.
- Verify whether the camera has a weather-sealed body or lens if you expect spray or mist.
Phone camera settings and pro/manual controls
Phone cameras can work well for river scenes, especially when the light is good and the composition is simple. Use the native camera app’s pro mode, if available, to lower ISO, lock exposure, and choose a slower shutter for motion blur or a faster one for freezing action.
If your phone lacks manual controls, tap to focus on the river bank or a key rock, then adjust exposure downward slightly to protect highlights. Phones are especially sensitive to glare and overexposure on bright water, so underexposing a little is often safer than overexposing.
For readers comparing phone protection near water, a rugged case can help with grip and splash resistance around slippery banks; related guidance on protective iPhone cases for outdoor use can be useful when you are shooting near wet rocks or uneven terrain.
Tripod, ND filter, and stabilization considerations
A tripod is the most useful accessory for slow-shutter river photography because it keeps composition steady while the water moves. If you are shooting handheld, image stabilization can help, but it cannot fully replace a stable support when exposure times get long.
An ND filter is worth considering if you want smooth water in bright daylight. The right strength depends on the light and your scene, so check the filter rating and your camera’s exposure range before buying.
Set up tripods carefully on wet rocks, mud, or uneven riverbanks. Keep expensive gear away from splash zones and avoid leaning over fast water to get a better angle.
Key Specs and Decision Criteria That Matter Most
If you are choosing gear specifically for river photography, focus on the features that actually affect your images: shutter flexibility, ISO quality, lens focal length, focus behavior, and how well the camera handles bright highlights.
Shutter range, ISO performance, and lens choice
A camera that offers a wide shutter range gives you more creative freedom, especially if you want both frozen action and long-exposure scenes. Low ISO performance matters because river photos often include dark rocks, shaded banks, and bright reflections in the same frame.
Lens choice changes the story you tell. Wide-angle lenses are great for showing the river in context, while telephoto lenses can isolate patterns in the water, compress layers of landscape, or frame a single rapid more tightly.
File format, autofocus behavior, and metering mode
Shooting in RAW gives you more room to recover highlight detail, adjust white balance, and fine-tune contrast later. That is especially helpful when water reflects a bright sky or when the scene mixes shade and sun.
Autofocus should be predictable rather than overly clever. For river scenes with moving water, focus modes that let you lock on a rock, branch, or bank edge are often more dependable than trying to focus directly on the water surface.
What to verify before buying gear for river photography
Before buying anything, check the official manual, current compatibility list, and any firmware notes for your camera or phone app. Features like stabilization behavior, focus tracking, and RAW capture can vary by model or software version.
Also verify the tripod mount, filter thread size, and whether the lens or camera body is designed for use in damp environments. If the manufacturer offers weather-sealing claims, read the exact wording carefully; those claims usually have limits and are not the same as waterproofing.
Real-World Benefits, Limitations, and Common Mistakes
Good settings improve more than sharpness. They shape the mood, color, and sense of movement in the photo, but they still cannot fix every problem at capture time.
Why the right settings improve color, detail, and mood
When exposure is balanced correctly, river foam keeps texture, shadows retain detail, and reflections look intentional instead of washed out. The water can feel energetic, peaceful, or dramatic depending on how you handle motion and contrast.
That is why the “best” settings are really the settings that support your goal. A silky stream and a crisp splash are both valid, but they need different shutter speeds and different expectations.
Typical errors: blown highlights, muddy water, and motion blur
Blown highlights happen when bright foam or reflected sky gets too much exposure. Muddy water usually comes from poor contrast, wrong white balance, or too much haze in the scene, while unwanted motion blur often means the shutter is too slow for the amount of movement.
Water often looks brighter to the camera than it does to your eyes because reflections can occupy a large part of the frame, especially under midday sun.
When the best settings still need editing afterward
Even with the right settings, many river photos benefit from post-processing. Common edits include highlight recovery, white balance correction, local contrast adjustments, and careful sharpening on rocks or shoreline details.
Editing should enhance the scene, not rescue a badly exposed file. If highlights are fully clipped or the camera shook during a long exposure, software can only help so much.
Safe Use, Care, and Storage Near Water
River locations are rough on gear because of moisture, spray, humidity, sand, and sudden weather changes. A little care goes a long way toward keeping cameras and lenses reliable.
Protecting cameras, lenses, and batteries from moisture
Use lens hoods, microfiber cloths, and a weather-resistant bag or cover when conditions are damp. Keep spare batteries in a dry pocket or pouch, and avoid changing lenses when spray or wind is carrying mist toward the camera.
If your camera body or lens has weather resistance, treat it as extra protection rather than a guarantee. Manufacturer guidance matters more than assumptions, especially around heavy spray or accidental submersion.
Cleaning gear after spray, sand, or humidity exposure
After a river shoot, wipe down the exterior with a clean, dry cloth before putting the gear away. If sand or grit got on the equipment, remove it carefully instead of rubbing it deeper into buttons, rings, or seals.
For phones used near water, drying the exterior and checking ports before charging is especially important. Do not connect wet gear to power until it is completely dry and the manufacturer says it is safe.
Stop using any camera, battery, cable, or charger that shows corrosion, swelling, frayed wiring, overheating, or repeated moisture-related malfunctions. Follow the manufacturer’s service and safety guidance before trying again.
Storage, drying, and inspection tips for long-term reliability
Store gear in a dry place with airflow after a river trip, and let any damp accessories dry fully before sealing them in a bag. Periodically inspect seals, straps, battery contacts, and lens mounts for wear.
If you shoot near water often, it helps to keep a simple maintenance routine: clean, dry, inspect, then recharge only when everything is fully dry. That habit protects both image quality and equipment life.
Final Recommendation: A Practical Starting Preset for Most River Photos
If you want one dependable starting point, use aperture priority or manual mode, set f/8, keep ISO 100 when possible, and choose your shutter speed based on the look you want. For most general river scenes, that means 1/500s or faster for action and 1/2s to 2 seconds for smooth water with a tripod.
Best all-around settings to try first and how to adjust them
Start with a mid-range aperture, watch your histogram or highlights, and adjust shutter speed first. If the image is too dark, raise ISO slightly or open the aperture a bit; if the water is too frozen or too blurred, change shutter speed until the motion looks right.
For a simple field workflow, think in this order: composition, shutter speed, then exposure fine-tuning. That keeps you focused on the river’s motion instead of chasing random settings.
Who this approach fits best and when to choose another method
This approach fits beginners, travelers, and everyday photographers who want reliable results without overcomplicating the process. It also works well for creators who need a flexible baseline for both scenic and action-heavy river shots.
Choose a different method if you are intentionally chasing a special effect, such as ultra-long exposures, high-speed splash freezing, or low-light handheld shooting. In those cases, the “best” setting is the one that matches the visual story you want to tell.
- Pick shutter speed first because it defines the look of moving water.
- Use f/8 to f/11 and low ISO as a clean starting point for most river scenes.
- Tripods and ND filters help most when you want smooth, slow-water effects.
- Protect gear from spray, moisture, and wet charging conditions.
Frequently Asked Questions
Start with aperture priority or manual mode, f/8, and ISO 100 when possible. Then adjust shutter speed based on whether you want frozen splashes or smooth, blurred water.
Use about 1/500s to 1/2000s for rapids and splashes if you want to freeze motion. For a silky look, try 1/2s to several seconds with a tripod.
A tripod is very helpful for long exposures and low-light river scenes because it keeps the frame stable. For faster shutter speeds, handheld shooting can work if your camera and lens are steady enough.
Yes, RAW usually gives you more room to recover highlights, adjust white balance, and fine-tune contrast. That is especially useful when water reflections are bright or the scene has mixed light.
Expose carefully for the brightest foam or reflections and check the histogram if your camera has one. Slight underexposure is often safer than clipping important highlight detail.
Check shutter control, ISO performance, lens compatibility, tripod support, and whether the camera or phone app offers the manual controls you want. Also confirm the manufacturer’s weather-resistance guidance and current firmware or compatibility notes.