Can Bus Camera Interference Causes and Fixes Explained
CAN bus camera interference is usually caused by noise, poor grounding, or incompatible hardware. Most cases improve with safer wiring checks, better cable routing, and verified adapters or filters.
Can bus camera interference usually comes from noisy power, poor grounding, or an incompatible camera module talking to a CAN network that expects cleaner signals. The good news is that most cases can be narrowed down with safe checks, better cable routing, and the right adapter or filter.
- Noise is the usual culprit: Power ripple, crosstalk, and weak grounding can disrupt camera communication.
- Compatibility matters most: The wrong adapter or module can work briefly and still destabilize the bus.
- Start with safe checks: Inspect cables, connectors, routing, and power load before replacing parts.
- Ferrites help sometimes: They reduce certain noise problems but do not fix bad hardware or wiring.
- Verified support is worth it: Clear manuals, compatibility lists, and firmware notes reduce repeat failures.
Can Bus Camera Interference: What It Is and Why It Happens
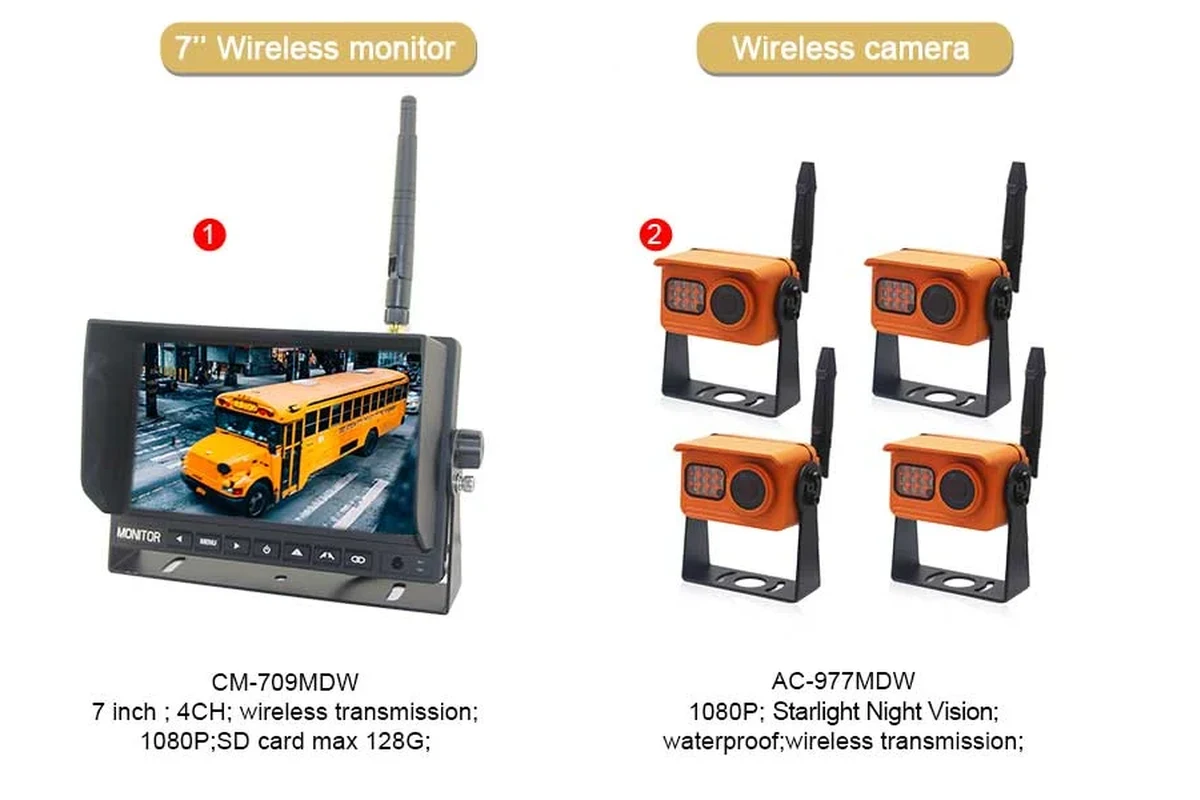
CAN bus camera interference happens when electrical noise from a camera system, adapter, or power line disrupts the Controller Area Network that other connected devices rely on. In plain terms, the camera may still work, but the added noise can cause dropouts, error messages, delayed responses, or unstable behavior in the wider system.
This issue shows up most often in vehicle-connected setups, but the same basic problem can appear in smart home installations that use shared low-voltage wiring, control modules, or networked accessories. If you are trying to decide whether the problem is the camera itself or the surrounding wiring, start with compatibility checks and the official manual before replacing parts.
How CAN Bus Camera Interference Works in Smart Home and Vehicle-Connected Setups
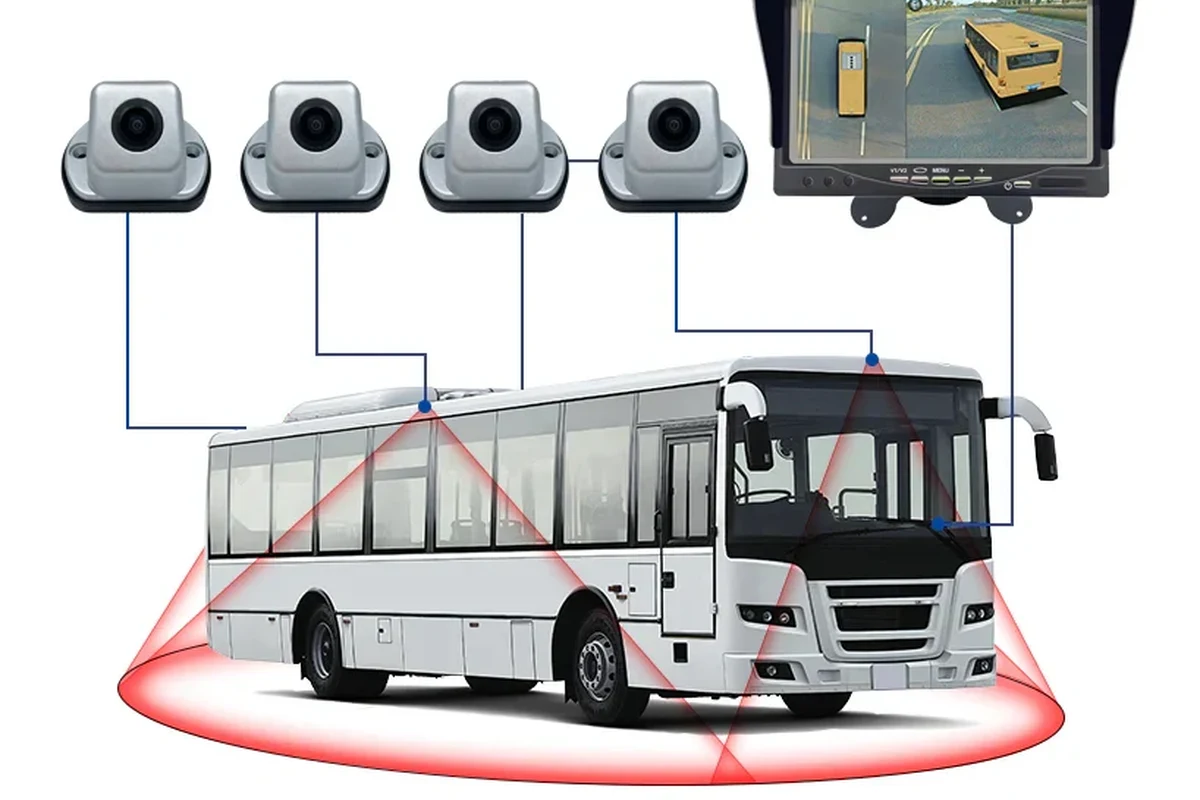
CAN is a communication standard designed to let modules share data reliably over a noisy electrical environment. Camera systems that connect into that environment can create trouble if they draw unstable power, inject noise, or use adapters that do not match the expected signaling behavior.
Signal Noise, Voltage Fluctuations, and Data-Line Crosstalk
Noise is the most common culprit. A camera, converter, or power supply can introduce small voltage spikes or electrical ripple that ride along the wiring and confuse nearby data lines. Crosstalk can also happen when power cables and data cables run too close together for too long, especially in cramped installations.
Voltage fluctuations matter because many camera modules are sensitive to dips during startup or when other devices switch on. Even if the camera appears to power up, brief instability can trigger resets or communication errors that look random.
Twisted-pair data wiring is widely used in CAN systems because it helps cancel out electrical noise before it becomes a communication error.
Why Some Cameras Trigger Errors While Others Stay Stable
Two cameras can look similar and still behave very differently on the same network. One may have better internal filtering, more stable power regulation, or a verified adapter that keeps the data line clean. Another may be cheaper, poorly shielded, or designed for a different voltage range and therefore more likely to cause problems.
Firmware can also change behavior. Some camera modules and control boxes are sensitive to software versions, so a setup that worked last month may become unreliable after an update if the manufacturer changed timing, power handling, or compatibility rules.
Common Causes of CAN Bus Camera Interference
Before replacing hardware, it helps to separate wiring issues from compatibility issues. The same symptoms can come from a loose connector, a bad ground point, or an adapter that was never verified for the exact model.
Poor Grounding and Low-Quality Power Delivery
Poor grounding is one of the most common reasons a camera system behaves erratically. If the ground path is weak, shared with another noisy accessory, or connected through a corroded point, the camera may see unstable voltage and create interference that spreads through the system.
Low-quality power delivery can make the problem worse. Thin wiring, undersized adapters, or cheap converters may not keep voltage steady when the camera starts up or when other devices on the circuit change load.
Unshielded Cables, Long Runs, and Bad Connector Fit
Long cable runs increase the chance that the camera picks up noise from nearby electronics, motors, chargers, or HVAC components. Unshielded cables are more vulnerable, especially when they cross power lines or sit bundled with multiple accessories.
Connector fit matters more than many users expect. A plug that feels “close enough” can still introduce intermittent contact, which may look like random interference when it is really a physical connection problem.
Incompatible Camera Modules, Adapters, or Control Boxes
Incompatibility is often the hidden root cause. A camera module may power on but still fail to communicate correctly with the CAN interface, especially if the adapter expects a different pinout, voltage, or protocol behavior.
If you are also integrating the camera with other smart devices, make sure the control box, app, and any automation hub are all intended to work together. For related compatibility thinking, see our guides on smart lights for home and smart lights with Google Home, where matching the ecosystem matters just as much as the hardware itself.
Compatibility can vary by model number, region, firmware version, and even the exact adapter revision. Always check the manufacturer’s compatibility list and the current manual before assuming two parts will work together.
How to Diagnose CAN Bus Camera Interference Safely
Start with non-invasive checks. That means looking at symptoms, cable routing, connectors, and power delivery before using diagnostic tools or changing wiring. If the setup is part of a vehicle or a critical smart home system, avoid improvising with unknown adapters or bypasses.
Symptoms to Look For: Flicker, Dropouts, Error Codes, and Lag
The most obvious signs are flickering video, brief blackouts, delayed image updates, and error messages from the camera app or control unit. In some systems, the camera works only when the engine, lights, or another accessory is off, which points to load-related noise or voltage instability.
Other symptoms include repeated reconnect attempts, distorted image output, or unrelated module warnings that appear after the camera is installed. Those signs suggest the camera may be affecting the network rather than just failing on its own.
Basic Checks for Wiring, Power Load, and Cable Routing
Inspect the cable path first. Look for crushed sections, sharp bends, loose clips, and places where the camera cable runs parallel to a heavy power wire for a long distance. If possible, separate data and power runs and see whether the symptoms improve.
Next, confirm that the camera is powered from the correct source and that the connector is fully seated. If the system uses a shared power feed, disconnect nonessential accessories one at a time to see whether the interference drops when the electrical load gets lighter.
When you are tracing interference, change one thing at a time. If you move the cable, replace the adapter, and switch the power source all at once, you will not know which fix actually solved the problem.
When to Use a Multimeter, CAN Analyzer, or Professional Help
A multimeter can help confirm whether the camera is receiving steady voltage and whether the ground path is reasonable, but it will not show the full communication picture. A CAN analyzer or other diagnostic tool can reveal message errors, timing problems, or bus activity that a simple voltage check cannot catch.
If you are not comfortable reading wiring diagrams, or if the system is tied to safety-related vehicle functions or a complex smart home controller, professional help is the safer route. That is especially true when the issue may involve a harness, module, or control box that should not be modified casually.
Best Fixes for CAN Bus Camera Interference
The best fix depends on the cause. For many users, the solution is not a single expensive part but a combination of better grounding, cleaner cable routing, and verified hardware that matches the system’s requirements.
Improve Grounding, Shielding, and Cable Management
Rework the ground connection so it uses a clean, secure point recommended by the manufacturer or installer. If the cable is unshielded, replacing it with a better-shielded option can reduce noise pickup, especially in areas with motors, chargers, or other electronics nearby.
Good cable management helps more than people expect. Keep signal cables away from high-current wiring, avoid tight coils, and secure loose runs so vibration does not create intermittent contact over time.
- Route camera cables away from power bricks, motors, and charger leads.
- Use the shortest practical cable length that still allows safe installation.
- Replace damaged connectors instead of forcing a loose fit to “work.”
Add Ferrite Cores, Filters, or Noise Suppression Components
Ferrite cores and noise filters can help reduce high-frequency interference in some setups, especially when the issue is coming from a nearby power source rather than a bad camera module. They are not magic fixes, but they can improve a borderline installation.
Use only suppression parts that are appropriate for the voltage and application. If the manufacturer recommends a specific filter or power conditioner, follow that guidance instead of guessing at an aftermarket part.
Swap to Compatible Hardware and Verified Adapters
If the camera or adapter is not verified for the exact system, replacement may be the most reliable solution. Look for the manufacturer’s compatibility list, connector standard, voltage range, and any firmware notes that mention camera support.
This is also where buying decisions overlap with setup quality. A camera with a cleaner power stage, a verified harness, and better documentation often creates fewer headaches than a cheaper unit with unclear specs. If you are comparing power and charging accessories for other devices, our article on multi-port chargers for multiple devices explains why load matching matters in a similar way.
- Check compatibility, model number, app requirements, dimensions, ports, wattage, and intended use
- Confirm safety guidance, warranty, return policy, privacy settings, and update support
Choosing the Right CAN Bus Camera Setup in 2026
When you are choosing a new setup, focus on compatibility first and features second. A camera with fewer extras but verified support is usually the better long-term choice than a feature-rich model with vague documentation.
Compatibility, Voltage Range, and Connector Standards to Verify
Verify the supported voltage range, connector type, and any required adapter before purchase or installation. If the camera is meant for a vehicle-connected system, confirm that it matches the exact make, model, trim, and year range listed by the manufacturer.
Also check whether the manufacturer publishes firmware notes or an installation guide for your specific control box. If that information is missing, treat compatibility as unproven until the vendor confirms it in writing.
App Requirements, Connectivity, and Smart Home Integration
Some camera systems depend on an app for setup, updates, or live viewing. Before buying, confirm whether the app is required, which phones or tablets it supports, and whether the system can still function if the app changes or is removed later.
If the camera connects to a smart home platform, verify the integration method and any limitations. Features can vary by app version, firmware, and region, so review the current app store listing and the manufacturer’s support pages rather than relying on old forum posts.
Dimensions, Mounting Space, and Installation Constraints
Physical fit matters as much as signal compatibility. Check the camera body size, connector clearance, mounting depth, and cable bend radius so the hardware can be installed without stressing the wiring.
In tight spaces, a camera that technically “fits” may still be a poor choice if the cable has to bend too sharply or sit near hot components. That kind of installation often leads to recurring faults later.
Safety, Maintenance, and Long-Term Reliability
Once the system is stable, the goal is to keep it that way. Regular inspection, clean contacts, and sensible operating limits can prevent interference from returning after a few weeks or months.
Heat, Inspection, Replacement Guidance, and Safe Operating Limits
Heat can degrade cables, connectors, and small control boxes over time. If any part of the setup feels unusually warm, shows discoloration, or behaves erratically after warm-up, stop using it and review the manufacturer’s safety guidance.
Replace damaged parts promptly rather than waiting for a failure. Frayed cables, cracked housings, loose plugs, and unstable mounts can all turn a minor noise issue into a bigger reliability problem.
Stop using damaged electronics, swollen batteries, frayed cables, overheating chargers, or unstable appliances and follow the manufacturer’s guidance.
Cleaning Contacts, Checking Cable Wear, and Preventing Recurring Noise
Dust, oxidation, and vibration can all worsen connection quality. Gently inspect contacts and mounting points on a regular schedule, especially in vehicles or busy smart home areas where movement and temperature changes are common.
Prevent recurring noise by keeping cables secured, avoiding unnecessary adapters, and revisiting the routing after any system change. Even moving a charger, hub, or router can change the electrical environment enough to bring back interference.
Warranty Details, Support Quality, and Value for Money
Warranty terms matter because interference problems sometimes appear only after installation or after a firmware update. Before you commit, check how long support lasts, what the warranty excludes, and whether the manufacturer documents troubleshooting steps clearly.
Good support often saves more time than a slightly cheaper product. A camera system with responsive documentation, replacement parts, and clear compatibility notes usually delivers better value than one that leaves you guessing.
A verified, well-documented camera setup is best for anyone who wants stability more than extra features. If your current system keeps throwing errors after the basic wiring and grounding checks, replacing the incompatible adapter or camera is usually smarter than chasing random fixes.
Final Recommendation: When to Troubleshoot, Upgrade, or Replace the Camera System
Start with troubleshooting when the symptoms are new, intermittent, or clearly tied to cable routing, grounding, or power load. Upgrade the setup when the hardware is mostly compatible but needs better shielding, cleaner power, or a verified filter to stay stable.
Replace the camera system when compatibility is unclear, the adapter is unverified, or the same interference returns after safe checks and basic improvements. For the best long-term result, follow the official manual, confirm support before buying, and choose the setup that is easiest to maintain rather than the one with the longest feature list.
Frequently Asked Questions
Common signs include flickering video, dropouts, lag, reconnect loops, and error codes from the camera or control module. In some setups, the problem appears only when other devices turn on or when the system is under load.
Yes. A weak or noisy ground path can make voltage unstable and introduce communication errors that look like camera failure. Checking grounding is one of the safest first steps in troubleshooting.
No. Ferrite cores can help reduce certain kinds of electrical noise, but they will not fix a bad adapter, incompatible module, or damaged cable. They work best as part of a broader troubleshooting approach.
Check the manufacturer’s compatibility list, voltage range, connector type, and firmware notes for the exact model. If the vendor does not verify support for your setup, treat compatibility as uncertain until confirmed.
A multimeter helps confirm power and ground stability, while a CAN analyzer can reveal communication errors that voltage checks cannot show. If you are unsure how to interpret the results, professional help is the safer option.
Replace it when the hardware is not verified for your system, the same interference keeps returning after safe checks, or the wiring and adapter are in good shape but the camera still behaves unpredictably. A well-documented, compatible setup is usually the better long-term choice.