Cleaning Astro Camera Tips for Clearer Night Shots
Clean an astro camera by removing loose dust first, then gently cleaning only the optical surfaces the manufacturer says are user-serviceable. If spots remain in the same place across images, check the sensor area or seek service instead of scrubbing harder.
Cleaning an astro camera is mostly about removing dust, dew residue, and fingerprints without touching delicate coatings or the sensor more than necessary. The safest approach is to start with the outside, move to the lens or filter, and only clean the sensor area when visible debris is affecting your images.
- Start gentle: A blower removes loose dust before any cloth or liquid touches the glass.
- Match the design: Cleaning steps change for fixed-lens cameras, removable filters, and sealed sensor chambers.
- Protect coatings: Use lens-safe products and light pressure to avoid scratches and streaks.
- Know the limits: Some image flaws come from focus, tracking, or sky conditions, not dirt.
Cleaning Astro Camera Tips for Clearer Night Shots: What to Clean First and Why It Matters

Night-sky images are unforgiving. Even a thin film of dust or a small fingerprint can turn bright stars into soft blobs, add flare around the moon, or make contrast look worse than it really is.
Quick answer: the safest way to improve image quality without damaging optics or sensors
Begin with a blower to remove loose dust, then use a clean microfiber cloth or lens tissue with a small amount of lens-safe solution for the lens or filter. Leave the sensor-area cleaning for last, and only use sensor swabs or professional service when the contamination is clearly visible and the camera design allows safe access.
How dust, pollen, dew, and fingerprints affect astrophotography results
Dust usually shows up as soft dark spots or faint shadows, especially in flat, bright areas of a stacked image. Pollen and dried dew can create more stubborn smears, while fingerprints often reduce sharpness and increase glare around bright stars or streetlights.
In astrophotography, some image “defects” come from optics, while others come from sky conditions, focus, or tracking. Cleaning helps only when the problem is actually on the camera, lens, or filter surface.
Know Your Astro Camera Before You Clean It
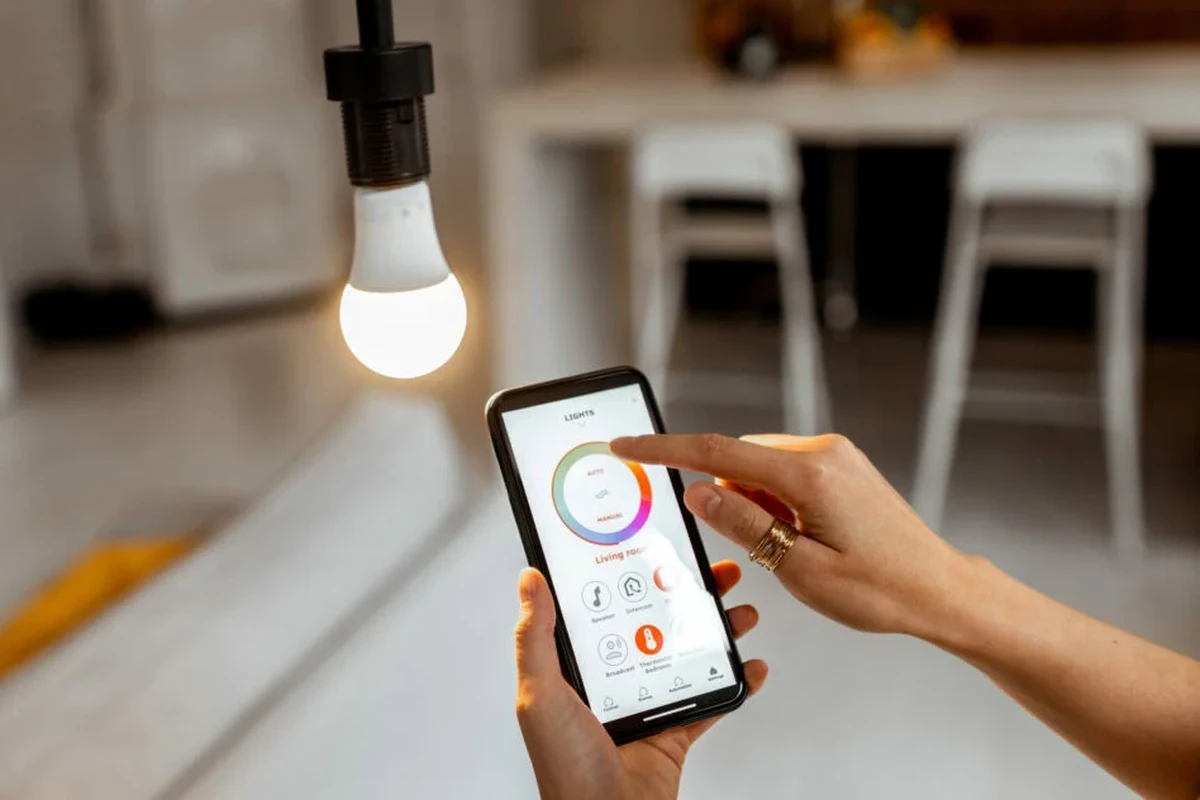
Astro cameras are not all built the same. A cleaning method that is fine for a removable lens on a consumer camera may be wrong for a cooled astronomy camera, a dedicated planetary camera, or a smart-home style outdoor camera used for sky monitoring.
Camera type, lens or sensor access, and why the cleaning method changes by design
Some cameras give you easy access to the front lens element, while others place a protective window or filter stack in front of the sensor. If your model has a fixed lens, sealed body, or non-removable filter, you should clean only the surfaces the manufacturer says are user-serviceable.
Key specs to verify: coating type, filter stack, weather sealing, and removable parts
Before cleaning, check the manual for coating instructions, filter material, and whether the body is weather sealed. Also confirm whether front filters, UV/IR cut filters, or protective windows can be removed safely, since cleaning steps vary by design and warranty terms may change if you open sealed compartments.
Who this guide fits: beginners, backyard astrophotographers, and smart-home camera users
This guide is for readers who want clearer moon, planet, or deep-sky shots without taking unnecessary risks. It also fits smart-home users who repurpose outdoor cameras for sky time-lapses, as long as they follow the camera maker’s cleaning and weather-exposure instructions.
Tools and Supplies for Safe Cleaning in 2026
Good cleaning starts with the right tools. The goal is to lift debris away from the surface, not grind it around or leave residue behind.
Recommended basics: blower, microfiber cloth, sensor swabs, lens solution, and anti-static brush
A hand blower is the safest first tool for loose dust. For glass surfaces, keep a clean microfiber cloth or lens tissue on hand, plus a lens-safe solution approved for coated optics; for sensor-area work, use swabs sized to the sensor format and only if the manufacturer allows that method.
- Use the blower before any cloth so you do not drag grit across the glass.
- Keep separate cloths for optics and for the camera body.
- Use the smallest amount of liquid needed to dampen, not soak, the surface.
- Replace swabs and tissues after each cleaning session.
What to avoid: paper towels, harsh solvents, canned air misuse, and abrasive fabrics
Paper towels and rough fabrics can leave scratches or lint. Harsh cleaners, alcohol-heavy mixtures not approved by the manufacturer, and direct canned-air blasts can damage coatings, push debris deeper into the body, or leave moisture and propellant residue in the wrong place.
Do not spray liquid directly onto the camera, lens, or filter. If the camera has a battery, heater, cooling fan, or powered accessory, disconnect power first and let hot parts cool before cleaning.
Storage and replacement guidance for reusable cleaning tools
Store cloths and swabs in a sealed, dust-free container so they do not pick up grit between sessions. Replace any cloth that starts to shed fibers, any swab that bends or frays, and any blower that no longer produces a clean stream of air.
Step-by-Step Cleaning Method for Clearer Night Shots
The safest method is a slow one. Clean only as much as needed, inspect often, and stop when the image-quality problem is gone.
Turn the camera off, disconnect accessories, and check the lens, filter, and body under bright indirect light before touching anything.
Use a blower to lift dust from the front surface, ports, buttons, and seams so you are not rubbing grit into the finish.
Wipe in gentle straight or circular motions using a lens-safe cloth or tissue, then let the surface dry fully before storing or imaging.
Only clean the sensor window or exposed sensor area if the manual allows it and the contamination is clearly affecting images.
Power down, disconnect, and inspect under bright light before touching any surface
Inspection matters because some marks are just dust, while others are scratches, coating wear, or internal contamination that cleaning will not fix. Bright light helps you identify exactly where the debris is so you can avoid over-cleaning the wrong area.
External body cleaning: ports, buttons, mounts, and tripod contact points
Wipe the body with a dry microfiber cloth first, then use a lightly dampened cloth if needed for sticky residue on the outside only. Clean ports, mount points, and tripod contact areas gently so dust does not build up around connectors or threads.
Lens and filter cleaning: safe motion, pressure control, and drying time
Use minimal pressure and avoid aggressive scrubbing. If a spot does not lift easily, stop and reapply a small amount of approved solution rather than forcing it; once the surface is clean, let it air-dry before reattaching caps or accessories.
Cleaning performance can vary by coating type, filter stack, and how long residue has been sitting on the glass. Older or baked-on grime may need repeated gentle passes rather than one hard wipe.
Sensor-area cleaning: when to stop, when to use swabs, and when to seek service
If dust spots appear in the same place across multiple frames after lens cleaning, the sensor window or sensor area may need attention. Use sensor swabs only if the camera supports that process; if the camera is sealed, under warranty, or the contamination looks like internal debris, professional service is the safer option.
Safe Use, Maintenance, and Storage Between Sessions
Prevention is easier than repeated deep cleaning. Good storage and weather habits reduce how often you need to touch the optics at all.
How to protect against dew, humidity, and temperature swings
Dew is one of the most common reasons astro cameras need cleaning after a session. Let the camera acclimate gradually, use caps and dry storage after imaging, and avoid sealing a damp camera in a closed case where condensation can linger.
Cleaning frequency based on location, season, and storage conditions
If you image in a dusty yard, near pollen-heavy trees, or in humid conditions, you may need to check the camera more often than someone using a sheltered setup. A quick visual inspection before and after each session is usually enough, while full cleaning should happen only when contamination is visible.
Noise, heat, and power considerations for powered astro camera accessories
Cooled cameras, dew heaters, and powered hubs can create heat and cable clutter around the setup. Keep vents clear, route cables so they do not rub against the camera body, and unplug accessories before wiping around connectors or mount points.
Warranty details to verify before using liquids or opening sealed compartments
Before using any liquid cleaner or opening a compartment, check the warranty and support pages for your exact model. Some brands allow basic external cleaning but restrict user access to internal windows, cooling modules, or sealed sensor chambers.
Common Mistakes That Can Ruin Astro Camera Performance
Most cleaning problems come from trying to fix too much at once. A careful routine protects both image quality and the camera’s finish.
Over-cleaning, rubbing too hard, and spreading grime instead of removing it
Repeated wiping can move debris around and create micro-scratches. If a surface still looks dirty after one gentle pass, inspect again before continuing so you do not keep grinding the same particle across the glass.
Ignoring cable strain, connector dust, and mount contamination
Dirty connectors can cause intermittent power or data issues, and strained cables can shake the camera during long exposures. Keep the cable path clean, dry, and supported so the camera is not fighting mechanical stress while you are trying to capture sharp stars.
Using the wrong solution on coatings, filters, or rubber seals
Some solvents can haze coatings, weaken rubber seals, or leave streaks that are worse than the original smudge. Always match the cleaner to the surface type and the manufacturer’s guidance rather than assuming one product works everywhere.
Evidence limits: why not every spot on an image is a cleaning problem
Dust motes, tracking errors, focus drift, atmospheric turbulence, and sensor noise can all look like “camera problems.” If the artifact changes from frame to frame, cleaning may not be the right fix; if it stays in the same place, cleaning becomes more likely.
Real-World Benefits, Limits, and When Cleaning Is Not Enough
Cleaning can make a real difference, but it is only one part of image quality. The best results come when clean optics, good focus, stable tracking, and reasonable sky conditions work together.
Visible gains: sharper stars, better contrast, and fewer flare artifacts
When the lens or filter is clean, stars usually look tighter and bright objects can show less glare. You may also notice better contrast in faint nebula detail because the camera is no longer scattering extra light across the frame.
Limitations: focus issues, tracking errors, sky conditions, and sensor noise
If the mount is wobbling, focus is slightly off, or the atmosphere is unsteady, cleaning will not fully solve the image. Likewise, high ISO noise, light pollution, and haze can still limit clarity even when the camera is spotless.
Alternative fixes: calibration frames, collimation checks, and software adjustments
Before assuming the camera needs another cleaning, consider calibration frames, focus verification, and any alignment or collimation checks your optical system requires. Software tools can also help with stacking, noise reduction, and gradient removal, but they work best when the optics are already in good shape.
Final Recommendation: The Best Cleaning Approach for Most Astro Camera Owners
The best routine is simple: blow off loose dust, clean only the optical surfaces that are meant to be user-cleaned, and leave the sensor area alone unless the manual clearly supports that step. For most owners, that approach gives the best balance of clearer night shots, lower risk, and less wear on coatings and seals.
Best value routine for regular maintenance without unnecessary risk
Use a blower and microfiber cloth for routine care, inspect after every session, and reserve liquids and swabs for visible residue that does not come off dry. This keeps maintenance affordable and helps prevent accidental damage from aggressive cleaning.
Who should use professional servicing instead of DIY cleaning
If the camera is sealed, under warranty, showing internal haze, or still producing spots after safe external cleaning, professional service is the better choice. That is also true when you are unsure whether the contamination is on the lens, filter, sensor window, or inside the optical path.
Bottom line on safe, effective cleaning for clearer night shots
Cleaning astro camera surfaces carefully can improve sharpness and reduce flare, but only when you match the method to the camera design. Start gently, verify the manual, and treat the sensor area as a last step rather than the first place to intervene.
Frequently Asked Questions
Start with the outside and the front optical surface, using a blower first to remove loose dust. Only move to the sensor area if the manual allows it and the problem is still visible in images.
Usually no, because regular glass cleaners may harm coatings or seals. Use a lens-safe solution approved by the manufacturer or a cleaner specifically made for coated optics.
Check it before and after sessions, but only clean when you see dust, dew residue, fingerprints, or other visible contamination. Frequency depends on your location, storage, and how often you image.
Stop if the camera is sealed, under warranty, has internal haze, or still shows spots after safe external cleaning. Professional service is also the safer choice if you are unsure about sensor access.
No, some image spots come from focus errors, tracking issues, sky conditions, or sensor noise rather than dirt. If the artifact changes position or appearance between frames, cleaning may not fix it.
A hand blower, clean microfiber cloth, lens-safe solution, and correctly sized sensor swabs are the most common safe tools. Avoid paper towels, abrasive fabrics, and direct canned-air blasts.