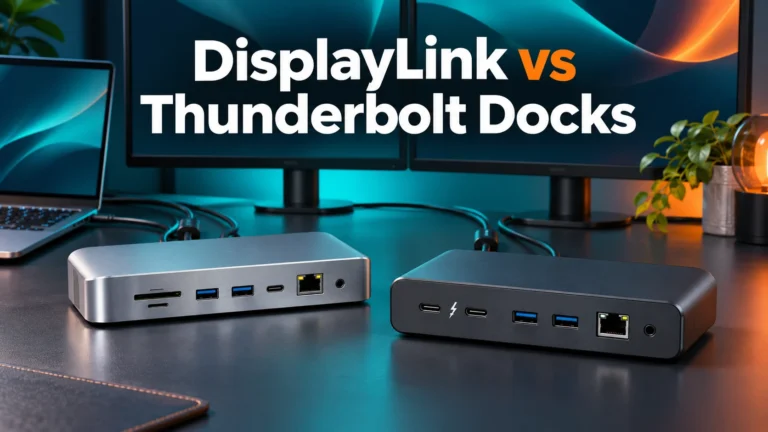
USB-C Hub HDMI Flickering? 7 Fixes for Windows & Mac
USB-C hub HDMI flickering is easiest to diagnose by simplifying the video path. Connect one monitor, reseat the HDMI cable, and test a supported fixed 60 Hz mode. Then compare the same display connected directly to the laptop. Change one item at a time before buying a new hub.
A monitor that repeatedly flashes black needs a different investigation from a display that never appears. This guide focuses on an HDMI picture that works, then flickers, drops out, or briefly reconnects. If Windows or macOS never detects the screen, start with our USB-C hub not detecting a monitor guide.
This is a research-based troubleshooting guide, not a hands-on product test. The setup illustrations are reused from our docking guides. Manufacturer references appear alongside the relevant steps so you can check advice against your own hardware.
Start with a free isolation test. Try one screen, one known-good cable, and a lower supported display mode. A stable result helps identify which part needs attention.
Affiliate disclosure: As an Amazon Associate I earn from qualifying purchases. We may also earn from Walmart links, at no extra cost to you.
Quick checks: what does the flicker look like?
| What you notice | First comparison | What it can help isolate |
|---|---|---|
| The whole screen goes black, then returns | Same monitor and cable connected directly | The dock path versus the rest of the setup |
| Only high refresh rates or HDR trigger it | One screen at a supported fixed 60 Hz, with HDR off | A display-mode or link compatibility limit |
| USB devices disconnect at the same moment | Remove nonessential devices and check dock power | A wider hub or host-connection reset |
| Only one of two monitors flickers | Run each screen alone with the same cable | A particular display path or combined configuration |
| Brightness pulses but the screen stays connected | Compare a fixed refresh rate with Adaptive Sync off | A different issue from repeated signal loss |
These comparisons identify suspects; they do not prove a component is defective. A stable direct connection can still use a different video path inside the laptop. Record the exact port, cable, resolution, refresh rate, and HDR setting so you can reproduce the result.
1. Establish a direct-connection baseline
Save your work and safely eject external storage before unplugging the hub. Disconnect extra monitors, USB storage, webcams, and other accessories. If the laptop has an HDMI output, connect the affected display there with the same HDMI cable. Otherwise use a known-compatible direct video adapter and note that the adapter becomes another variable.
Apple recommends connecting a display directly to the Mac when a hub or dock is involved in display problems. Its external-display troubleshooting guidance also explains that cables and adapters must support the required resolution and refresh rate. This makes a direct comparison a useful starting point, rather than a promise that the hub is broken.
Use the same workload that normally triggers the issue: a video call, ordinary desktop work, or the application you had open. A short test cannot rule out an intermittent fault that usually appears after a long session. If the display still flickers directly, investigate the cable, monitor, computer, and display settings before spending money on another dock.
When only the hub connection fails, reconnect the hub with just that monitor attached. Keep the rest of the accessories disconnected. If the screen is now stable, reconnect accessories individually and record which change brings the problem back. Do not start a large storage transfer merely to stress a setup that is disconnecting.
2. Check both cables in the video path
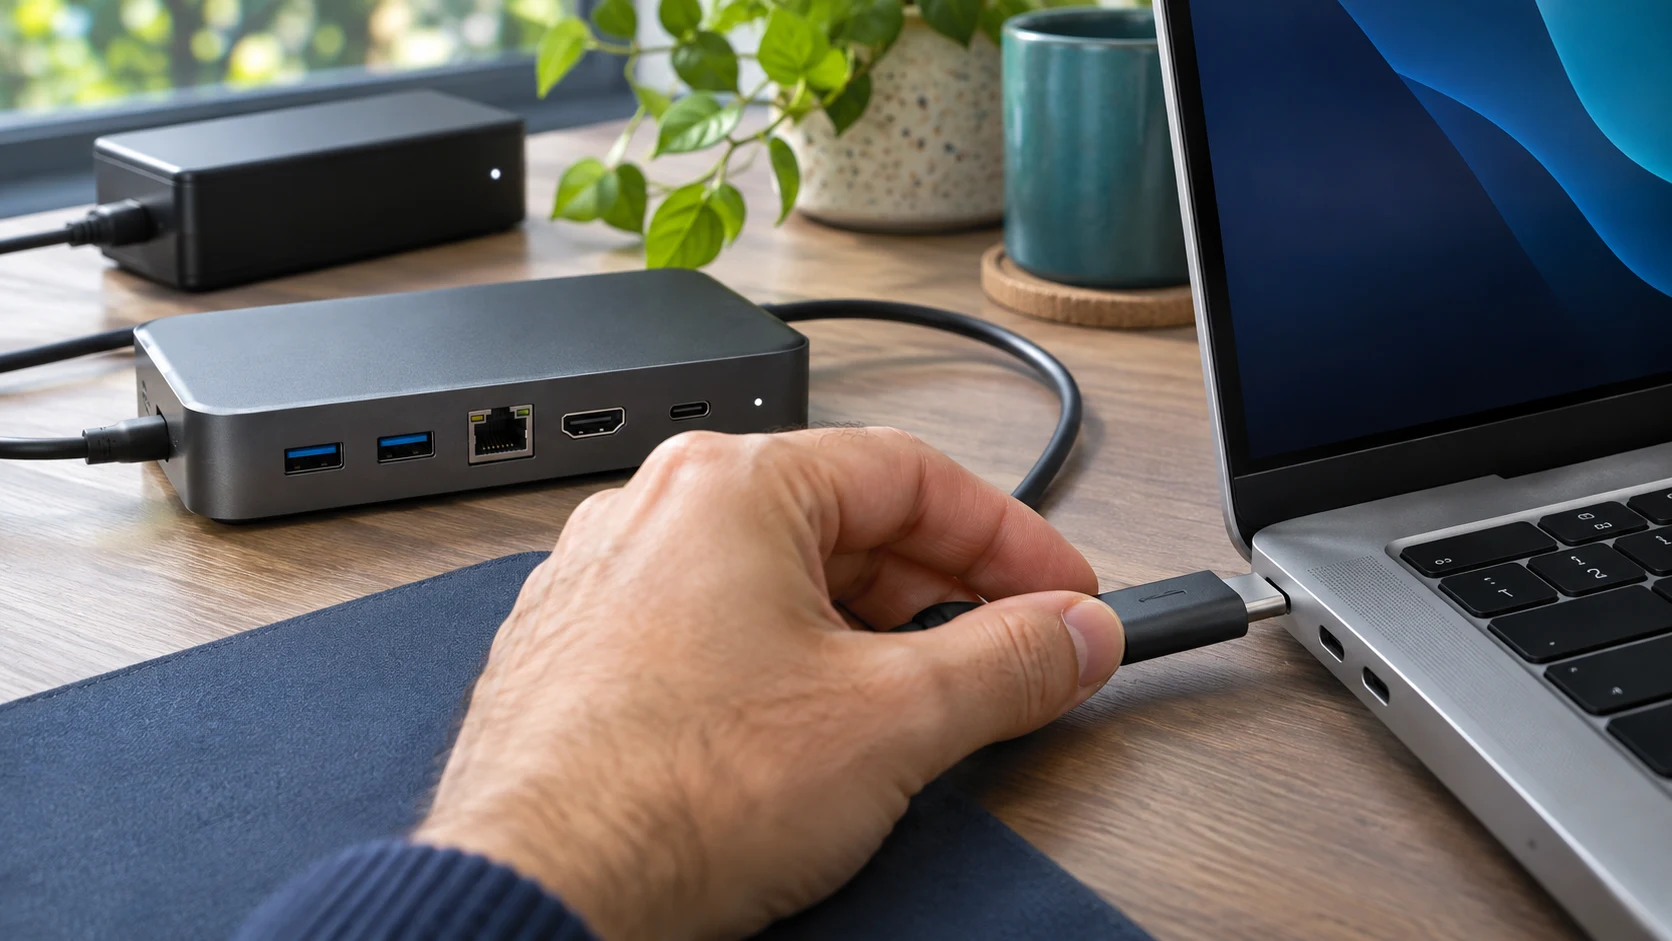
There are usually two relevant cables: the HDMI cable from hub to display, and the USB-C or Thunderbolt host cable from hub to laptop. Reseat both ends without forcing the plugs. Remove extension leads and unnecessary adapter chains for the comparison. Look for a connector that is not fully inserted because a laptop case or nearby plug gets in the way.
CalDigit’s flickering-monitor support article recommends trying a shorter video cable, using its supplied host cable on the covered docks, updating the operating system and GPU drivers, and comparing another monitor. Follow the equivalent cable requirements for your own dock.
If you can borrow a short, known-good HDMI cable, test it before ordering one. A “4K” label alone leaves out the refresh rate and other conditions. Choose a cable whose stated capabilities match the target mode. A cable upgrade cannot give a hub a display mode that its HDMI output does not support.
A USB-C cable that charges a laptop is not automatically suitable as a dock host cable. Power, data, and video capabilities are separate. Use the original supplied cable or a replacement explicitly supported by the dock maker. Our Thunderbolt 4 versus Thunderbolt 5 cable guide explains the broader buying decision.
3. Test a lower supported refresh rate and resolution
Start with one external display at a mode listed as supported by both the monitor and dock. A fixed 60 Hz setting is a useful comparison when available. If necessary, reduce resolution as a separate step. Record each result instead of changing resolution, cable, power, and drivers together.
On Windows 11, open Settings, System, Display, then Advanced display. Select the external monitor before changing its refresh rate. Display resolution is selected from the main Display page. Menu labels can vary with the installed graphics software. If the new mode is unusable, let the confirmation timer restore the prior setting.
On a Mac, open System Settings and Displays, select the external screen, and inspect the available resolution and refresh-rate choices. The choices depend on the Mac model, software, monitor, and connection. Do not assume that every USB-C port or every dock supports the monitor’s highest advertised mode.
If a lower mode is stable, the original mode may exceed a link capability or expose a compatibility problem. That observation does not identify the HDMI cable by itself. Check the hub’s exact output specification and whether it changes when another display is attached. For a screen that is stable but limited to 30 Hz, use our separate USB-C dock stuck at 4K 30 Hz guide.
4. Compare HDR and variable refresh settings separately
If your display offers HDR or Adaptive Sync, temporarily compare an ordinary SDR picture at a fixed refresh rate. Change one feature at a time, then restore it if it makes no difference. This is a diagnostic comparison, not a recommendation to permanently give up features you bought the screen to use.
Write down whether the problem is a full black-screen reconnect or visible brightness pulsing while the screen remains present. Those symptoms can have different causes. Also note whether it happens on the desktop, in one game, or only while playing particular content. A problem limited to one application deserves an application-level comparison.
If only variable refresh triggers the issue, consult the monitor maker’s supported connection instructions and firmware notes. A feature may be available through DisplayPort under conditions that differ from HDMI. Avoid treating one successful lower setting as proof that the monitor, dock, and cable combination supports every higher setting.
5. Check dock power and accessory load
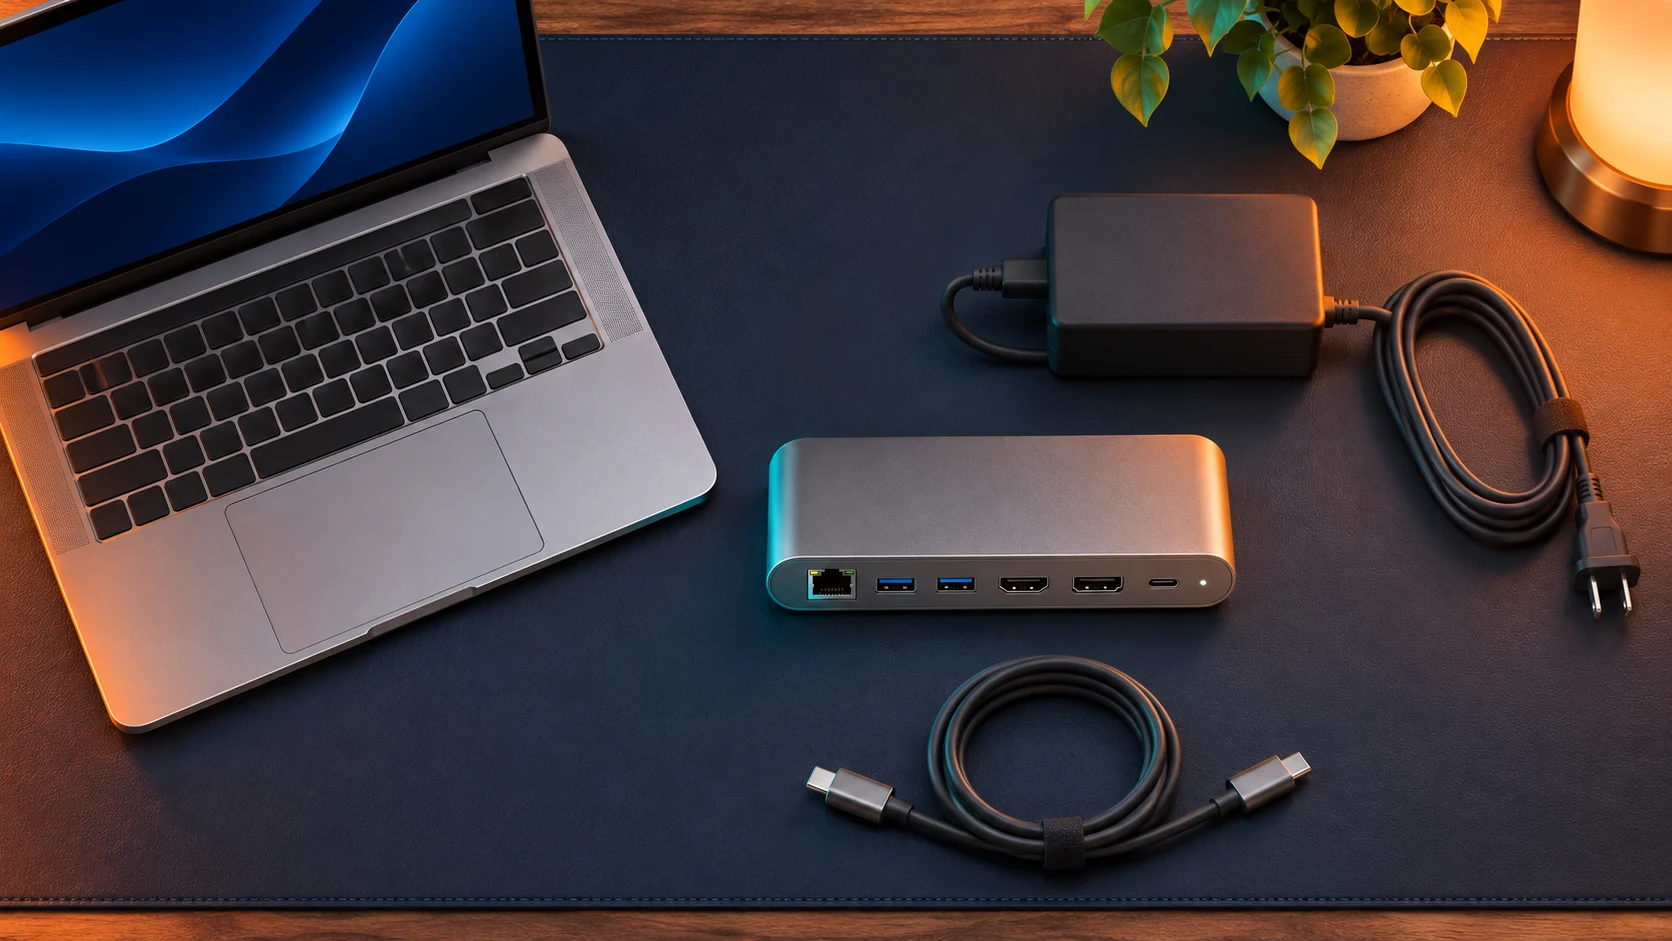
Check whether the hub expects power through a USB-C PD input or uses its own supplied adapter. Connect power as its manual specifies. A spare charger with a larger headline wattage is not automatically an approved substitute for a dock power supply. With a bus-powered hub, the available host power and attached devices also matter.
Watch what happens during a blackout. If the mouse, Ethernet, and storage disappear too, investigate a broader hub reset or host connection. If those devices keep working and only the picture drops, focus first on the display path. Neither observation alone proves a power fault.
A hub that becomes uncomfortable to handle or has a damaged connector needs inspection before further use. Ordinary warmth does not establish the cause of a flickering screen. Our USB-C hub temperature guide covers that separate symptom, while the hub disconnecting guide addresses whole-device resets.
6. Install updates for the exact hardware
Find the laptop model, graphics hardware, monitor model, and full dock model before searching for updates. Use Windows Update, the laptop maker, the monitor maker, or the dock maker as appropriate. Read release notes for display, compatibility, or intermittent blanking fixes. Avoid downloading a firmware package intended for a similarly named dock.
Dell documents intermittent blanking on covered docking-station configurations and recommends checking connections, graphics drivers, and monitor firmware. Its model-specific blanking article also describes dock firmware fixes and Display Stream Compression considerations. Apply those instructions only when your hardware is covered.
Keep the laptop and dock powered as the update instructions require. Do not unplug a dock midway through its firmware update. On a managed work laptop, ask IT to handle updates that need administrator access. After updating, rerun the same minimal setup before reconnecting every accessory. That keeps the comparison meaningful.
Do not copy a registry workaround from a different model or operating-system version as a general HDMI fix. If official support provides an advanced workaround for your exact system, follow its applicability and recovery instructions. A routine troubleshooting article should not imply that one low-level setting fixes all docks.
7. Compare another display, port, or computer
If possible, test a second monitor with the same hub and known-good cable. Then compare another supported laptop with the original monitor. You do not need to buy test equipment: a borrowed display or a workplace support desk can provide the comparison. Keep each test within the published compatibility limits.
A fault that follows one HDMI cable across setups points toward that cable or its connectors. A fault that follows one monitor across direct connections points toward the display or its configuration. A fault isolated to one hub output after cable and software checks makes dock support or a warranty claim more reasonable. These are troubleshooting inferences, not laboratory diagnoses.
For support, prepare a short report: laptop model, operating-system version, dock model and firmware, monitor model, connection route, display mode, and the smallest setup that reproduces the issue. Include whether audio or USB devices disappear during the blackout. This is more useful than reporting only “HDMI does not work.”
What should you replace, if anything?
| Evidence from your tests | Reasonable next step | Check before buying |
|---|---|---|
| A borrowed HDMI cable solves it | Replace the HDMI cable | Supported mode, suitable length, seller, returns |
| The supplied host cable solves it | Replace the host cable to the maker’s specification | Video/data support and dock compatibility |
| Direct video is stable; the hub HDMI path keeps failing | Contact dock support or compare a compatible video adapter | Laptop video support and required resolution/Hz |
| You need features the current hub never supported | Consider a compatible dock upgrade | Host interface, display matrix, power, returns |
| Flicker persists through direct connections | Investigate monitor/computer support first | Another screen, cable, and current software |
For an ordinary single-monitor desk, replacing a proven faulty cable is often the smallest purchase. For a more complex desk, compare the total configuration instead of the port count alone. Our CalDigit TS4 buying guide and DisplayLink versus Thunderbolt comparison cover separate upgrade decisions. A premium dock is not a guaranteed cure for a monitor-specific problem.
Only need a replacement HDMI cable? Compare listings after the cable test points there. These links open retailer search results; confirm the exact cable, supported mode, seller, delivery cost, and return terms.
We do not display an unverified price or claim that either store is cheaper. Compare the same cable specification and length, then check the current delivered total at checkout. Marketplace search results can include unsuitable listings, so read the actual specification rather than buying the first result.
Frequently asked questions
Why does my monitor flicker only through the USB-C hub?
The hub adds a host connection and video-conversion path. Compare a direct connection, the supplied host cable, one monitor, and a supported lower mode. A hub-only symptom narrows the investigation but does not identify the failed part.
Can a new HDMI cable fix USB-C hub flickering?
It can when the cable or its connection is the problem. Borrow a known-good cable first. If flickering persists, check the host cable, display mode, dock compatibility, and current software before replacing more hardware.
Why is 4K 30 Hz stable but 4K 60 Hz flickers?
The higher mode can expose a cable, adapter, output, or compatibility limit. Confirm the full signal path supports the desired mode. Do not assume the monitor’s maximum rating applies through every hub.
Should I buy a powered hub immediately?
First determine whether the entire hub resets or only HDMI drops out. Use power as specified by the manufacturer. Extra power does not upgrade an unsupported HDMI output or repair a faulty cable.
Will a Thunderbolt dock fix the problem?
Only if the replacement supports your laptop and intended display configuration and addresses the actual limit. Check compatibility before buying. If the same monitor flickers directly, investigate that result first.
Your next step
Begin with a direct baseline, then repeat the hub test with one screen and a known-good cable. Change the display mode next, followed by power and model-specific updates. Keep the stable configuration while you investigate the failing one. Replace a component when the comparisons point to it, and use the test notes if you need manufacturer support.