Why Is Your Backup Camera Blurry and How to Fix It
A blurry backup camera is usually caused by a dirty lens, moisture, a display setting issue, or a loose connection. Clean it first, then check the screen and wiring before deciding whether to repair or replace it.
If your backup camera is blurry, the most common causes are a dirty lens, moisture on the housing, a dim or low-resolution display, or a weak connection in the wiring or video signal. In many cases, a careful cleaning and a quick settings check solve the problem before you need a repair or replacement.
- Start simple: Clean the lens and inspect for fogging, scratches, or grime before replacing parts.
- Check the full chain: Blur can come from the screen, wiring, or signal stability, not only the camera.
- Match the system: Resolution, mounting style, and vehicle compatibility matter as much as camera quality.
- Repair vs. replace: Fix isolated issues; upgrade when moisture, damage, or weak signal keeps returning.
Why Your Backup Camera Is Blurry: The Most Common Causes and the Fastest Fixes
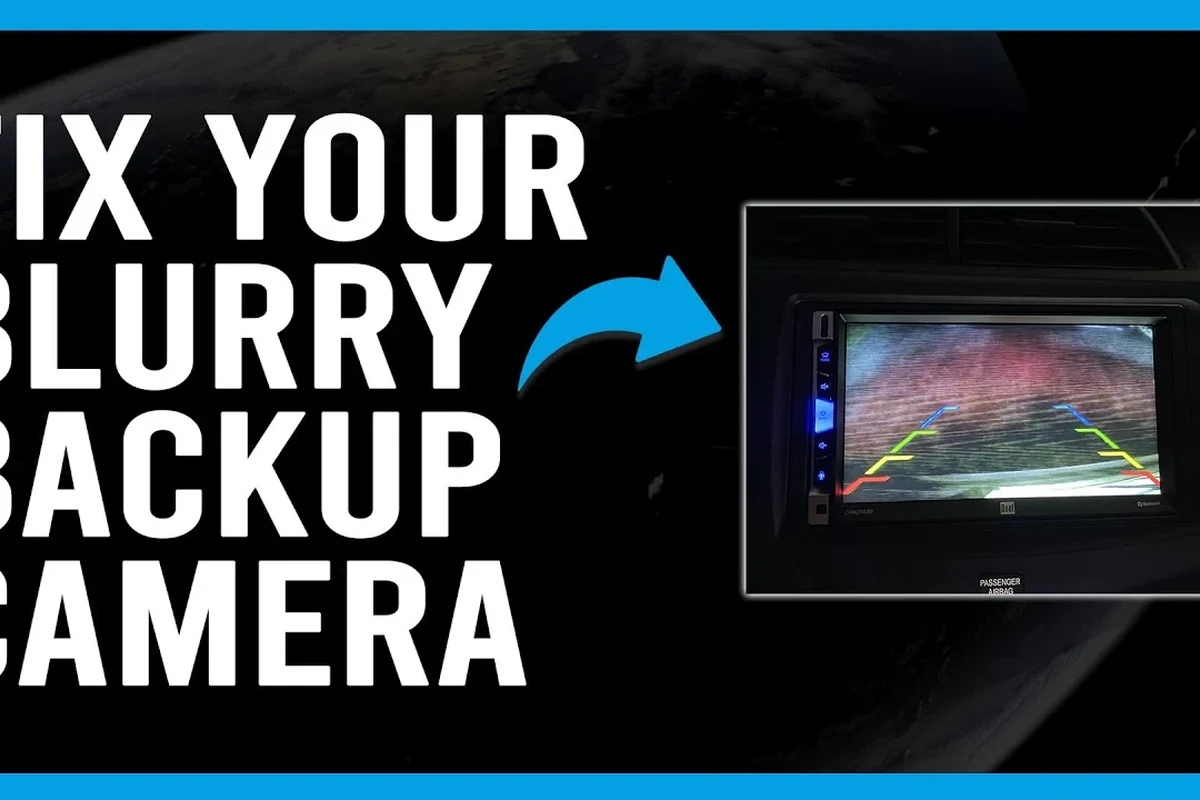
A blurry rear-view image usually comes from one of four places: the camera lens, the display, the wiring, or outside conditions such as rain, glare, and low light. The fastest fix is to clean the lens first, then check whether the blur is actually coming from the screen settings or a weak signal rather than the camera itself.
If the image stays fuzzy after basic cleaning and settings checks, the next step is to inspect the camera housing, cable routing, and mount for damage or looseness. When the blur changes with weather, vibration, or vehicle movement, that clue often points to moisture, interference, or a mounting problem instead of a failed sensor.
How a Backup Camera Works and Why Image Quality Drops
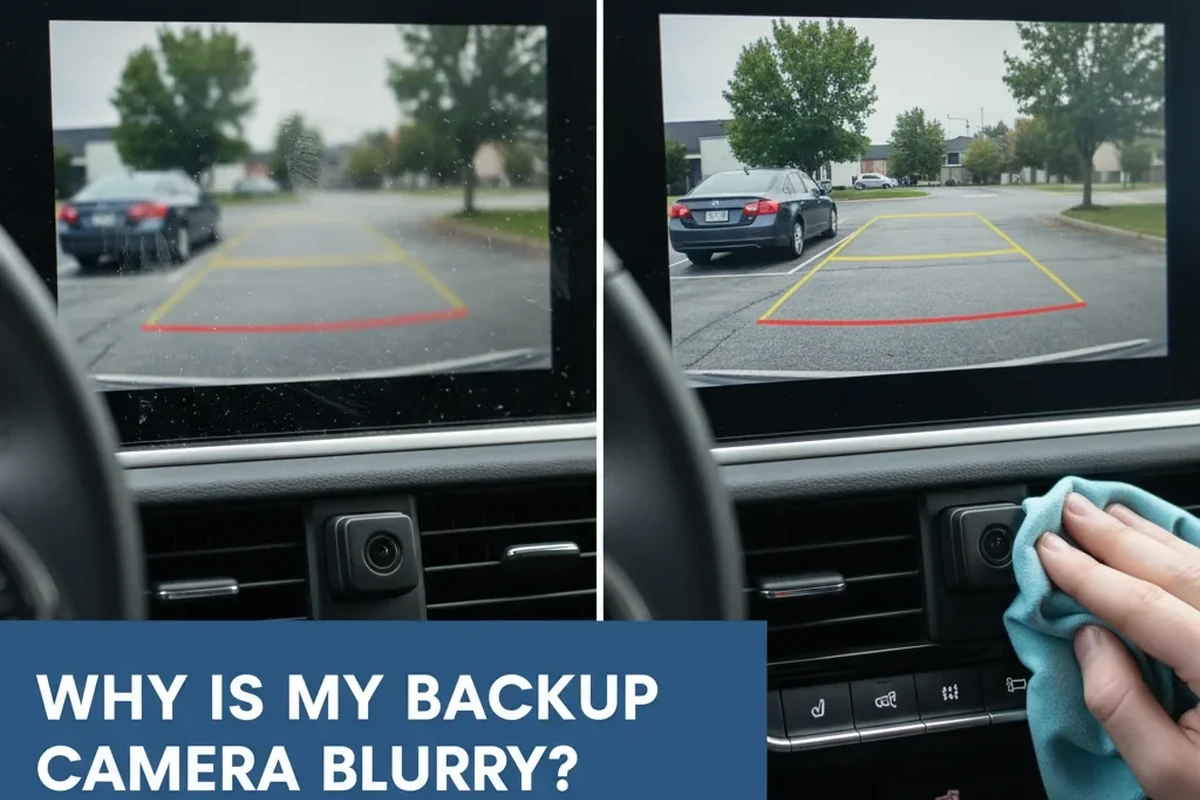
Most backup camera systems capture video with a small lens and image sensor, then send that signal to a dash screen, mirror display, factory head unit, or smartphone-connected monitor. Image quality drops when any part of that chain is compromised, which is why the problem may appear as blur, noise, ghosting, lag, or washed-out detail rather than a completely dead image.
Lens, sensor, display, and wiring: where blur usually starts
The lens is the first place to check because dirt, road film, water spots, and frost can soften the image immediately. If the lens is clean, the next suspects are the sensor and image processing inside the camera, followed by the display itself, which may be set too dim, too low in resolution, or simply aging poorly.
Wiring problems can also make the picture look soft or unstable. A loose connector, damaged cable, or poor ground can introduce noise and intermittent signal loss, which may look like blur even when the lens is fine.
Some factory systems process video differently from aftermarket kits, so the same camera can look sharper on one screen and softer on another. Always compare the camera’s output with the display’s settings and the vehicle’s manual before assuming the camera has failed.
Weather, lighting, and signal issues that can mimic a bad camera
Rain, fog, snow, road salt, and condensation can all make a camera appear blurry even when the hardware is working normally. Low sun, headlights behind you, and nighttime glare can also reduce contrast and make details harder to see.
Wireless systems add another layer: weak transmission can create compression artifacts, lag, or a smeared image that looks like optical blur. In those cases, the camera may be fine, but the signal path is not stable enough for a clean picture.
Step-by-Step Troubleshooting for a Blurry Backup Camera
Work from the outside in: clean the lens, verify the display, then check connections and mounting. That sequence solves many cases without unnecessary part replacement.
Use a soft microfiber cloth and a gentle cleaner approved for camera lenses or automotive glass. If you see condensation inside the housing, cloudiness, or a scratched cover, cleaning may help only temporarily and the housing may need service or replacement.
Look for brightness, contrast, night mode, parking guide overlays, and any sharpness or image-format settings the system provides. A screen that is too dim or set to an odd aspect ratio can make a normal camera look blurry.
Check that connectors are fully seated and protected from corrosion or water intrusion. If the blur appears only when the vehicle vibrates or when the camera powers on and off, the issue may be a loose connection, weak ground, or unstable signal.
Look at the camera housing and bracket for movement, cracked clips, or sagging alignment. A camera that shifts slightly can lose focus or point at the wrong angle, especially on rough roads, trailers, or older mounts.
If the camera is cracked, the cable insulation is damaged, or you notice heat, burning odor, or corrosion, stop using the system until it is inspected. Do not modify vehicle wiring unless you are following the official instructions for your specific model.
What to Look For in a Backup Camera System in 2026
If repair is not enough, or if your current system is outdated, focus on the features that affect clarity in real driving conditions. The best choice depends on your vehicle, the screen you already have, and whether you need a wired or wireless setup.
Key specifications: resolution, viewing angle, night vision, and IP rating
Resolution matters because more detail generally makes it easier to judge distance and spot obstacles, but the display must also be capable of showing that detail. Viewing angle affects how much of the area behind the vehicle is visible, while night vision performance depends on sensor quality, low-light tuning, and sometimes infrared support.
Water and dust resistance are also important for a rear-mounted device, but the exact rating varies by model. Check the manufacturer’s specification sheet and installation instructions, since real durability depends on sealing, cable routing, and exposure to weather, road spray, and car washes.
Screen size, mounting style, and compatibility with your vehicle
Compatibility is often the real deciding factor. A sharp camera can still look poor on a tiny mirror display, an incompatible head unit, or a screen mounted where glare makes it hard to see.
Mounting style matters too. License-plate mounts, flush mounts, mirror replacements, and integrated factory-style units each fit different vehicles and driving habits. Before buying, confirm whether the kit works with your vehicle model, reverse-light wiring, existing infotainment system, or trailer setup.
- Check vehicle compatibility, screen input type, and installation space
- Confirm weather resistance, cable length, and power requirements
- Review app requirements, warranty terms, and update support if the system is wireless or phone-based
Wired vs. wireless: clarity, latency, reliability, and installation trade-offs
Wired systems are usually preferred when you want stable image quality and minimal interference. They can be more work to install, but they often hold up better over time because the video signal is not dependent on radio conditions.
Wireless systems can be easier to add to some vehicles, especially when running a long cable is difficult. The trade-off is that clarity and latency may vary with distance, interference, the vehicle’s electrical environment, and the specific app or receiver used.
- Wired systems usually offer more consistent clarity
- Wireless systems can simplify installation in some vehicles
- Modern kits may fit factory screens or mirror displays
- Wired installs can be more involved
- Wireless systems may show lag or compression artifacts
- Not every camera works well with every display or vehicle
Who a Backup Camera Upgrade Fits Best
A backup camera upgrade makes the most sense for drivers who rely on rear visibility every day or who need clearer guidance when parking in tight spaces. It is especially useful when the factory system is aging, the display is too small, or the current camera has become unreliable in bad weather.
Daily drivers, older vehicles, RVs, trailers, and fleet use cases
Daily drivers benefit from better parking confidence and easier curb and garage alignment. Older vehicles often gain the most because they may have no rear camera at all, while RVs, trailers, and fleet vehicles need a wider field of view and a setup that can handle long cable runs, vibration, and frequent use.
For trailers and larger vehicles, compatibility is critical. You may need a camera designed for the specific mount, power source, and viewing distance, and you should confirm whether the display can handle the vehicle length without adding noticeable delay or signal loss.
When a simple repair is enough versus when replacement makes more sense
If the issue is only dirt, fogging, a loose connector, or a screen setting, repair is usually the smart move. Replacement makes more sense when the lens cover is damaged, the image sensor is failing, the cable is frayed, or the display is so dated that it cannot show a clear image even after adjustment.
As a rule, choose repair when the problem is isolated and inexpensive to fix, and choose replacement when multiple parts are aging at once. If you are already paying for labor, it may be worth comparing the cost of a repair against a more reliable system with better support and clearer compatibility information.
Real-World Benefits, Limitations, and Common Mistakes
A clearer backup camera can make parking less stressful, help with hitch alignment, and reduce the chance of scraping walls, posts, or curbs. That said, no camera replaces careful driving, mirrors, and awareness of pedestrians, pets, and small obstacles.
How clearer rear visibility improves parking confidence and safety
When the image is sharp enough to read edges and spacing, it becomes easier to reverse into tight driveways, garages, and parallel parking spots. That is especially helpful for newer drivers, busy households, and anyone moving between different vehicles with different sightlines.
Clearer visibility can also reduce second-guessing. Instead of repeatedly stopping to check, a good camera view can help you make smoother, more controlled reversing decisions.
Why cheap kits often disappoint: low light, compression, and narrow durability margins
Lower-cost kits can work, but they may struggle in dim light, show more compression artifacts, or use housings that weather poorly over time. If the display compresses the video too aggressively or the sensor performs poorly at night, the image may look soft even when the camera is technically functioning.
Many image-quality complaints come from the screen or signal path, not the camera lens itself, which is why a simple settings check can matter as much as a hardware replacement.
Installation mistakes that can cause persistent blur or weak performance
Common mistakes include poor grounding, pinched cables, mounting the camera at the wrong angle, and placing a wireless receiver where interference is more likely. Another frequent issue is ignoring the display side of the system, such as using a screen that does not match the camera’s output format well.
When in doubt, follow the official installation manual and compatibility list for your exact model. That is especially important for factory integration, trailer wiring, and systems that depend on app pairing or firmware updates.
Maintenance, Care, and Safe Use Tips for Long-Term Clarity
Once the image is clear again, a little maintenance goes a long way. Regular cleaning, seasonal checks, and attention to seals and mounts can prevent the same problem from coming back.
Cleaning routine, weather protection, and seasonal checks
Wipe the lens periodically with a soft cloth, especially after rain, snow, road salt, or a dusty drive. In winter, check for ice buildup and in wet seasons look for fogging or condensation inside the housing.
- Clean the lens gently; avoid abrasive pads that can scratch the cover
- Check the image after heavy rain or a car wash to spot moisture issues early
- Keep the display brightness and contrast set for daytime and nighttime use
When to inspect wiring, seals, and mounts for wear or replacement
Inspect the system if the image flickers, goes in and out, or changes when the hatch is opened or the vehicle hits bumps. Those symptoms often point to a worn cable, loose connector, cracked seal, or mount that no longer holds the camera steady.
If you notice corrosion, cracked housing, or repeated moisture intrusion, the safest option is to replace the damaged part rather than keep drying it out and hoping it holds. A recurring leak usually gets worse over time.
Safe-use reminders: camera aid limits, blind spots, and driver responsibility
Backup cameras are helpful tools, but they do not eliminate blind spots or replace direct observation. Small children, pets, curbs, low posts, and objects close to the bumper can still be difficult to judge if you rely on the screen alone.
If the image quality changes suddenly, treat it as a maintenance issue first and a safety issue second. Stop depending on the camera alone until the view is clear, stable, and consistent again.
Final Recommendation: Repair, Replace, or Upgrade?
If your backup camera is blurry, start with repair when the cause looks simple: dirt, condensation, loose wiring, or a display setting that needs adjustment. Replace the camera or the full system when the lens is damaged, the housing keeps fogging, the signal is unstable, or the display is too limited to deliver a usable image.
For most drivers, the best value comes from fixing the weakest link rather than buying the most expensive kit. If your vehicle setup is unusual, your screen is outdated, or you want the cleanest long-term result, professional installation can be worth it because it reduces wiring mistakes, compatibility problems, and repeat failures.
Repair is the right first move for a blurry backup camera, but replacement becomes the better choice when moisture, damage, or weak signal keeps coming back. Choose an upgrade if you want better clarity, better night performance, and a system that matches your vehicle and display more reliably.
Frequently Asked Questions
A blurry image is often caused by dirt, moisture, glare, or a display setting rather than a failed camera. Start with cleaning the lens and checking the monitor before replacing parts.
Yes. Road film, water spots, salt, and condensation can soften the image enough to look like a hardware problem.
If the image changes when you adjust brightness, contrast, or resolution, the screen may be part of the issue. If the blur remains on multiple displays or after cleaning, the camera or wiring is more likely.
Wireless systems can be more sensitive to interference, compression, and signal dropouts. That does not mean they are always blurry, but clarity can vary more than with wired systems.
Replacement makes more sense if the lens is scratched, the housing keeps fogging, the cable is damaged, or the image stays poor after cleaning and connection checks. If several parts are aging, a full upgrade may be the better value.
Check vehicle compatibility, display input type, mounting style, weather resistance, cable length, and whether the camera works with your head unit or app. Confirm the manufacturer’s manual and compatibility list before buying.